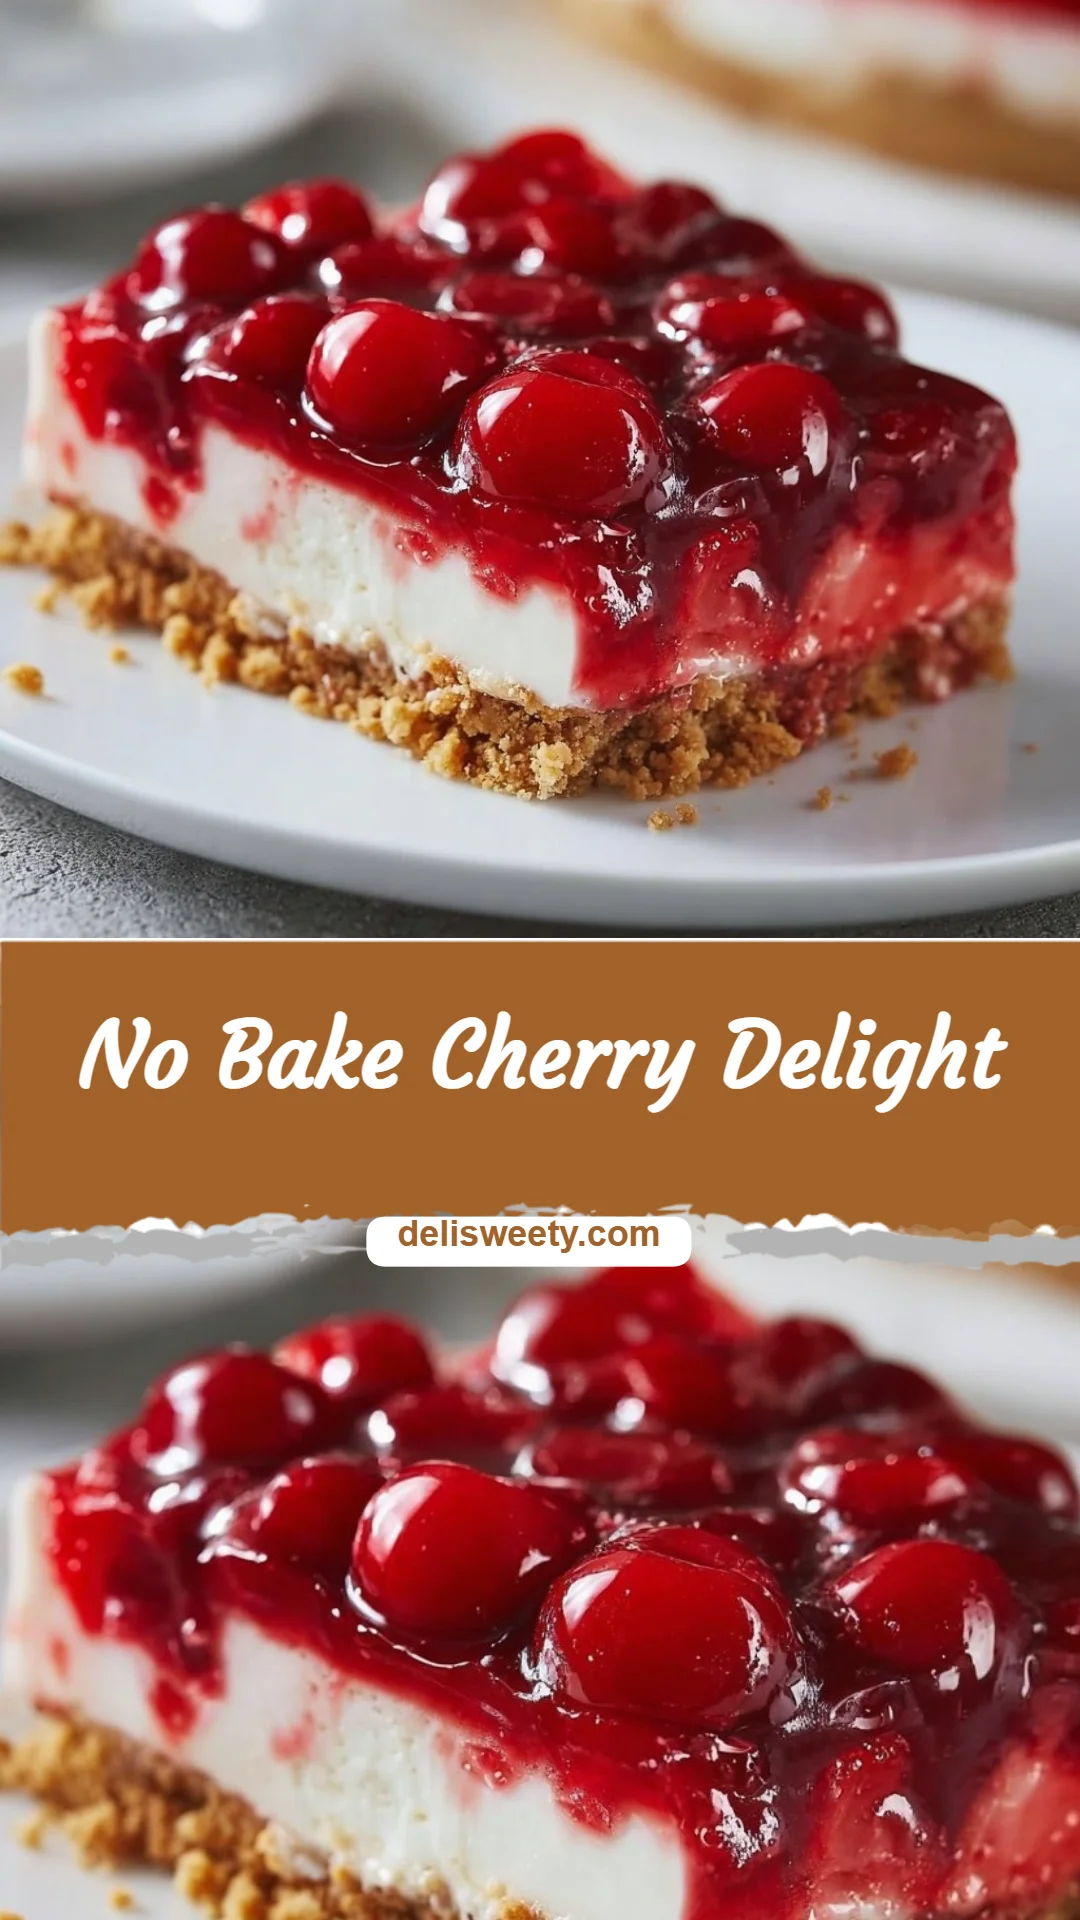
No Bake Cherry Delight
I still remember the first time I spooned velvet-smooth cherry filling over a buttered graham crust—the bright, glossy cherries smelled of childhood picnics and the kitchen filled with the warm, toasty aroma of buttered crumbs. For many home cooks a dessert that looks this refined raises practical questions: Do I need a mixer? How much time will this take? Will it set properly? I promise this No Bake Cherry Delight answers all those doubts with minimal fuss: simple ingredients, gentle technique, and a result that looks restaurant-ready. If you enjoy effortless, crowd-pleasing sweets, I often pair this approach with other weeknight-friendly treats like 5-Ingredient No-Bake Crunchie Slice for a no-stress dessert spread.
A Quick Look at This No Bake Cherry Delight Recipe
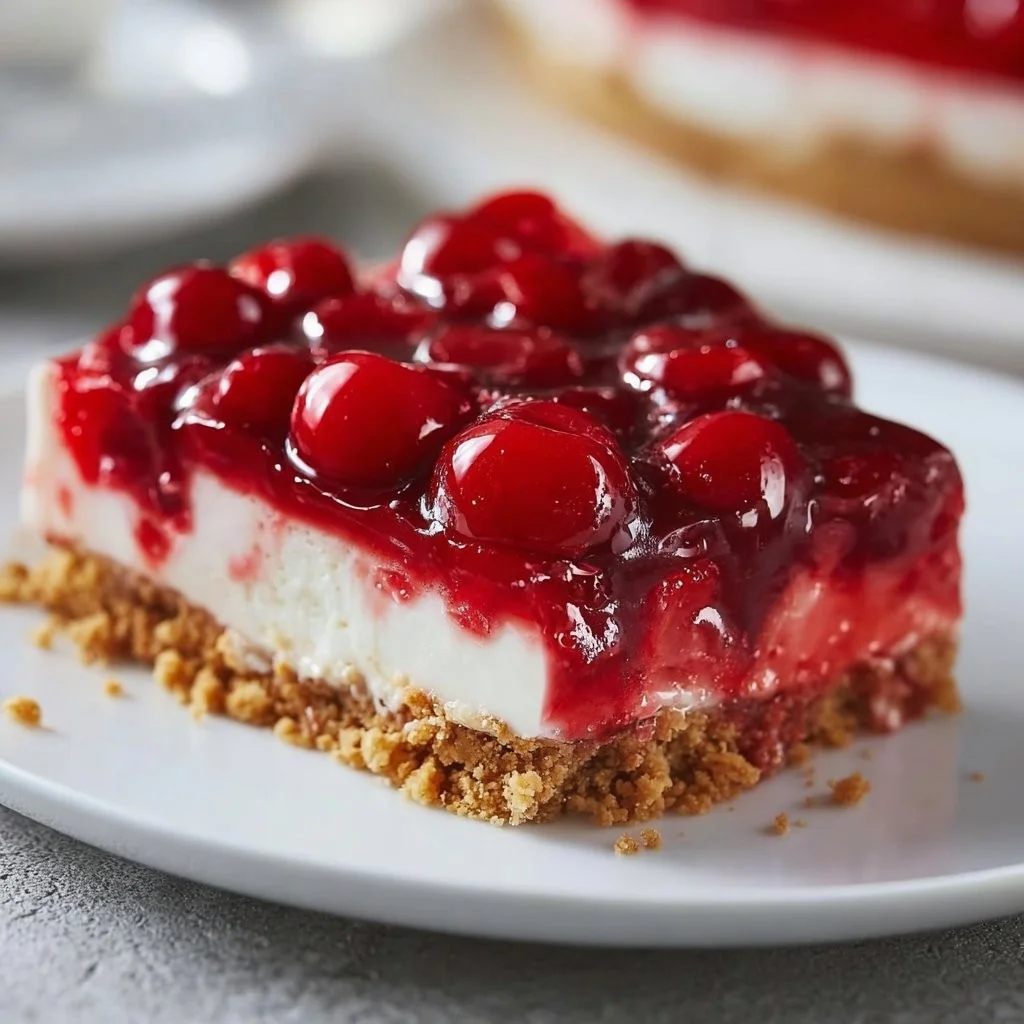
This No Bake Cherry Delight brings together a buttery graham-cracker crust and a glossy cherry pie filling for a dessert that’s simultaneously nostalgic and polished. The standout flavors are the toasty, browned-butter aroma of the crust and the bright, sweet-tart pop of cherry filling. Its appeal lies in presentation and simplicity: you can assemble it in minutes and chill it until the layers are firm and sliceable. It feels special because every component — from texture to color — is intentionally layered, yet it’s entirely achievable for cooks of any skill level. Keep reading to learn a few easy finishes that lift it from simple to sublime.
Ingredients You’ll Need for No Bake Cherry Delight
I recommend assembling everything before you begin; freshness and quality matter more than fancy technique here. Below I break the recipe into essentials, optional add-ons, and practical substitutions so you can tailor the dessert to what you have on hand.
Essentials
- 7 tablespoons unsalted butter, melted and cooled slightly
- Use good-quality unsalted butter for a clean, creamy backbone. Salted butter can work if you reduce any added salt in other recipes you pair it with.
- 1 1/2 cups graham cracker crumbs
- Finely crushed for a compact, cohesive crust. You can pulse them in a food processor or place crackers in a zip-top bag and crush with a rolling pin.
- 1 teaspoon pure vanilla extract
- Pure vanilla amplifies the butter’s warmth and the crust’s sweetness without adding moisture.
- 1 can (21 oz) cherry pie filling
- Choose a high-quality canned filling with whole cherries for the best texture; the glossy syrup provides a beautiful top layer.
Optional Add-ons
These lifts keep the dessert no-fuss but add a restaurant-like finish.
- Fresh cherries, pitted and halved — for color contrast and fresh fruit aroma
- Whipped cream or stabilized whipped cream — lightens each spoonful and softens the sugar intensity
- Toasted sliced almonds — add crunch and a toasty note that complements the graham crust
- Shaved dark chocolate (60–70%) — a bitter-sweet counterpoint to the cherry sweetness
- Lemon zest — a whisper of citrus brightens the cherries and makes flavors pop
Substitutions and Shortcuts
Life happens; here are swaps that preserve elegance without complicating the method.
- Graham cracker crumbs → Digestive biscuits or vanilla wafers — both give a similar texture and sweetness. Adjust the sugar level if using sweeter cookies.
- Melted butter → Coconut oil (mild flavor) — keeps it dairy-free but expect a subtle coconut aroma.
- Cherry pie filling → Homemade quick cherry compote (fresh or frozen cherries, sugar, lemon juice, cornstarch) — if you have time, simmer cherries with a touch of sugar and lemon for 10–15 minutes until thickened.
- Vanilla extract → Vanilla bean paste or a pinch of ground cardamom — paste deepens aroma; cardamom adds an exotic, aromatic lift.
- Single-serving shortcut → Assemble in individual glasses or jars for effortless portioning and a pretty presentation.
How to Make No Bake Cherry Delight Step-by-Step
I like to think of this recipe as a series of gentle, confident moves: make the crust, chill it so it sets, then top and chill again. Each step is short, but together they create a composed dessert that slices cleanly and sings with balanced textures.
Prepare tools and ingredients
- Gather a mixing bowl, spoon or spatula, measuring cups, and your serving dish (a 9-inch pie plate, 8×8 square pan, or individual ramekins all work). Measure the graham crumbs and melt the butter in a small saucepan or microwave-safe bowl; let it cool slightly so it won’t steam the crumbs. Pre-measuring keeps the build smooth and stress-free.
Make the crust and bind it with butter and vanilla
- Place the graham cracker crumbs in the mixing bowl. Pour the melted butter and the vanilla over the crumbs and fold gently until the mixture is evenly moistened and holds together when pressed between your fingers. The butter’s role is structural — it binds the crumbs and gives the crust a rich, tender bite.
Press the crust into your serving dish and chill
- Transfer the crumb mixture to your chosen dish and press it firmly and evenly across the bottom (and slightly up the sides if you like). I use the bottom of a measuring cup for even pressure and a clean edge. Chilling for 10–15 minutes firms the fat in the butter so the crust becomes compact and sliceable; skip this and the filling may cause the crust to crumble.
Add the cherry layer with care
- Once the crust is chilled and set, spoon the cherry pie filling across the surface in an even layer. Use the back of a spoon to spread without mashing the cherries. The filling’s glossy sheen creates instant visual appeal; an even layer keeps every bite balanced.
Cover and refrigerate until set
- Cover the dish and refrigerate for at least 2 hours. This quiet rest gives the crust time to firm and the cherry layer time to chill and hydrate the crumbs slightly for a cohesive texture. If you’re in no-rush mode, chilling overnight actually deepens the flavors.
Finish and serve chilled
- When you’re ready to serve, slice with a warm, clean knife for neat edges (dip the blade in hot water and wipe it dry between cuts). Offer optional toppings — a dollop of softly sweetened whipped cream, a scatter of toasted almonds, a few fresh cherries, or a drizzle of shaved dark chocolate — and enjoy immediately. Toppings add texture and aromatic contrast; keep them elegant and minimal to let the star flavors shine.
Common Mistakes to Avoid
Mistakes are simply stepping stones to better desserts; when I coach home cooks through this recipe I frame missteps as small adjustments rather than failures. Below are the most common pitfalls and how to correct them so your No Bake Cherry Delight looks and tastes as you imagined.
Mistake 1: Pressing the crust too loosely
If the crust is not packed firmly, slices will crumble when cut. Use even pressure and chill the crust until the butter firms. A compact crust gives structure and a satisfying crunch.
Mistake 2: Using hot butter with the crumbs
Pouring scalding butter over crumbs can make the crust greasy and loose. Let the melted butter cool for a minute or two; it should be liquid but not steaming before you mix it in.
Mistake 3: Skimping on chill time
Rushing the refrigeration step yields a soft, messy dessert. The two-hour chill is the quiet secret to a satisfying texture — it allows the layers to set and the flavors to harmonize.
Serving Suggestions for No Bake Cherry Delight
This dessert rewards thoughtful plating: contrast, texture, and a gentle flourish make it feel elevated. Below are three serving approaches I return to, each suited to a different occasion but all simple to execute.
Elegant Dinner Party
Serve slices on chilled dessert plates with a quenelle of lightly sweetened whipped cream and a few halved fresh cherries for a clean, restaurant-style finish. Add a small grating of dark chocolate for depth.
Casual Family Gathering
Cut into bars and place on a large wooden board for communal sharing. Scatter toasted almonds across the top and let guests add whipped cream if they like — it’s inviting and fuss-free.
Picnic or Potluck
Assemble individual portions in clear jars for transport-friendly elegance. Top each jar with a single cherry and a sprinkle of lemon zest before serving to keep flavors lively in warm weather.
Conclusion
I’ve built this No Bake Cherry Delight to be a dependable, elegant recipe you can return to whenever you want a fuss-free, impressive dessert. It rewards simple techniques — firm pressing, patient chilling, gentle topping — and encourages personal touches, whether a scatter of toasted almonds or a delicate curl of dark chocolate. If you’d like a step-by-step visual guide or another take on this idea, I find useful inspiration in a tested version at Easy No-Bake Cherry Delight Recipe – Whisking Up Yum. Make it your own, share it proudly, and savor how a small amount of attention transforms humble ingredients into something memorable.
FAQs About No Bake Cherry Delight
I store No Bake Cherry Delight covered in the fridge for up to 4 days. The crust remains pleasant the first two days; after that the crumbs gradually soften. If you plan to keep it longer, consider storing the cherry topping separately and assembling before serving.
I don’t recommend freezing once the cherry topping is set — the texture of the filling can change upon thawing. If you must freeze, freeze the crust alone and thaw fully before adding fresh or canned cherry filling and serving.
Absolutely. I often portion into small jars or ramekins; they chill faster and look charming on a dessert table. Reduce the assembly time and you have an elegant single-serve presentation.
Yes. Use coconut oil in place of butter for the crust and a dairy-free whipped topping as a garnish. The texture will be slightly different but still delightful and satisfying.
I balance sweetness by pairing the cherry filling with slightly less-sweet crust components: use plain digestive biscuits instead of vanilla wafers, or add a tablespoon of finely ground toasted almonds into the crust to introduce a gently bitter, nutty note. A light dusting of finely grated dark chocolate also tempers sweetness while adding complexity.

No Bake Cherry Delight
Ingredients
Crust Ingredients
- 7 tablespoons unsalted butter, melted and cooled slightly Use good-quality unsalted butter for a clean, creamy backbone.
- 1.5 cups graham cracker crumbs Finely crushed for a compact, cohesive crust.
- 1 teaspoon pure vanilla extract Amplifies the butter’s warmth and crust’s sweetness.
Filling Ingredients
- 1 can cherry pie filling (21 oz) Choose a high-quality canned filling with whole cherries.
Optional Add-ons
- to taste fresh cherries, pitted and halved For color contrast and fresh fruit aroma.
- to taste whipped cream or stabilized whipped cream Lightens each spoonful.
- to taste toasted sliced almonds Adds crunch and a toasty note.
- to taste shaved dark chocolate (60–70%) A bitter-sweet counterpoint to the cherries.
- to taste lemon zest Brightens the cherries and makes flavors pop.
Instructions
Preparation
- Gather a mixing bowl, spoon or spatula, measuring cups, and your serving dish.
- Measure the graham cracker crumbs and melt the butter in a small saucepan or microwave-safe bowl; cool slightly.
Make the Crust
- Place the graham cracker crumbs in the mixing bowl. Pour in the melted butter and vanilla, folding gently until evenly moistened.
Chill the Crust
- Transfer the crumb mixture to your dish and press firmly across the bottom. Chill for 10-15 minutes.
Add Cherry Layer
- Spoon cherry pie filling onto the crust in an even layer using the back of a spoon.
Chill Again
- Cover the dish and refrigerate for at least 2 hours.
Serve
- Slice with a warm, clean knife and serve with optional toppings.