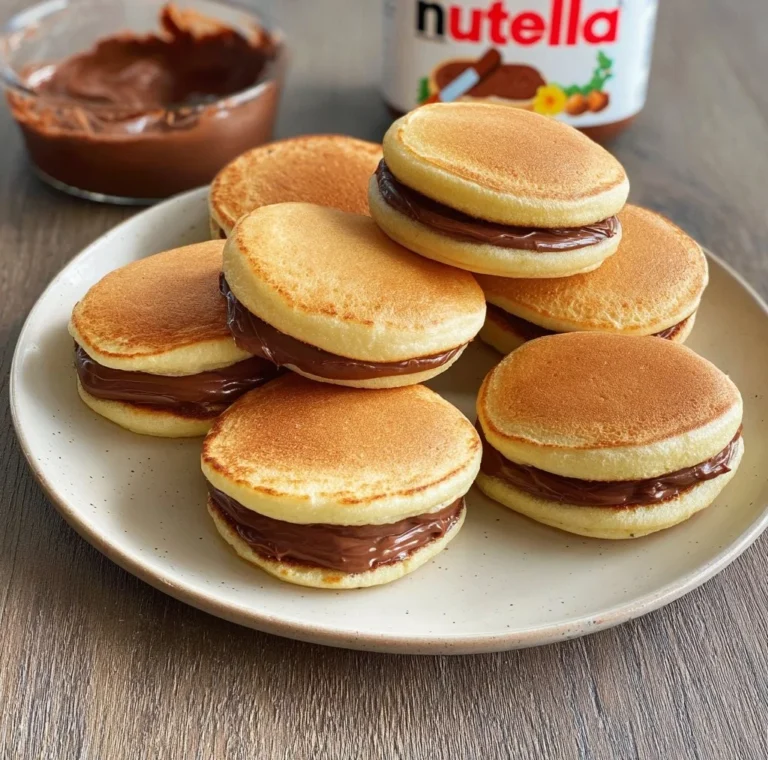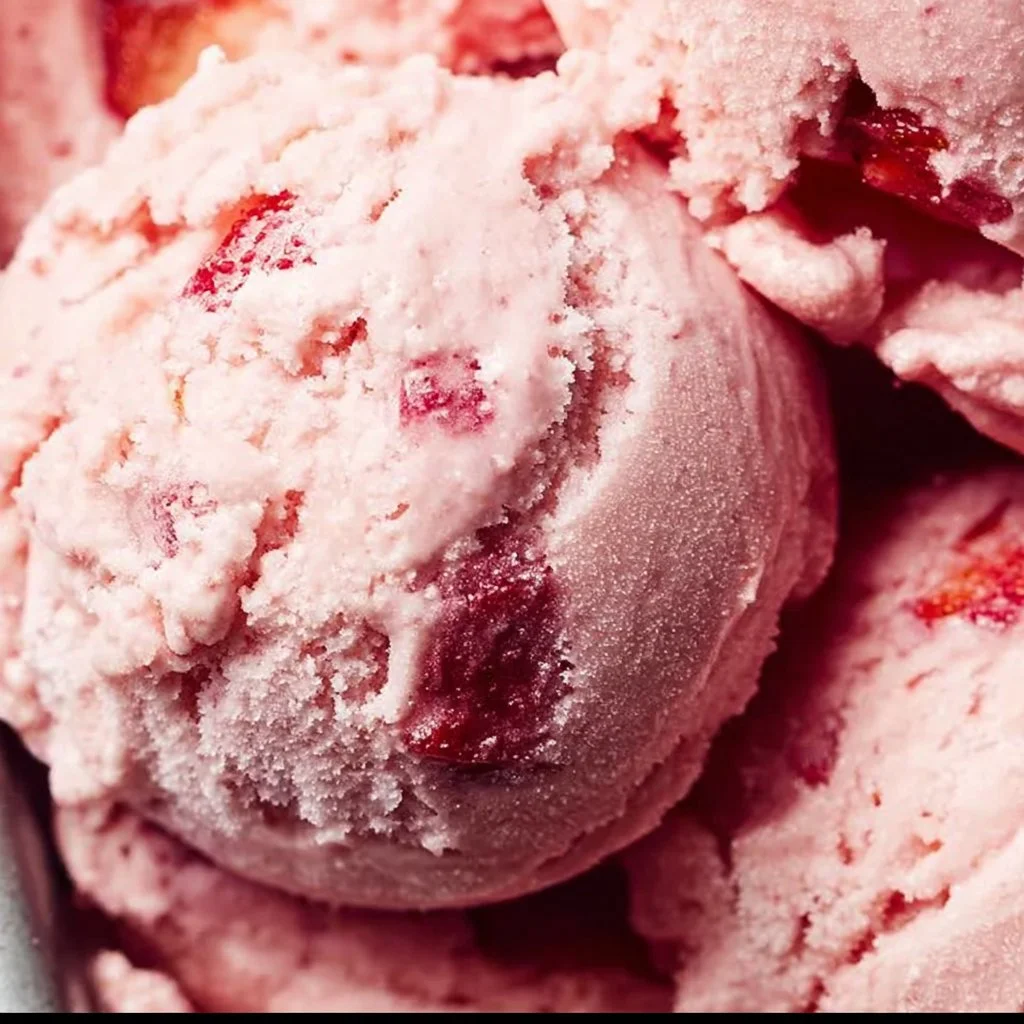
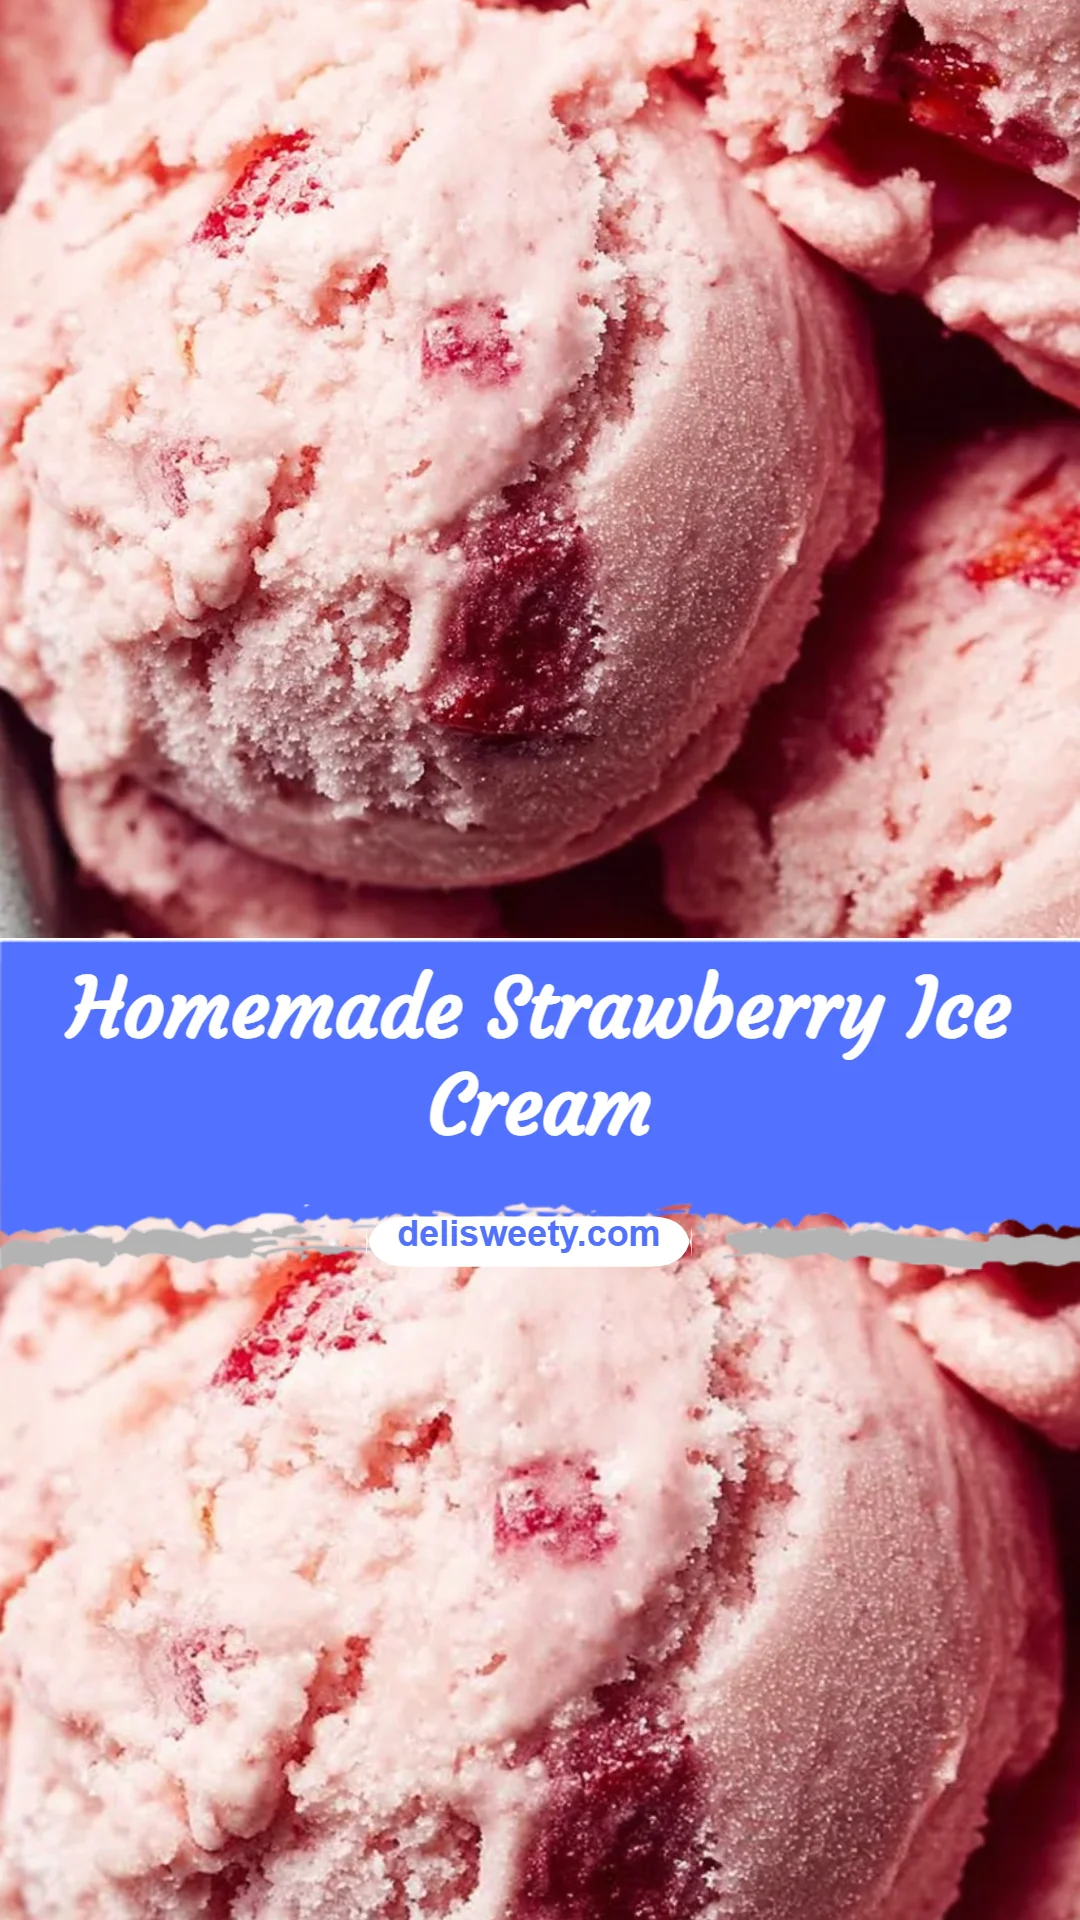
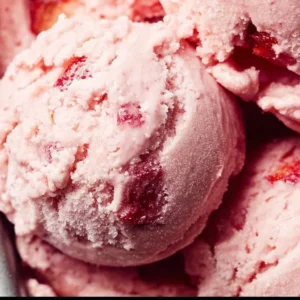
Homemade Strawberry Ice Cream
After a long day of school runs, homework battles, and a late work email, I know the last thing you want is a complicated dessert that takes forever and leaves a sink full of dishes. This Homemade Strawberry Ice Cream is one of those quick, forgiving recipes I turn to when the kids need a treat and I need something simple that still feels special. It uses just fresh strawberries and a few pantry staples, is easy to make in advance, and the whole family usually agrees it’s a winner — even the picky eaters. If you want another strawberry dessert to pair with a casual family gathering, I sometimes serve it alongside a simple strawberry sheet cake I keep in my weeknight recipe rotation: strawberry sheet cake.
A Quick Look at This Homemade Strawberry Ice Cream Recipe
This Homemade Strawberry Ice Cream uses two ingredients everyone loves: ripe strawberries and creamy dairy for a familiar, comforting flavor. It’s fast to assemble, requires minimal gadgets (an ice cream maker or a simple no-churn tweak), and most of the work is hands-off while flavors develop. The recipe is make-ahead friendly, freezes well, and is easy to customize for kid-approved textures or adult-pleasing swirls. If you want reliable dessert with little fuss, this one delivers — and it’s simple enough that I feel confident making it on busy weeknights.
Ingredients You’ll Need for Homemade Strawberry Ice Cream
Essentials
- 2 cups fresh strawberries, hulled and chopped — choose ripe, fragrant berries for the best flavor. If the kids like chunks, keep them slightly larger; for a smoother texture, chop smaller.
- 1 cup heavy cream — this gives the ice cream its rich, creamy body.
- 1 cup whole milk — balances the cream so the mixture isn’t too heavy and freezes well.
- 3/4 cup sugar — split into 1/4 cup for macerating the berries and 1/2 cup for the custard base (exact sweetness can be adjusted).
- 1 teaspoon vanilla extract — brightens the strawberry flavor and rounds the sweetness.
These are common grocery items you can find year-round. I keep them on hand so I can pull this together quickly after school or on a slow Sunday.
Optional Add-ons
- Lemon zest or a splash (1/2 tsp) of fresh lemon juice — adds brightness and makes the strawberry flavor pop.
- A pinch of salt — enhances sweetness and depth.
- Mini chocolate chips or chopped dark chocolate — for kids who like a little crunch.
- Fresh mashed banana mixed with strawberries — for softer sweetness and a creamier texture.
- A handful of crushed graham crackers or shortbread for a simple crumble ribbon.
- A tablespoon of fruit jam (strawberry or raspberry) swirled in during the last minutes of churning for concentrated fruit pockets.
These options let you tailor the ice cream to your family’s tastes without complicating the process.
Substitutions and Shortcuts
- No ice cream maker? No problem — there are fast no-churn workarounds (or try a quick freezer-paddle method). If you prefer a no-bake strawberry-bar style dessert, I sometimes switch gears and make a no-churn strawberry icebox cake: no-bake strawberry icebox cake. It’s a great shortcut when I don’t want to fuss with churning.
- Use half-and-half instead of separate heavy cream and whole milk if that’s what you have — the texture will be slightly lighter but still delicious.
- If fresh strawberries aren’t in season, use thawed frozen strawberries (about 1 1/2 cups, drained slightly). Frozen berries work well when you mash them a bit first.
- Swap granulated sugar for superfine sugar for faster dissolving, or use simple syrup (equal parts sugar and warm water cooled) if you want to reduce granule trouble.
- To save time, mash strawberries right in the bowl you’ll combine with the cream mixture — fewer dishes and faster cleanup.
- For a lower-sugar family option, reduce the sugar by 1/4 cup and add a touch of honey or maple to taste, but remember texture and freeze point change slightly with less sugar.
These swaps keep the recipe flexible for what’s in your pantry and how much time you have.
How to Make Homemade Strawberry Ice Cream Step-by-Step
I keep my instructions short and practical so you can get dessert ready without stress. The steps below are designed to save time and dishes, and to reassure you that precision isn’t required — a forgiving recipe is a busy-family miracle.
- Macerate the strawberries (10 minutes active, 30 minutes resting)
- Toss the chopped strawberries with 1/4 cup sugar in a medium bowl. Let them sit at room temperature for about 30 minutes so they release their juices.
- Tip to save time: stir once after 10 minutes to encourage juice; you can shorten the rest time to 20 minutes if pressed.
- Mix the cream base (5 minutes)
- In a separate bowl, whisk together 1 cup heavy cream, 1 cup whole milk, the remaining 1/2 cup sugar, and 1 teaspoon vanilla extract until the sugar mostly dissolves.
- Quick trick: use a jar with a tight lid and shake vigorously for 30–45 seconds to dissolve sugar and cut down on dishes.
- Combine berry juices with the cream (1–2 minutes)
- Pour the strawberry mixture (berries plus the released juices) into the cream mixture and stir gently to combine. If you like chunks, add whole; for a smoother texture, lightly mash berries with a fork or pulse in a quick blender.
- Chill if possible (optional, 15–30 minutes)
- If you have a few extra minutes, chill the combined mixture in the fridge to improve texture and speed up churning. Not required — it still works without this step.
- Churn (20–30 minutes)
- Pour the mixture into your ice cream maker and churn according to the manufacturer’s instructions until it’s the consistency of soft serve.
- If you don’t have an ice cream maker: pour the mixture into a shallow, freezer-safe container and freeze. Every 20–30 minutes, stir vigorously with a fork (or whisk) to break up ice crystals until the texture is creamy (3–4 cycles). This manual method takes a bit more hands-on time but works in a pinch.
- Firm up in the freezer (at least 4 hours)
- Transfer churned ice cream to a lidded container and freeze until firm, at least 4 hours or overnight if convenient.
- Quick firm-up: place the container at the front of the freezer where it’s coldest for faster setting. Leaving a thin layer of plastic wrap on the surface before sealing the lid reduces ice crystals.
- Serve and keep it simple
- Let the container sit at room temperature for 2–5 minutes before scooping for easier serving.
- If you want immediate soft-serve, enjoy it straight from the ice cream maker.
Notes on timing and precision:
- I rarely stress about measuring sugar to the gram — taste the strawberries and adjust a bit. Slight variations won’t ruin the batch.
- If your family prefers very smooth ice cream, blend the whole mixture briefly before chilling or churning.
- Clean-up tip: use one-bowl approaches where possible (macerate in the bowl you’ll mix the cream in) to cut down on dishes. I often reuse the maceration bowl for whisking to save time.
Common Mistakes to Avoid
I’ve learned the hard way that a few small mistakes can slow you down or create unnecessary stress. The tips below help you avoid wasted time and unhappy tummies so dessert time stays smooth.
Mistake 1: Letting the mixture freeze too hard before serving
If you pop the container straight from the freezer to the table, scooping becomes a workout and kids get impatient. Let the ice cream sit at room temperature for 2–5 minutes before scooping, or use a warm metal spoon dipped in hot water to ease scooping.
Mistake 2: Skipping maceration or using bland berries
Using underripe or un-macerated strawberries leaves the flavor flat. The short maceration step pulls out juices and concentrates flavor without extra work. If your berries are bland, add a teaspoon of lemon juice and a bit more sugar to boost taste.
Mistake 3: Over-mixing or over-churning
More churning doesn’t equal better texture — it can make the ice cream icy or too dense. Follow your ice cream maker’s guidelines; stop when it’s soft-serve thick and then firm it up in the freezer. For manual freeze-and-stir methods, aim for regular but moderate beating intervals to avoid hard ice crystals.
Serving Suggestions for Homemade Strawberry Ice Cream
This ice cream is versatile — I keep serving simple so the family can enjoy it without extra prep or complicated sides.
Kid-Friendly Sides
Offer simple, no-prep sides like graham crackers, store-bought sugar cookies, or animal crackers for dipping. Fresh fruit slices (bananas, kiwi) or a small bowl of sprinkles make it fun without extra cooking.
Easy Add-Ons
Keep a small toppings station: chopped chocolate, toasted nuts (if no allergies), or a drizzle of warmed fruit jam. These add-ons let each family member customize a scoop in seconds.
Minimal Prep Toppings
A quick dusting of crushed pretzels, a few torn mint leaves, or a spoonful of your leftover macerated strawberries keeps things fresh with almost no extra work. I often just stir a few extra berries into the top layer before freezing for built-in fruit pockets.
Conclusion
I make this Homemade Strawberry Ice Cream because it saves time, is forgiving of kitchen shortcuts, and still tastes like a treat the whole family asks for. It’s flexible for picky eaters — keep berries chunky, smooth, or add a chocolate swirl depending on who’s at the table — and it fits into real-life schedules whether you churn or choose a no-churn shortcut. When I want more strawberry ideas that are family-friendly, I also look to other simple recipes for inspiration like this cozy take on strawberry desserts from Homemade Strawberry Ice Cream – A Latte Food and another easy version to compare textures at Easy Strawberry Ice Cream – Like Mother, Like Daughter. Try it once — then tweak little things for your family’s favorites and make it a regular after-school win.
FAQs About Homemade Strawberry Ice Cream
I usually count about 10 minutes of active prep (chopping and whisking), 30 minutes for the strawberries to macerate, 20–30 minutes to churn, and at least 4 hours to firm in the freezer. If you use a manual freeze-and-stir method, plan for intermittent stirring over a few hours. For busy nights, I’ll churn and then freeze overnight so it’s ready when dessert time hits.
Yes — store it in an airtight container for up to 2 weeks for best texture and flavor. To avoid freezer burn, press a piece of plastic wrap directly on the surface before sealing the lid. If it’s been in the freezer longer than that, it’s usually still safe but may develop ice crystals and lose peak flavor.
I keep it kid-friendly by leaving small fruit chunks in for texture, adding mini chocolate chips or sprinkles, or stirring in a bit of marshmallow fluff for extra softness. Reduce sugar slightly if your kids prefer less sweet options, and consider using half mashed banana to naturally sweeten it for younger eaters.
Absolutely. For a no-churn approach, combine everything as directed, pour into a shallow freezer-safe pan, and stir vigorously every 20–30 minutes to break up ice crystals until creamy. It takes more hands-on intermittent time but avoids extra equipment. For a different no-bake dessert with similar convenience, I sometimes make a no-bake strawberry icebox cake instead.
It can be, if you use a well-insulated cooler or freezer pack. For school lunches, I recommend packing frozen scoops inside a small insulated container with a cold pack and serving within a few hours. Otherwise, for easy transport, freeze in individual portions in small, airtight containers and pack them last so they stay cold until dessert time.
Homemade Strawberry Ice Cream
Ingredients
Essentials
- 2 cups fresh strawberries, hulled and chopped Choose ripe, fragrant berries for the best flavor.
- 1 cup heavy cream Provides rich, creamy body.
- 1 cup whole milk Balances the cream and ensures good freezing.
- 3/4 cup sugar Split into 1/4 cup for macerating fruit and 1/2 cup for the base.
- 1 teaspoon vanilla extract Brightens flavor.
Optional Add-ons
- 1/2 teaspoon fresh lemon juice Adds brightness.
- a pinch of salt Enhances sweetness.
- mini chocolate chips or chopped dark chocolate For a crunchy texture.
- fresh mashed banana mixed with strawberries For creamier sweetness.
- crushed graham crackers or shortbread For a crumble ribbon.
- 1 tablespoon fruit jam (strawberry or raspberry) Swirled in for fruit pockets.
Instructions
Macerate the strawberries
- Toss the chopped strawberries with 1/4 cup sugar in a medium bowl and let sit for about 30 minutes.
- Stir once after 10 minutes to encourage juice extraction.
Mix the cream base
- In a separate bowl, whisk together the heavy cream, whole milk, remaining sugar, and vanilla extract until mostly dissolved.
- Alternatively, use a jar with a tight lid and shake vigorously to dissolve sugar.
Combine berry juices with cream
- Pour the strawberry mixture into the cream and stir gently to combine.
Chill the mixture
- Chill the mixture in the fridge for 15-30 minutes if you have time, to improve texture.
Churn
- Pour the mixture into your ice cream maker and churn until soft-serve consistency.
Firm up in the freezer
- Transfer the churned ice cream to a lidded container and freeze until firm, at least 4 hours.
Serve
- Let the ice cream sit at room temperature for 2-5 minutes before scooping.