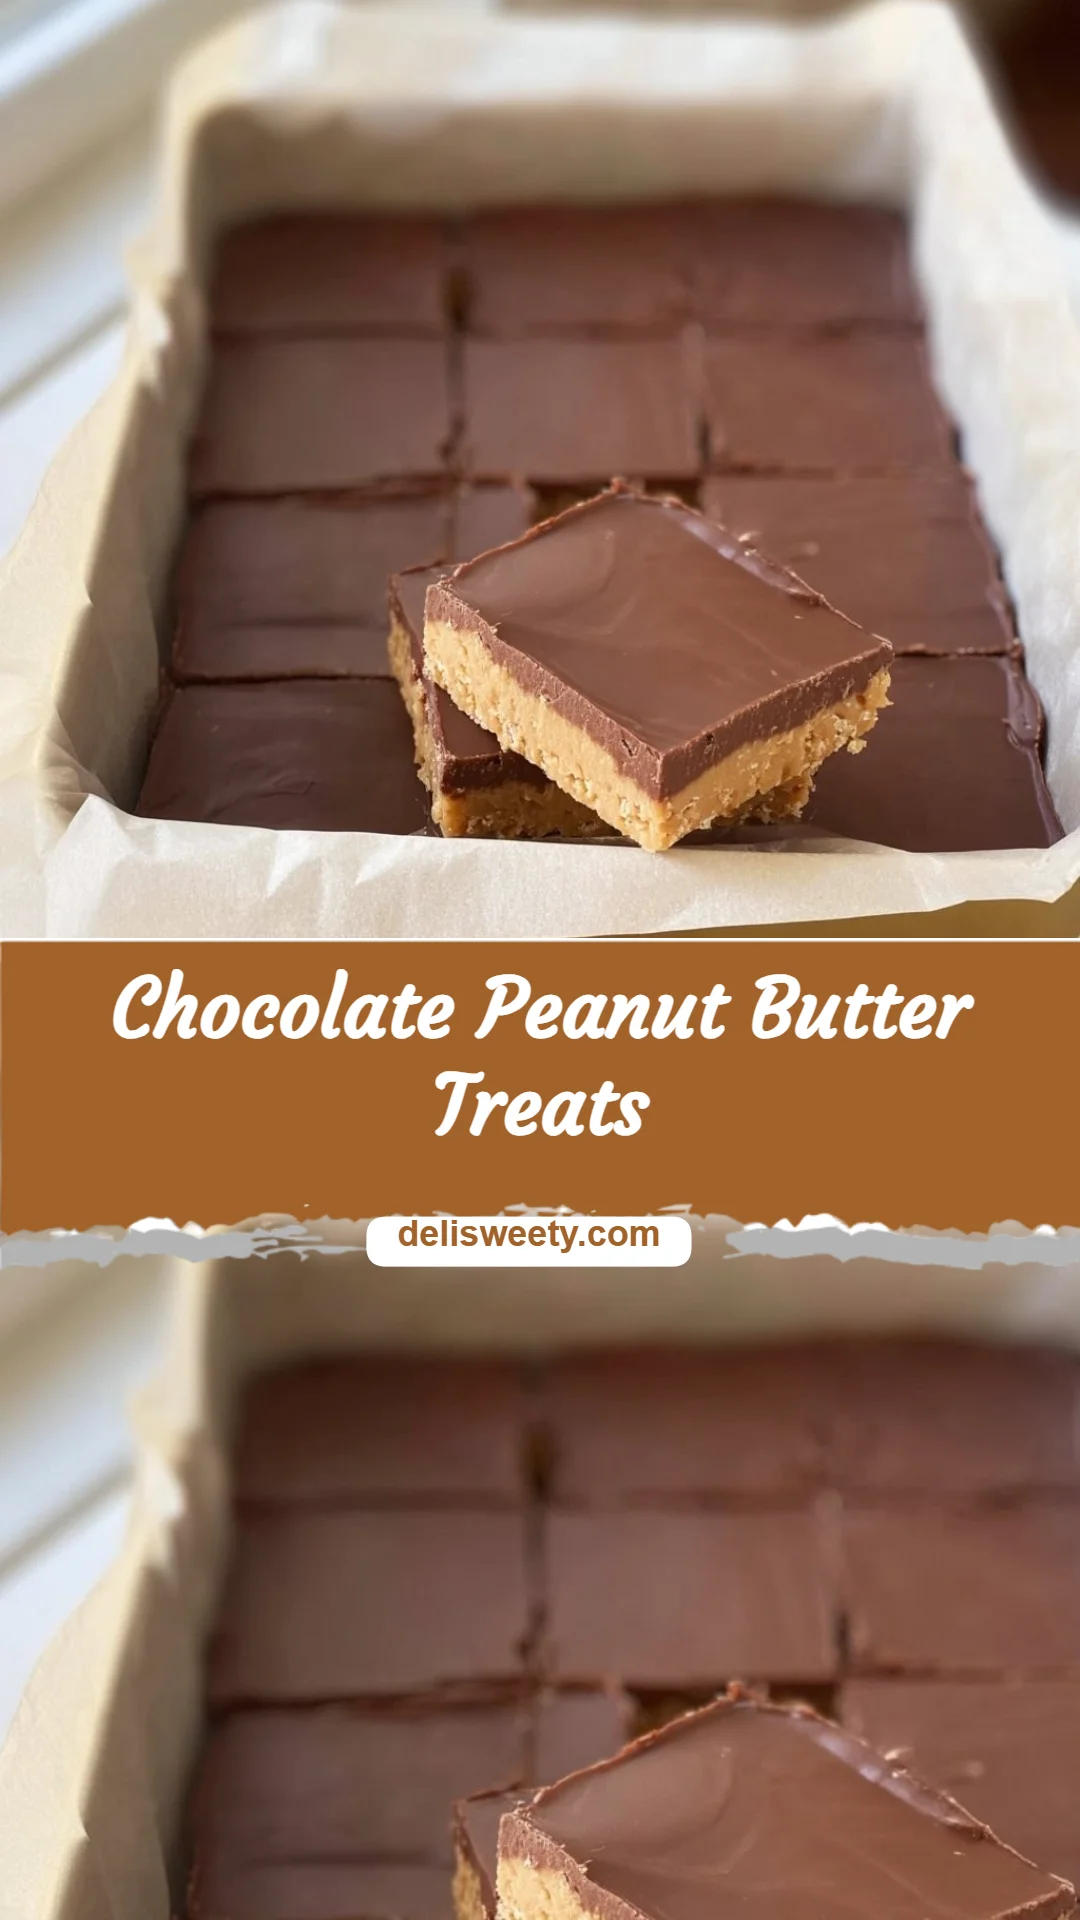
Chocolate Peanut Butter Treats
After a long day of carpools, homework help, and last-minute work emails, I know the relief of a recipe that comes together in minutes and still feels like a treat. When weeknight energy is low and appetites are high, I reach for quick, forgiving desserts like these Chocolate Peanut Butter Treats — and sometimes I pair them with other easy family sweets I love, like my favorite easy Valentine treats for a themed snack. These bites are fast, minimal-fuss, and picky-eater approved.
A Quick Look at This Chocolate Peanut Butter Treats Recipe
These Chocolate Peanut Butter Treats are built from two family favorites: peanut butter and cocoa. They take about 15–20 minutes from start to finish with mostly hands-off chilling time, so they’re perfect after a busy day. Cleanup is minimal — one bowl and a lined pan — and the recipe is forgiving if you need to tweak sweetness or swap nut butters. Make them as a quick dessert, a lunchbox surprise, or a post-practice snack; they reliably hit that sweet, chocolatey, peanut-butter comfort spot without complicated steps.
Ingredients You’ll Need for Chocolate Peanut Butter Treats
Below I break the ingredient list into essentials, optional add-ons, and smart substitutions so you can shop quickly or make these with what’s already in your pantry.
Essentials
- 1 cup natural peanut butter (or any nut/seed butter)
- I reach for natural peanut butter for a smooth, slightly salty base. If your kids prefer a sweeter, creamier jarred peanut butter, that works too.
- 1/2 cup maple syrup or agave nectar
- Maple syrup gives a warm, natural sweetness while agave provides a neutral sweetness and mixes easily. Either sweetener keeps the treats naturally sweetened and gluten-free.
- 1/2 cup cocoa powder
- Unsweetened cocoa powder gives that rich chocolate flavor without added sugar. Dutch-processed or natural cocoa both work; if you use Dutch-processed, expect a milder acidity.
- 1/4 cup coconut oil, melted
- Coconut oil helps the bars set in the fridge and adds a silky mouthfeel. Use refined if you don’t want a coconut flavor.
- 1 tsp vanilla extract
- Vanilla rounds out the flavors and makes the chocolate taste fuller.
Optional Add-ons
- A pinch of flaky sea salt on top
- A light sprinkle brings out both chocolate and peanut butter flavors and makes them feel a bit fancier.
- 1/4 cup chopped peanuts or roasted seeds
- For crunch, mix some in or press on top before chilling.
- Mini chocolate chips
- Toss a handful on top after spreading the mixture for a melty-looking finish when slightly softened.
- 1–2 tbsp powdered milk or protein powder
- To slightly thicken and add a protein bump for active kids.
- Shredded coconut or crushed graham crackers
- Pressed on top or layered in for texture variety.
Substitutions and Shortcuts
- Swap nut/seed butter
- Use almond butter, sunflower seed butter (great for nut-free classrooms), or cashew butter. Texture and flavor shift slightly, but the method stays the same.
- Use store-bought chocolate-hazelnut spread (shortcut)
- If you’re really short on time, substitute half the peanut butter with chocolate-hazelnut spread for an ultra-chocolatey shortcut — just reduce added sweetener slightly.
- Sweetener swaps
- Honey can replace maple syrup if you don’t need a strictly vegan option. For less sweet, reduce the syrup by 1–2 tablespoons.
- Coconut oil alternatives
- Solid vegetable shortening or a neutral oil won’t set the same in the fridge, so they’re not ideal — use coconut oil for best texture. If you don’t have it, chill a bit longer and expect a softer set.
- Ready-made fudgy bar mix (time saver)
- If you find a no-bake bar mix at the store, you can fold a jarred nut butter into it for a fast, family-friendly spin — I sometimes use that trick when evenings are slammed and we still need a homemade feel.
- For a cookie-inspired twist
- I sometimes fold in crushed cookies for texture — it’s a fun riff that echoes other family favorites like my browned-butter cookie recipes; try a little crumble of browned butter toffee chocolate chip cookies for a playful mash-up.
How to Make Chocolate Peanut Butter Treats Step-by-Step
I keep these directions short and practical so you can get them done between homework and bath time.
- Line a small square or rectangular baking dish
- I use a 8×8-inch pan for easy slicing. Line it with parchment paper or plastic wrap, leaving an overhang so you can lift the set block out without extra dishes.
- Combine ingredients in one bowl
- Add the peanut butter, maple syrup (or agave), cocoa powder, melted coconut oil, and vanilla to a medium mixing bowl. No need to heat anything first — room temperature peanut butter mixes easily.
- Stir until smooth
- Use a spatula or wooden spoon and mix until you have a smooth, glossy mixture. It’s okay if it’s slightly lumpy from thicker nut butter; the fridge evens it out.
- Pour and spread into the lined pan
- Spoon the mixture into the prepared dish and smooth the top with your spatula. If you’re adding toppings (nuts, chips, salt), press them in lightly now.
- Chill until set
- Refrigerate for about 15 minutes, or until the bars are firm to the touch. If your fridge is crowded, leave them in 25–30 minutes — they’ll firm up fully.
- Lift out and cut
- Use the parchment overhang to lift the set block from the pan, place it on a cutting board, and slice into squares. Store in a covered container in the fridge.
Time-saving notes and reassurance:
- I often mix directly in a large measuring cup to reduce dishes, then pour straight into the pan.
- Measurements don’t have to be precise. If you’re a tablespoon off on coconut oil or a little less sweetener, the treats still come out tasty.
- If you need bars immediately, pop the pan in the freezer for 8–10 minutes — they’ll firm up quickly but don’t forget them or they’ll freeze too hard.
Common Mistakes to Avoid
One short paragraph to prevent stress and wasted time: I’ve seen the simple missteps that stretch prep time or lead to uneven texture — avoid these to keep the process breezy and the treats family-approved.
Mistake 1: Using thick, cold peanut butter straight from the fridge
Cold peanut butter is hard to mix and slows you down. If your jar is chilled, warm it a bit in the microwave for 10–15 seconds or let it sit at room temperature for a few minutes so it’s easy to stir.
Mistake 2: Overfilling the pan or skipping the lining
Not lining the pan makes cleanup harder and cutting messier. Use parchment or plastic wrap with an overhang so you can lift the bars out cleanly. Also, don’t overfill the pan — leave a small rim so the thickness is even for quick setting.
Mistake 3: Skipping the chill time or cutting too soon
Cutting before the mixture sets creates sticky, misshapen pieces and extra cleanup. Give the mixture the full 15–30 minutes in the fridge (or a short stint in the freezer) so it slices cleanly and looks polished when served.
Serving Suggestions for Chocolate Peanut Butter Treats
A short paragraph: Serve these any time you need a quick dessert or snack that feels special but requires almost no prep. Here are three easy ways I serve them that keep busy families happy.
###Kid-friendly sides
Pair a square with fresh fruit slices — banana coins or apple wedges complement the chocolate-peanut flavor and add freshness. For younger kids, a yogurt cup on the side balances sweetness and keeps portions reasonable.
###Easy add-ons
Top bars with a light sprinkle of crushed pretzels, a few chocolate chips, or a dollop of peanut butter for a café-style finish without extra cooking. These small touches make simple treats feel upgraded for weekend guests.
###Minimal prep plating
Serve a few squares on a sheet tray lined with parchment for an easy grab-and-go snack table during after-school activities, or place a couple squares wrapped in wax paper into lunchboxes for a special surprise.
Conclusion
I keep these Chocolate Peanut Butter Treats in rotation because they save time, are flexible for picky eaters, and reliably work into the chaos of real family life; they’re one of my go-to quick desserts that feel homemade without fuss. If you want a slightly different no-bake version to compare, I sometimes look to trusted recipes like No-Bake Chocolate Peanut Butter Bars for flavor ideas and presentation tips.
FAQs About Chocolate Peanut Butter Treats
I can usually have these ready to chill in under 10 minutes, and they set in the fridge in about 15–30 minutes depending on how cold your fridge is. Total time is typically 25–40 minutes including chilling.
Store them in an airtight container in the refrigerator for up to 1–2 weeks. If you want to keep them longer, freeze individual squares wrapped in parchment and placed in a freezer-safe container for up to 2 months; thaw in the fridge overnight.
Yes — use sunflower seed butter or soy nut butter instead of peanut butter to make these nut-free. The texture and flavor will be slightly different, but kids often enjoy the taste just the same.
Reduce the maple syrup or agave by 1–2 tablespoons or swap to a less sweet peanut butter. Adding a pinch of salt can help reduce the perceived sweetness without losing flavor balance.
Absolutely. Double the recipe, press into a larger pan, chill until set, then cut and freeze squares in a single layer before stacking with parchment between layers. They thaw quickly at room temperature or in the fridge and are great for busy weeknight treats.
Chocolate Peanut Butter Treats
Ingredients
Essentials
- 1 cup natural peanut butter (or any nut/seed butter) For a smooth, slightly salty base, use natural peanut butter.
- 1/2 cup maple syrup or agave nectar Maple syrup gives a warm sweetness while agave provides a neutral sweetness.
- 1/2 cup cocoa powder Unsweetened cocoa gives a rich chocolate flavor.
- 1/4 cup coconut oil, melted Helps the bars set and adds a silky texture.
- 1 tsp vanilla extract Rounds out the flavors.
Optional Add-ons
- 1 pinch flaky sea salt on top Enhances chocolate and peanut butter flavors.
- 1/4 cup chopped peanuts or roasted seeds For added crunch.
- 1 handful mini chocolate chips For a melty finish.
- 1–2 tbsp powdered milk or protein powder To thicken and add protein.
- 1/4 cup shredded coconut or crushed graham crackers For texture variety.
Instructions
Preparation
- Line a small square or rectangular baking dish with parchment paper or plastic wrap, leaving an overhang.
- In a medium mixing bowl, combine peanut butter, maple syrup (or agave), cocoa powder, melted coconut oil, and vanilla. Stir until smooth.
- Pour the mixture into the prepared baking dish and smooth the top with a spatula. Optionally, add toppings and press them in.
- Chill in the refrigerator for about 15-30 minutes until firm.
- Use the parchment overhang to lift the set mixture out and cut into squares.