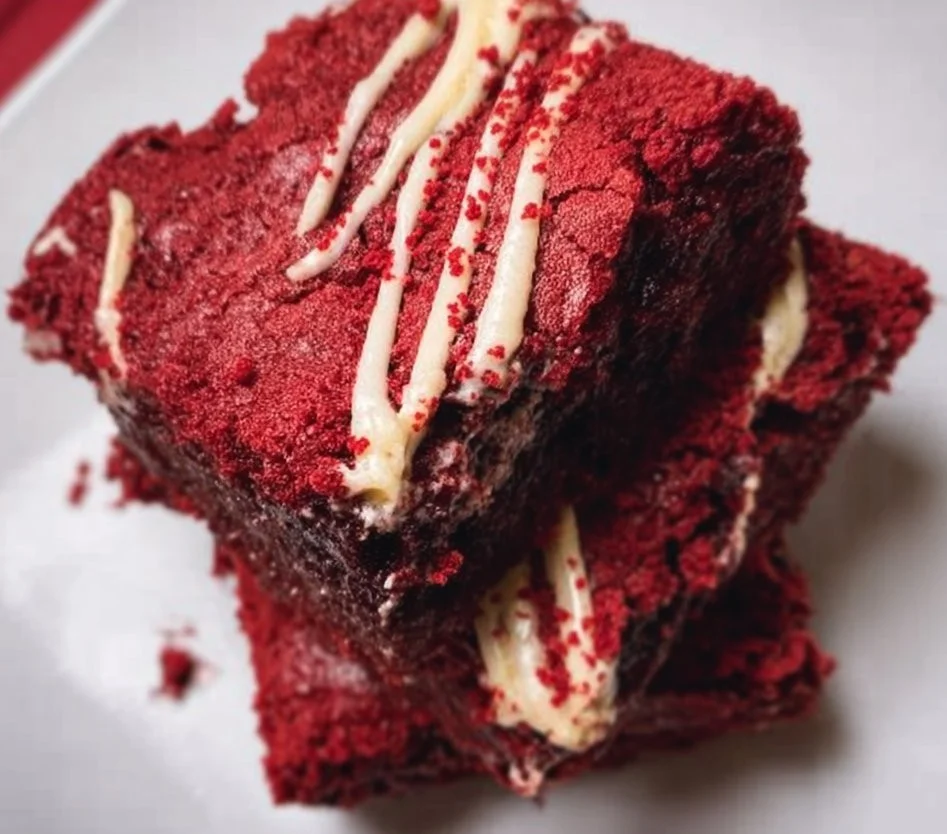
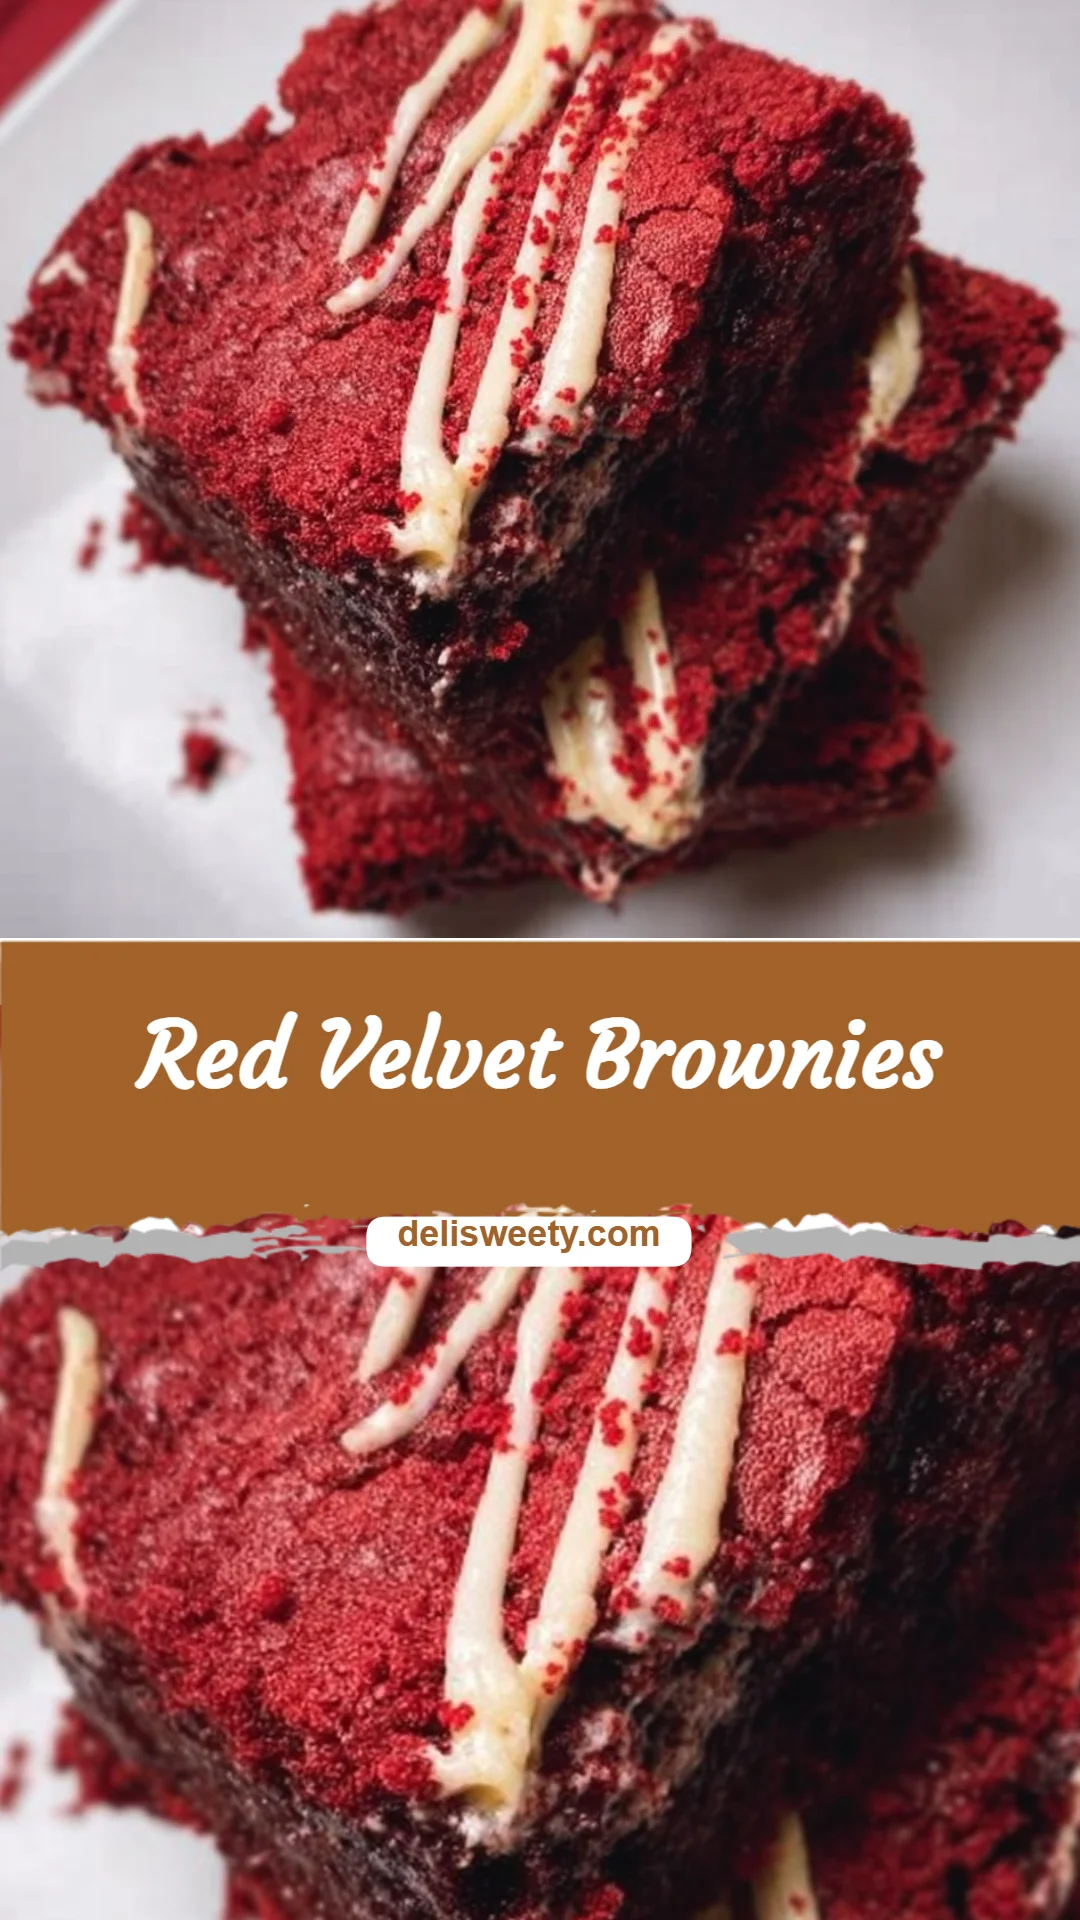
Red Velvet Brownies
Do you ever get a late-night craving that feels equal parts nostalgic and a little dramatic—like you need something chocolatey, a little tangy, and definitely red? I’ve had nights where I raid the pantry and somehow end up with a tray of warm brownies that disappear faster than I can wash the pan. If you’re new to baking, the idea of making “red” anything can feel intimidating—will the color be off, will it taste right, will my kitchen turn into a crime scene? I promise this Red Velvet Brownies recipe is far kinder than it looks: straightforward steps, forgiving batter, and a deliciously cozy result. And if you like quick, fuss-free desserts, you might enjoy my take on 5-Ingredient Lemon Tiramisu as well.
A Quick Look at This Red Velvet Brownies Recipe
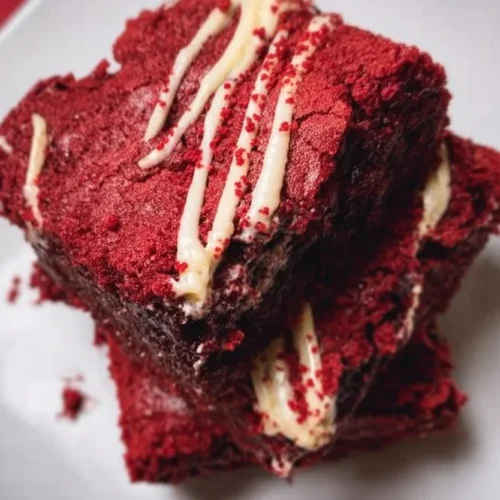
Red Velvet Brownies are a chocolate-forward treat with a touch of buttermilk-style tang (courtesy of the vinegar) and a beautiful red hue from gel food coloring. The two main ingredients that make this recipe special are melted butter and chopped semi-sweet chocolate for richness, plus unsweetened cocoa powder for that subtle chocolate depth. This recipe is comforting and convenient—baked in one pan with easy-to-follow steps, making it perfect for beginners or busy home cooks. It’s worth scrolling down because these brownies are customizable (think white chocolate chips or toasted nuts) and freeze well, so you can bake once and enjoy treats for days.
Ingredients You’ll Need for Red Velvet Brownies
Essentials
- 3/4 cup unsalted butter, melted
- 2 oz semi-sweet chocolate bar, chopped (about one small bar)
- 1 1/4 cup granulated sugar
- 2 large eggs, at room temperature
- 2 teaspoon vanilla extract
- 1 teaspoon white vinegar
- 1/2 tablespoon red gel food coloring (adjust for color intensity)
- 2 tablespoons unsweetened cocoa powder, sifted
- 1 1/4 cup all-purpose flour, spooned and leveled
- 1/4 teaspoon fine salt
These essentials form the base of the brownies: butter and chocolate give a fudgy texture, cocoa adds chocolate depth without overpowering the red, and the vinegar/vanilla combo brightens the flavor in that classic red velvet way.
Optional add-ons
- 1/2 cup white chocolate chips — a classic pairing that melts into pockets of sweet creaminess.
- Cream cheese — for a swirled topping or a quick frosting: beat 8 oz cream cheese with 1/2 cup powdered sugar and a splash of vanilla.
- Toasted pecans or hazelnuts — give crunch and toasty flavor; chop coarsely.
- Flaky sea salt — sprinkle a little on top after baking to balance sweetness.
- Espresso powder — a small pinch enhances chocolate flavor without making it taste like coffee.
- Freeze-dried raspberry crumbs — for color contrast and a bright fruit note.
- Cocoa nibs — add crunchy, bittersweet texture if you want something less sweet than chocolate chips.
Use these sparingly or mix and match — they’re there to help you make the brownies your own.
Substitutions and shortcuts
- Butter: You can use salted butter if that’s what you have; reduce added salt to a pinch. Substituting oil will make the texture slightly different (more cake-like), so I recommend sticking to butter for the fudgy result.
- Semi-sweet chocolate: If you only have chocolate chips, they’ll work fine. Dark chocolate will give a deeper, slightly less sweet flavor.
- Red gel food coloring: Gel coloring is concentrated and gives a vivid red without altering batter consistency. If you only have liquid food coloring, you’ll need a lot more—consider using a touch of beet juice for a natural tint, but it will affect flavor.
- Flour: For gluten-free options, use a 1:1 gluten-free baking flour blend and don’t overmix. Texture will be slightly different.
- Baking pan: This recipe is written for an 8×8-inch pan. If you use a 9×9-inch pan, the bake time will be a bit shorter—start checking at 25 minutes. If you want deeper bars, use a smaller pan and add time.
- Sugar: Granulated sugar is recommended for the right texture. You can replace half with brown sugar for a hint of caramel flavor, but it will darken the color.
- Mixer: No stand mixer needed—this is a mostly one-bowl recipe, so you can save time on cleanup.
How to Make Red Velvet Brownies Step-by-Step
I like to keep my station organized before I start: parchment in the pan, ingredients measured, and the oven preheating. That small prep step saves a lot of stress mid-bake.
Preheat and prep the pan
Preheat your oven to 350°F (175°C). Line an 8×8-inch baking pan with parchment paper, leaving an overhang on two opposite sides to lift the brownies out when they’re cool. Lightly grease the parchment with a bit of butter or nonstick spray so the parchment lays flat.Melt the butter and chocolate
Place the 3/4 cup melted unsalted butter (if it isn’t already melted, melt it gently in the microwave or on the stove) and the 2 oz chopped semi-sweet chocolate in a microwave-safe bowl. Heat in 30-second bursts, stirring between each burst so the chocolate melts evenly and doesn’t scorch. Once smooth and glossy, let the mixture cool just slightly—warm is fine, but you don’t want it so hot that it cooks the eggs.Add the sugar and eggs
Stir the 1 1/4 cups granulated sugar into the melted chocolate-butter mixture until it’s evenly mixed. The sugar helps give the brownies their glossy crust. Add the 2 large eggs one at a time, beating well after each addition. This is important: adding eggs slowly helps build a silky, cohesive batter. If you whisk too vigorously, you’ll add air, which leads to a cakier texture—gentle but thorough mixing is the goal.Flavor and color
Stir in 2 teaspoon vanilla extract, 1 teaspoon white vinegar, and 1/2 tablespoon red gel food coloring. The vinegar is a small, classic touch that mimics the tang of buttermilk and reacts subtly with the cocoa to boost the red hue. Taste the batter lightly (a tiny spoonful) to check flavor balance—remember it will taste sweeter after baking.Combine dry ingredients
In another bowl, sift together the 2 tablespoons unsweetened cocoa powder, 1 1/4 cup all-purpose flour, and 1/4 teaspoon salt. Sifting removes lumps and ensures even distribution. Gradually fold the dry ingredients into the wet mixture using a spatula. Fold just until you no longer see streaks of flour; overmixing develops gluten and gives tougher brownies, which we want to avoid.Add any mix-ins
If you’re using 1/2 cup white chocolate chips, toasted nuts, cocoa nibs, or freeze-dried raspberry crumbs, gently fold them in now. Don’t overdo it with add-ins; too many will change the batter’s structure. I usually reserve a handful of chips or nuts to sprinkle on top before baking for a pretty finish.Bake
Pour the batter into the prepared pan and smooth the top with an offset spatula or the back of a spoon. Slide it into your preheated oven and bake for 30–35 minutes. Start checking at 28–30 minutes—insert a toothpick in the center. You’re aiming for a few moist crumbs clinging to the toothpick, not a completely clean pull. If it’s too wet, give it another 2–3 minutes and check again. Baking times can vary by oven.Cool and finish
Allow the brownies to cool completely in the pan on a wire rack. Cooling fully makes slicing cleaner. If you want a glossy drizzle, melt a little white chocolate and drizzle over the top, or swirl softened cream cheese before baking for a marbled look. Once cooled, lift the brownies out using the parchment overhang and slice into squares. Sprinkle flaky sea salt or freeze-dried raspberry crumbs if desired.
Tips as you go: keep your oven door closed during baking to prevent temperature dips, and use a light-colored pan for the most even bake.
Common Mistakes to Avoid
Baking can be forgiving, but a few common missteps will change the texture or appearance of your Red Velvet Brownies. Here are the things I see most often and how to dodge them.
Mistake 1: Overmixing the batter
When flour is combined with wet ingredients, gluten forms. If you overstir, the brownies can turn cakey or chewy instead of fudgy. Fold until the dry streaks disappear and stop. I use a gentle folding motion with a rubber spatula and resist the urge to “beat” the batter.
Mistake 2: Using too much liquid coloring
Liquid food coloring thins the batter and can make the texture gummy; too little leaves the color pale. Gel food coloring is concentrated and doesn’t alter the batter’s consistency. If you only have liquid color, add it sparingly and expect a lighter hue—boost with a tiny pinch of cocoa to deepen the tone without over-wetting.
Mistake 3: Skipping the cooling time
Cutting brownies while they’re still warm often leads to ragged edges and smearing, especially if you’ve swirled cream cheese or added a drizzle. Let them cool completely in the pan. If you’re impatient (I get it), chill them briefly to firm up for cleaner slices.
Serving Suggestions for Red Velvet Brownies
These brownies are flexible—serve them straight from the pan, dress them up for guests, or pack them for a picnic. Here are a few of my favorite ways to present them so they feel cozy and special.
Warm with ice cream
A warm brownie topped with a scoop of vanilla bean ice cream is classic comfort food. The contrast of warm and cold, fudgy and creamy, is hard to beat.
Swirled cream cheese squares
For a richer bite, swirl softened cream cheese into the batter before baking. Once cooled, these look like little works of art and add a tangy balance to the sweet white chocolate.
Fancy party platter
Arrange squares on a platter, dust with a little cocoa, scatter toasted pecans or hazelnuts, and top a few with freeze-dried raspberry crumbs for color. Add a small bowl of extra white chocolate chips for guests to sprinkle if they like.
Conclusion
I hope you’ll give these Red Velvet Brownies a try—they’re easier than they look, and you can customize them a dozen ways without stress. I love how forgiving the batter is and how comforting a pan of warm brownies feels on an ordinary afternoon. If you want inspiration from other cooks, I sometimes peek at recipes like Red Velvet Brownies – Eats Delightful for technique variations, or explore hybrids like Red Velvet Cheesecake Brownies – Pretty. Simple. Sweet. when I’m in the mood for something extra decadent. Now, grab your parchment and let’s bake something cozy.
FAQs About Red Velvet Brownies
Store Red Velvet Brownies in an airtight container at room temperature for up to 3 days. If you’ve added a cream cheese swirl or frosting, refrigerate them and bring to room temperature before serving for the best texture. For longer storage, wrap tightly and freeze for up to 2 months—thaw overnight in the fridge.
Yes, you can skip the red gel food coloring and still have tasty brownies—though they won’t have the classic red appearance. If you prefer natural color, a small amount of beet juice or powder can be used, but it may slightly alter flavor. For the brightest color with the least change to texture, I recommend gel food coloring.
This recipe is designed to be fudgy with a tender crumb. The melted butter and chocolate give richness, and the modest amount of flour keeps it dense and moist. Be careful not to overmix or overbake if you want them extra fudgy.
Absolutely. White chocolate chips, toasted nuts, cocoa nibs, or freeze-dried raspberry crumbs are all wonderful additions. Fold them in gently near the end of mixing so they’re evenly distributed without overworking the batter.
A glossy top often comes from properly creaming the sugar into the warm chocolate mixture and not overbaking. Make sure your sugar is well incorporated before adding eggs, and check for doneness early—remove the brownies when a toothpick shows a few moist crumbs rather than being completely clean.
Red Velvet Brownies
Ingredients
Essential Ingredients
- 3/4 cup unsalted butter, melted
- 2 oz semi-sweet chocolate bar, chopped (about one small bar)
- 1 1/4 cup granulated sugar
- 2 large eggs, at room temperature
- 2 teaspoon vanilla extract
- 1 teaspoon white vinegar
- 1/2 tablespoon red gel food coloring (adjust for color intensity)
- 2 tablespoons unsweetened cocoa powder, sifted
- 1 1/4 cup all-purpose flour, spooned and leveled
- 1/4 teaspoon fine salt
Optional Add-Ons
- 1/2 cup white chocolate chips for sweetness
- 8 oz cream cheese for a swirled topping
- 1/2 cup toasted pecans or hazelnuts, chopped for crunch
- to taste flaky sea salt for balancing sweetness
- a pinch espresso powder to enhance chocolate flavor
- to taste freeze-dried raspberry crumbs for color contrast
- to taste cocoa nibs for a bittersweet texture
Instructions
Preparation
- Preheat your oven to 350°F (175°C). Line an 8×8-inch baking pan with parchment paper, leaving an overhang on two opposite sides. Lightly grease the parchment.
- Melt the butter and chocolate in a microwave-safe bowl in 30-second bursts, stirring in between until smooth. Let the mixture cool slightly.
- Stir the granulated sugar into the melted chocolate-butter mixture until evenly mixed.
- Add the eggs one at a time, beating well after each addition.
- Mix in the vanilla extract, white vinegar, and red gel food coloring.
Combining Dry Ingredients
- In another bowl, sift together the cocoa powder, all-purpose flour, and salt.
- Gradually fold the dry ingredients into the wet mixture using a spatula until just combined.
Baking
- Gently fold in any optional mix-ins, if using.
- Pour the batter into the prepared pan and smooth the top.
- Bake for 30–35 minutes, checking at 28–30 minutes for doneness.
- Once baked, cool completely on a wire rack before slicing.