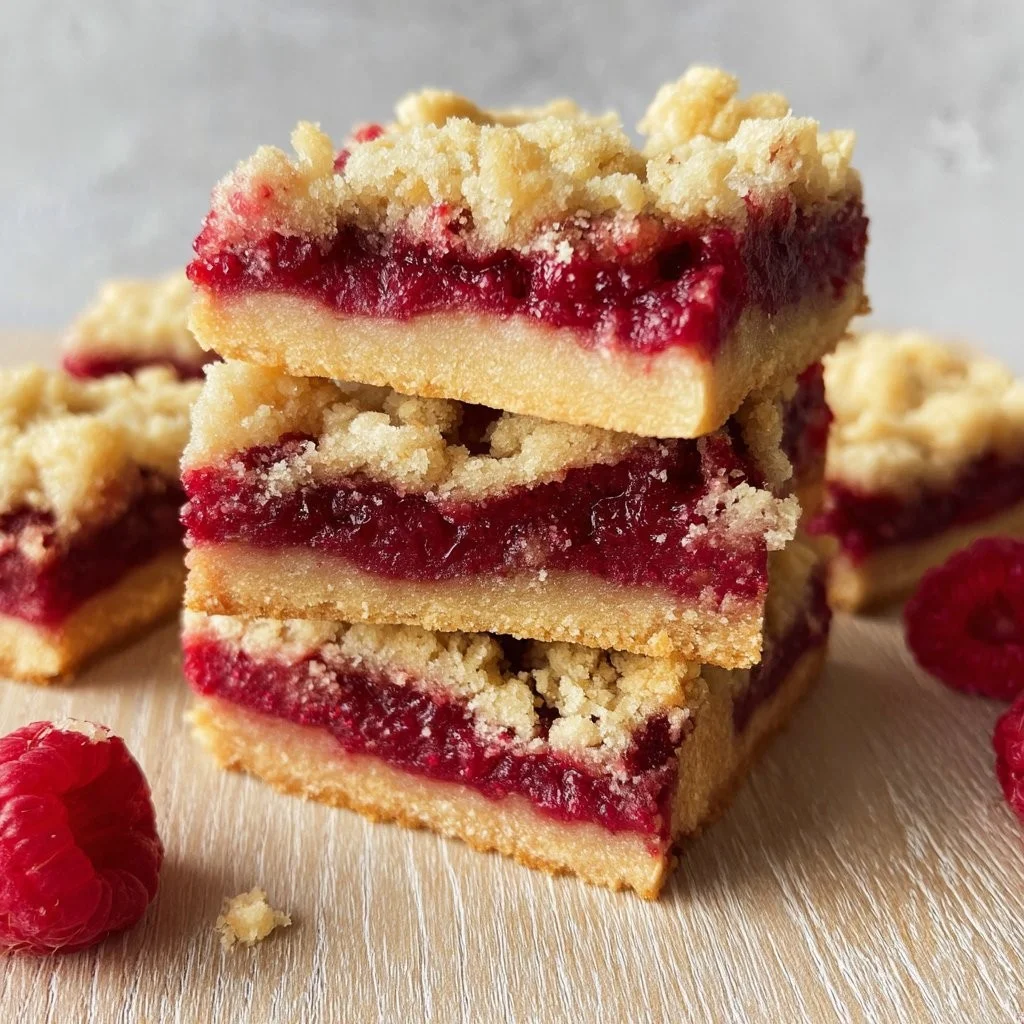
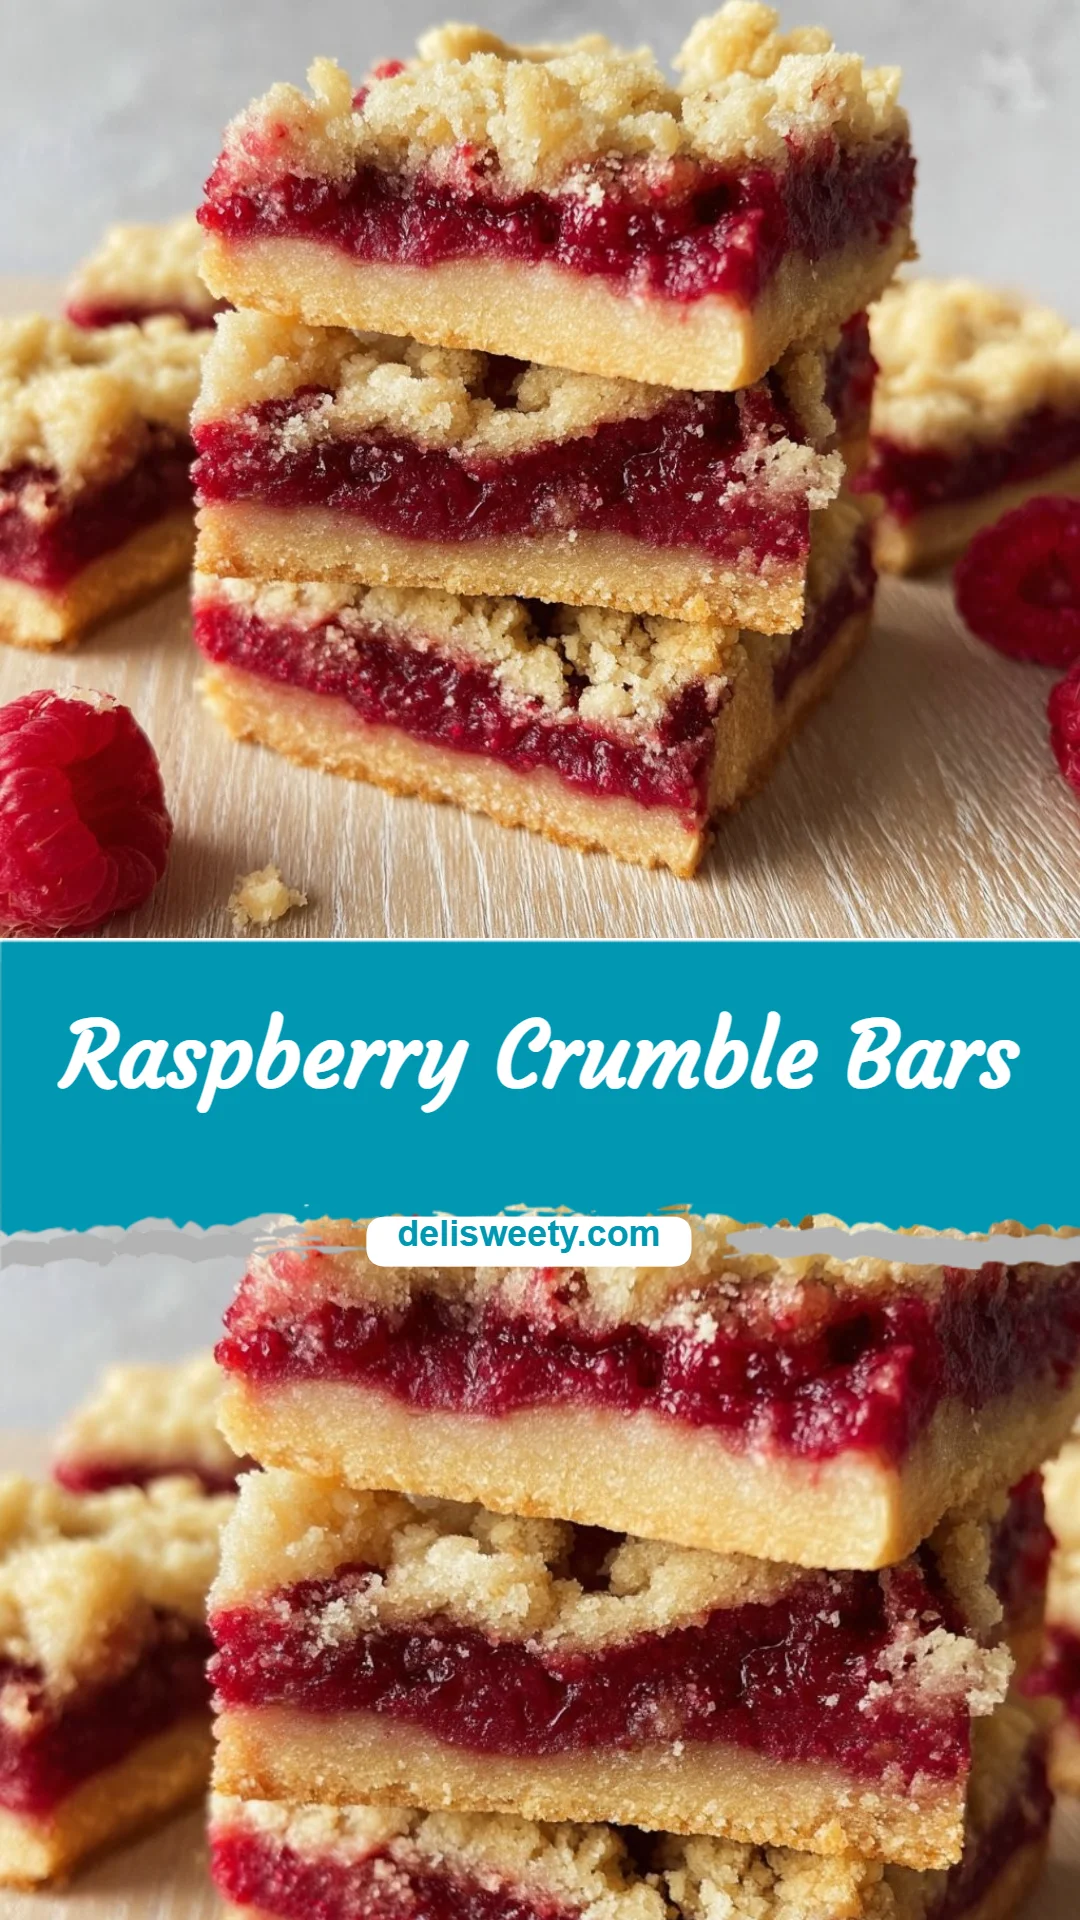
Raspberry Crumble Bars
After a long day of school runs, homework battles, and a late work call, I know the last thing you want is a complicated dessert that eats up your evening. You also want something your kids will actually eat — and that won’t take a chef’s precision. This Raspberry Crumble Bars recipe is fast, forgiving, and family-approved, so you can pull a cozy, comforting treat together without stress. If you like recipes that fit into a busy weeknight routine, I also share other easy sweets in my collection of cookies and bars recipes you can turn to when time is tight.
A Quick Look at This Raspberry Crumble Bars Recipe
This recipe combines buttery shortbread-style crumble with a sweet-tart raspberry filling — two flavors both kids and adults love. It uses pantry staples plus frozen raspberries, so it’s low-fuss and reliable. You can make the base and filling quickly, with the baking time doing most of the work. Minimal bowls and a single 8×8-inch pan mean fast cleanup and a dessert that’s great for weeknights or last-minute company. Try it once and you’ll see how easy it is to make again and again.
Ingredients You’ll Need for Raspberry Crumble Bars
Simple, common ingredients keep this recipe quick and approachable. Below I list what I use and why each item matters, plus sensible extras and swaps for busy families.
Essentials
- 225g salted butter, softened — gives the crumble base rich flavor; salted is fine for most households.
- 120g granulated sugar — sweetens the buttery base.
- 320g plain (all-purpose) flour — forms the crumbly shortbread texture.
- 230g frozen raspberries — quick and available year-round; no thawing required ahead of time.
- 150g raspberry jam — boosts sweetness and body in the filling.
- 60g granulated sugar — additional sweetener for the fruit filling (adjust to taste).
- 3 tbsp cornflour (cornstarch) — thickens the filling so it doesn’t run.
- 1/2 tbsp lemon juice — brightens flavor and balances sweetness.
Notes: I keep frozen raspberries on hand because they’re a time-saver and cost-effective. The butter should be soft enough to press with a finger — that makes mixing fast.
Optional Add-ons
- 1/2 tsp vanilla extract in the base for extra warmth.
- A pinch of cinnamon or nutmeg in the crumble for subtle spice.
- A few tablespoons of chopped white or dark chocolate mixed into the filling for a richer twist.
- 2–3 tbsp rolled oats added to the crumble top for texture.
- Sliced almonds or chopped hazelnuts sprinkled on top before baking for crunch.
These extras are optional and easy to skip when you’re short on time.
Substitutions and Shortcuts
- Butter: If you prefer unsalted, use it and add a pinch of salt to the base (about 1/4 tsp). For a slightly quicker approach, use a block of butter straight from the fridge — just cut it smaller so it softens fast while you measure other ingredients.
- Flour: Plain (all-purpose) flour is standard; if you need gluten-free, use a 1:1 gluten-free baking blend.
- Raspberries: Use fresh raspberries if you have them, or swap in mixed berries (strawberries cut small, blueberries) for variety.
- Jam: If you don’t have raspberry jam, apricot or strawberry jam works fine — choose based on what your family likes.
- Cornflour (cornstarch): Arrowroot powder or tapioca starch will work in the same amount.
- Speed shortcut: Use ready-made shortbread biscuit crumbs mixed with melted butter for the base if you’re really pressed for time — I’ll often keep a small tub of biscuit crumbs for emergencies.
- Make-ahead: You can bake the base and refrigerate it, then finish with the filling the next day. This is great for splitting the work over two evenings.
I also keep a running list of easy bars in my cookies and bars recipes collection for evenings when I want to swap flavors without extra thinking.
How to Make Raspberry Crumble Bars Step-by-Step
I’ve written these steps to be straightforward and forgiving — no exacting technique needed. You’ll use one bowl for the base, a saucepan for the filling, and one pan for baking. Here’s how I do it when I want dinner done fast and dessert ready right after.
Preheat the oven to 190°C (170°C fan) and line an 8×8-inch baking pan with parchment.
- Why this matters: Preheating saves time. Lining the pan makes removal and cleanup easier.
Cream the softened butter and 120g sugar in a bowl until smooth.
- Time-saver: I use a wooden spoon or a hand mixer on low for 30–60 seconds. It doesn’t need to be perfectly fluffy — just combined.
Add the 320g plain flour gradually and mix until a crumbly dough forms.
- Efficiency tip: Dump the flour in and fold with a spatula; stop as soon as the dough holds together when pressed. Overworking isn’t necessary.
Press two-thirds of the mixture firmly into the lined pan to form the base. Reserve the remaining crumble for the topping.
- No precision required: Use the back of a spoon to pat the base flat — it doesn’t have to be perfect.
Bake the base for 15 minutes until just set and lightly colored.
- Baking note: You want the base to be slightly firm so it supports the filling. While it bakes, move to the filling to save time.
Make the filling: In a small saucepan, combine 230g frozen raspberries, 150g raspberry jam, 60g sugar, 3 tbsp cornflour, and 1/2 tbsp lemon juice. Heat over medium, stirring until everything melts and the mixture thickens.
- Quick tip: The frozen raspberries will break down as they heat. Stir frequently for 3–5 minutes until the mixture is glossy and thick.
Pour the warm filling over the baked base, spread evenly, and sprinkle the reserved crumble on top.
- Keep it simple: Don’t worry about a perfect top — rustic looks are expected and delicious.
Bake for an additional 35 minutes until the top is golden and the filling is bubbling at the edges.
- Oven check: If the top browns too fast, tent loose foil over the pan for the last 10 minutes.
Cool the bars in the pan for about 15 minutes before slicing.
- Family-friendly finish: Cooling helps the filling set so slices hold together. I often let them cool longer if I can — they slice neater when mostly cool.
These steps are designed to minimize stress, dishes, and time at the counter. I often multi-task: start the base, make a quick salad or tidy the kitchen while things bake, and then finish the bars with minimal fuss.
Common Mistakes to Avoid
A few simple missteps can slow you down or make cleanup harder. Avoiding them saves time and keeps the whole process calm.
Mistake 1: Skipping the pan lining
If you don’t line the pan with parchment, removing the bars will take more time and likely extra scrubbing. I always line the pan so I can lift the whole slab out to cool and slice neatly on a board.
Mistake 2: Overmixing the base
Trying to get the base “perfectly” smooth wastes time and makes the texture tougher. Stop mixing as soon as the dough holds together when pressed — a slightly crumbly shortbread texture is what you want.
Mistake 3: Pouring a cold filling onto a hot base
If the filling is very cold, it can shock the base and make the bars soggy. Use the filling warm from the stove — it sets better and gives the bars a nicer texture. If you overheat the filling and it starts to separate, remove it from the heat and stir briefly; it usually comes back together.
Serving Suggestions for Raspberry Crumble Bars
These bars are flexible — I serve them after a busy weeknight or pack them as a portable snack. Here are a few easy ways to serve that require little prep.
Kid-friendly sides
Pair a bar with plain yogurt or a small glass of milk for a balanced snack. Sliced apples or banana halves are simple, familiar sides that kids usually accept.
Easy add-ons
A scoop of vanilla ice cream, a drizzle of honey, or a dusting of powdered sugar turns the bars into an after-dinner treat with almost no extra work. If you have whipped cream in a can, that’s a near-instant upgrade.
Minimal prep
Slice the bars into small squares for grab-and-go lunchbox treats or larger pieces for dessert. Store cooled, wrapped bars in the fridge for up to 4 days and bring them to room temperature before serving — that’s it.
Conclusion
I’ve found that Raspberry Crumble Bars are one of those reliable recipes that fit perfectly into busy family life: they use simple ingredients, require minimal hands-on time, and give you a comforting, shareable dessert without a lot of fuss. I like how flexible they are — you can swap berries, add nuts, or make the base ahead of time. If you want a slightly different take or inspiration, I like the version over at Raspberry Crumble Bars Recipe – Pinch of Yum for alternate proportions and tips. For a richer, more decadent twist, check out this buttery option at Buttery Raspberry Crumble Bars. – Half Baked Harvest. Give this recipe a try on a hectic night — I think you’ll be relieved at how easy it is and how happy everyone is to have something sweet and homemade.
FAQs About Raspberry Crumble Bars
I usually have active hands-on time of about 15–20 minutes (mixing the base and preparing the filling). Baking takes about 50 minutes total, plus a 15-minute cool-down before slicing. Plan around 1 hour 20 minutes overall, but most of that is oven time so you can do other tasks.
Yes. I store cooled bars in an airtight container in the fridge for up to 4 days. If I want them longer, I freeze individually wrapped pieces for up to 2 months and thaw at room temperature when needed.
Absolutely. I often bake the base and keep it wrapped in the fridge, then make the filling and finish the bars the next day. You can also bake the whole bar and refrigerate; just bring to room temperature or warm slightly before serving.
I tone down the lemon juice slightly if kids are sensitive to tartness and use a bit more jam for a sweeter filling. Small square sizes work well for kids’ portions. If your child prefers familiar flavors, a mix of raspberries and strawberries usually goes over well.
Yes. I swap in blueberries, blackberry-strawberry mixes, or even chopped apples with a little cinnamon. Adjust the sugar slightly based on the fruit’s sweetness and use the same cornflour amount to keep the filling from running.

Raspberry Crumble Bars
Ingredients
For the Crumble Base
- 225 g salted butter, softened Gives rich flavor; salted is fine for most households.
- 120 g granulated sugar Sweetens the buttery base.
- 320 g plain (all-purpose) flour Forms the crumbly shortbread texture.
For the Filling
- 230 g frozen raspberries Quick and available year-round; no thawing required.
- 150 g raspberry jam Boosts sweetness and body in the filling.
- 60 g granulated sugar Additional sweetener for the fruit filling (adjust to taste).
- 3 tbsp cornflour (cornstarch) Thickens the filling so it doesn’t run.
- 1/2 tbsp lemon juice Brightens flavor and balances sweetness.
Optional Add-ons
- 1/2 tsp vanilla extract For extra warmth in the base.
- 1 pinch cinnamon or nutmeg For subtle spice in the crumble.
- 2-3 tbsp rolled oats For texture in the crumble.
- 1 handful chopped white or dark chocolate For a richer twist.
- 1 handful sliced almonds or chopped hazelnuts For crunch on top.
Instructions
Preparation
- Preheat the oven to 190°C (170°C fan) and line an 8×8-inch baking pan with parchment.
- Cream the softened butter and 120g sugar in a bowl until smooth.
- Add the 320g plain flour gradually and mix until a crumbly dough forms.
- Press two-thirds of the mixture firmly into the lined pan to form the base. Reserve the remaining crumble for the topping.
Baking
- Bake the base for 15 minutes until just set and lightly colored.
- For the filling, in a small saucepan, combine 230g frozen raspberries, 150g raspberry jam, 60g sugar, 3 tbsp cornflour, and 1/2 tbsp lemon juice. Heat over medium, stirring until everything melts and the mixture thickens.
- Pour the warm filling over the baked base, spread evenly, and sprinkle the reserved crumble on top.
- Bake for an additional 35 minutes until the top is golden and the filling is bubbling at the edges.
Cooling
- Cool the bars in the pan for about 15 minutes before slicing.