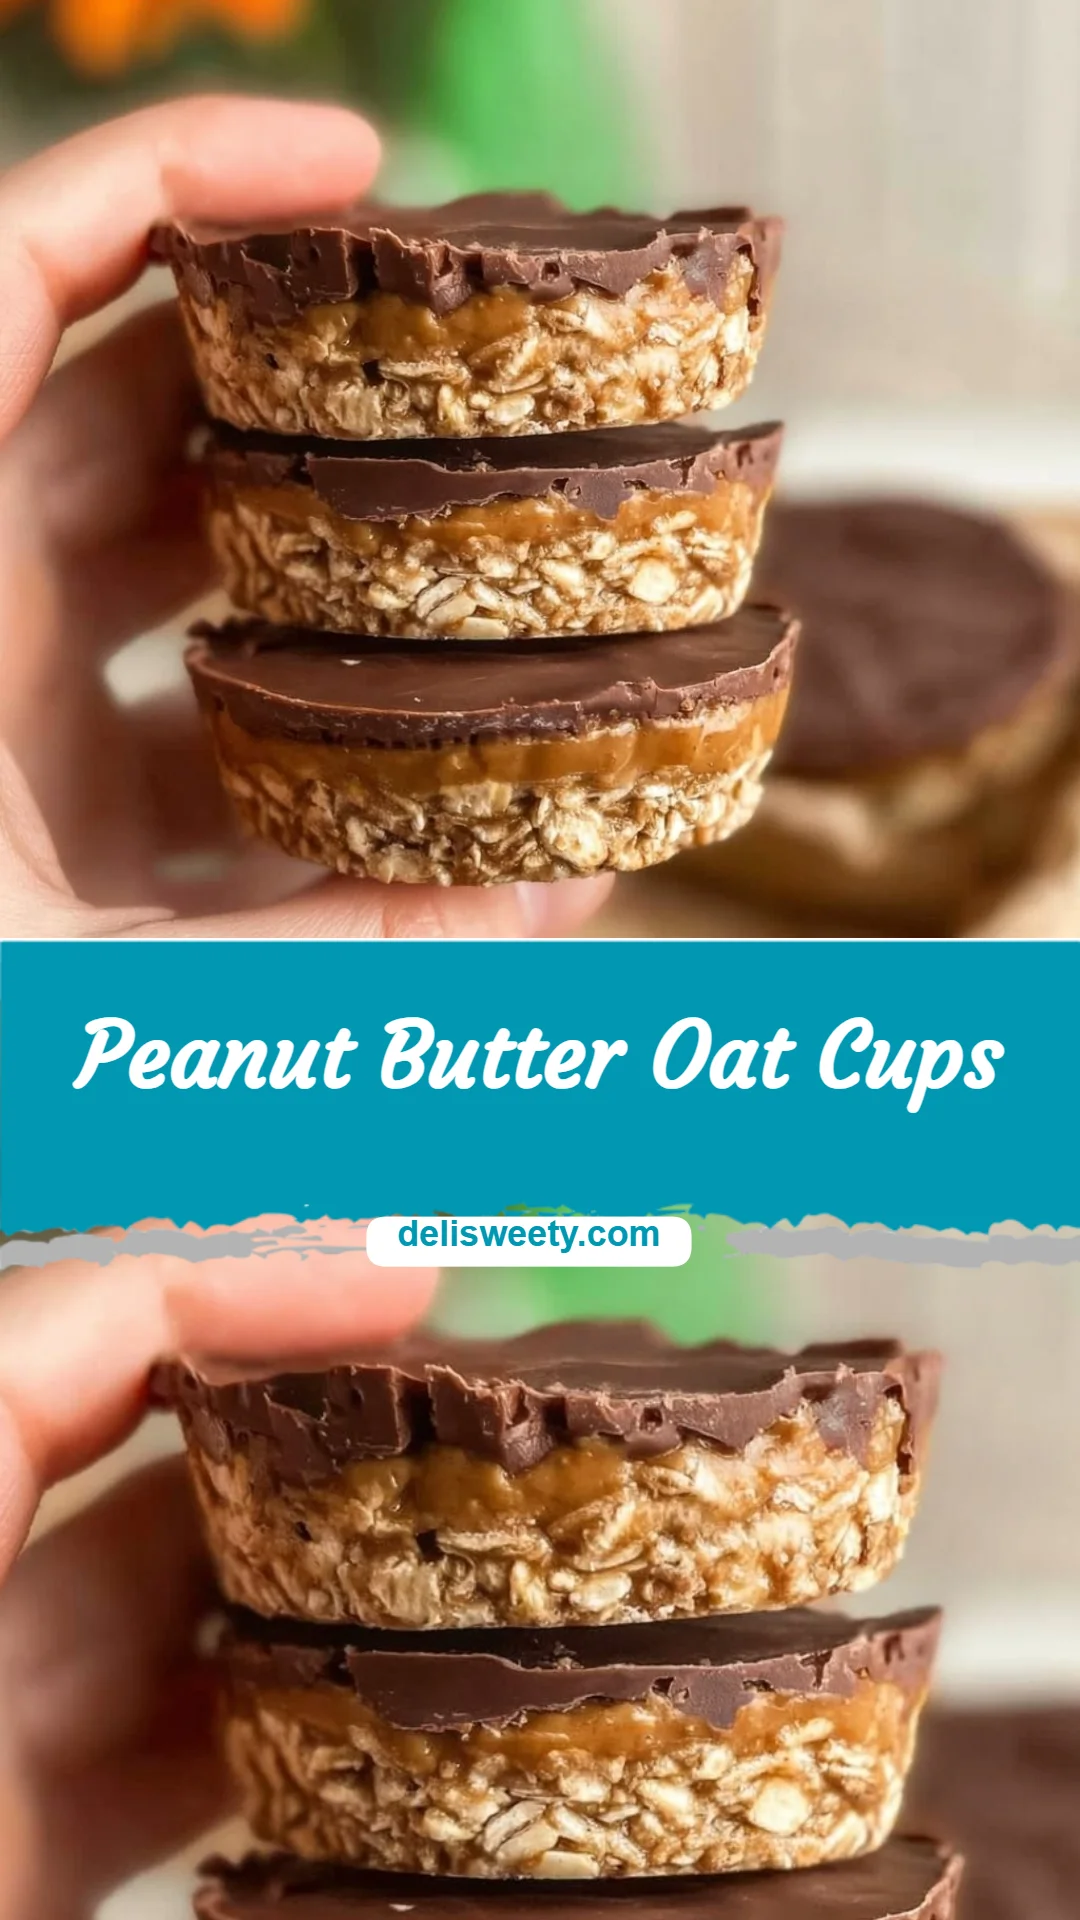
Peanut Butter Oat Cups
After a late workday and an hour of after-school activities, I’m often staring down a kitchen and a hungry crew with zero patience for a complicated recipe — and that’s exactly when Peanut Butter Oat Cups save the night. They’re fast to pull together, forgiving when a kid “helps,” and loved by both picky eaters and adults who need a little chocolate fix. If you want a reliable, no-fuss treat that feels like dessert but doubles as a snack, I recommend keeping the ingredients on hand — I even use ideas from recipes like chocolate peanut butter Valentine’s hearts for seasonal inspiration.
A Quick Look at This Peanut Butter Oat Cups Recipe
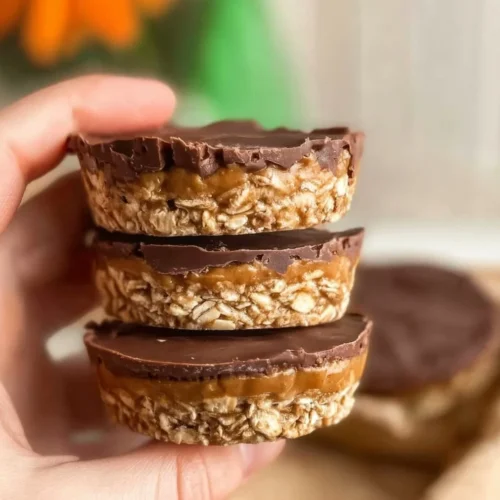
Peanut Butter Oat Cups combine two ingredients kids and adults both love: creamy peanut butter and oats, finished with a dark chocolate top. They take just a few minutes to mix and only about 15 minutes to chill, so they’re perfect for weeknights when time is tight. Cleanup is minimal — one bowl and a spoon — and they don’t need baking, which keeps the kitchen cool and fast. These cups are forgiving with measurements, so little hands can help without ruining the batch. Try them when you want a reliable, portable snack or a quick after-dinner treat.
Ingredients You’ll Need for Peanut Butter Oat Cups
Essentials
- 1 cup rolled oats — pantry staple, provides texture and whole-grain goodness. Use old-fashioned rolled oats rather than instant for the best chew.
- 1/2 cup creamy peanut butter — smooth spreads bind the oats and make the cups kid-friendly and satisfying. Natural or processed both work; if you use natural, stir it well first.
- 1/4 cup maple syrup or honey — the sweetener that makes these feel like a treat. Maple syrup gives a slightly richer flavor while honey offers a familiar floral sweetness.
- 1/2 cup dark chocolate chips — for melting and drizzling or topping. Gives the grown-up chocolate note without being too sweet.
Optional Add-ons
- 1–2 tablespoons mini chocolate chips mixed into the base for extra chocolate in every bite.
- 1/4 teaspoon flaky sea salt sprinkled on top to lift the flavors.
- 1 tablespoon unsweetened cocoa powder folded into the oat mix for a double-chocolate version.
- 2 tablespoons ground flaxseed or chia seeds for a fiber boost.
- 1/4 cup chopped peanuts or chopped almonds for crunch.
- 1/4 cup dried fruit like raisins or chopped dates for chew and natural sweetness.
- A few drops of vanilla extract for a warm, familiar flavor.
Substitutions and Shortcuts
- Swap peanut butter for almond butter, sunflower seed butter (great for school-safe lunches), or cashew butter for a different nut profile.
- If you don’t have maple syrup or honey, brown rice syrup or agave syrup can work — the texture may change slightly.
- Use pre-portioned silicone molds to skip liners and make cleanup easier.
- Buy pre-melted chocolate or use chocolate spread warmed slightly for a shortcut topping.
- Use quick oats in a pinch, but expect a softer, less chewy cup.
- If you’re short on time, press the mixture into one small baking dish and chill; you can slice it into bars instead of individual cups.
How to Make Peanut Butter Oat Cups Step-by-Step
I keep the steps simple so you can get these done between homework help and settling dinner plates.
- Measure and mix quickly: In a medium bowl, add 1 cup rolled oats, 1/2 cup creamy peanut butter, and 1/4 cup maple syrup or honey. Stir with a spoon until everything is evenly combined — it’s okay if the mixture looks a little sticky; precise measuring isn’t necessary.
- Use a lined muffin tin or silicone mold: Line a 6-cup muffin tin with paper liners or use a silicone mold (no liners needed). Drop even spoonfuls of the oat mixture into each cup and press down firmly to compact. Pressing tightly helps the cups hold together without baking.
- Melt the chocolate efficiently: Place 1/2 cup dark chocolate chips in a microwave-safe bowl. Microwave in 20-second bursts, stirring between each burst until smooth. If you prefer stovetop, use a double boiler or a heatproof bowl over simmering water.
- Top and finish: Spoon or drizzle the melted chocolate over each pressed oat cup. If you like, sprinkle a tiny pinch of sea salt on each cup while the chocolate is still soft.
- Chill to set: Place the tin in the refrigerator for at least 15 minutes to allow the chocolate and peanut butter to firm up. If you’re in more of a rush, pop them in the freezer for 5–8 minutes.
- Remove and serve: Once set, lift cups out of the liners or pop them out of the silicone mold. They’re ready to eat immediately. Store leftovers in an airtight container in the fridge for up to a week.
Time-saving tips:
- Mix right in the serving tin (like a silicone mold) to save a bowl.
- Melt chocolate while pressing the mixtures to keep things moving.
- Make a double batch when you have an extra 5 minutes — they store well and save time later.
Precision tip: You don’t need exact measurements for a successful batch. If your mix looks dry, add a little more peanut butter or a splash of maple syrup. If it’s too wet, add a handful of oats.
Common Mistakes to Avoid
A few small slip-ups can slow you down or create extra dishes. I keep this short so you avoid wasted time and disappointment.
Mistake 1: Using the wrong oats
Instant oats can make the texture too soft and mushy. Stick with rolled oats for chew and structure.
Mistake 2: Skipping the pressing
If you don’t press firmly into the mold, the cups will crumble. Use a small measuring cup or the back of a spoon to compact them tightly.
Mistake 3: Pouring hot chocolate directly on the mix
If the melted chocolate is too hot, it can loosen the peanut butter layer and make the cups greasy. Let the chocolate cool for a minute before drizzling.
Serving Suggestions for Peanut Butter Oat Cups
These cups are great solo, but a little pairing goes a long way for family-friendly snacks or a simple dessert.
I like to keep serving ideas minimal and quick so nothing adds more prep time or dishes.
Kid-friendly sides
Pair Peanut Butter Oat Cups with apple slices, banana halves, or carrot sticks. Fresh fruit adds brightness and balances the sweetness.
Easy add-ons
Top with a smear of jam, a sprinkle of crushed nuts, or a drizzle of extra maple syrup for a grown-up finish. A small scoop of plain yogurt on the side makes the snack feel more balanced.
Minimal prep ideas
Turn them into a mini-dessert plate: one cup, a few berries, and a handful of graham cracker crumbs. No utensils required; kids can hold cups and nibble.
In case you want to mix up dessert nights while keeping things easy, I often pair these with other family favorites like browned butter toffee chocolate chip cookies for a special weekend spread.
Conclusion
These Peanut Butter Oat Cups are my go-to no-bake solution when I need a quick, crowd-pleasing snack that’s forgiving and family-approved — they save time, clean up fast, and are easy to adapt for picky eaters. If you want a variation or more inspiration on no-bake chocolate and peanut-butter treats, I also find useful ideas like No-Bake Chocolate Peanut Butter Oatmeal Cups – rachLmansfield helpful for new flavor twists.
FAQs About Peanut Butter Oat Cups
Peanut Butter Oat Cups take about 5–10 minutes to mix and assemble, plus at least 15 minutes chilling time. I usually have them ready to eat in 20–30 minutes if I’m not using the freezer.
Store Peanut Butter Oat Cups in an airtight container in the refrigerator for up to a week. You can freeze them for up to 2 months — thaw in the fridge before serving.
Yes. Swap peanut butter for sunflower seed butter or soy nut butter to make Peanut Butter Oat Cups safe for nut-free classrooms. The texture and flavor will be slightly different but still kid-friendly.
Absolutely. I often make a double batch on Sunday and store them in the fridge for quick snacks or to pack in lunches all week. They hold up well and save a lot of time on busy days.
To make Peanut Butter Oat Cups heartier, add 1–2 tablespoons of chia seeds or ground flaxseed, fold in 1/4 cup chopped nuts, or add a scoop of protein powder to the mix. These small additions boost protein and fiber without much extra prep.
Peanut Butter Oat Cups
Ingredients
Essentials
- 1 cup rolled oats Use old-fashioned rolled oats rather than instant for the best chew.
- 1/2 cup creamy peanut butter Natural or processed both work; stir natural peanut butter well first.
- 1/4 cup maple syrup or honey Maple syrup gives a richer flavor, while honey offers floral sweetness.
- 1/2 cup dark chocolate chips For melting and drizzling on top.
Optional Add-ons
- 1-2 tablespoons mini chocolate chips For extra chocolate in every bite.
- 1/4 teaspoon flaky sea salt To sprinkle on top for flavor.
- 1 tablespoon unsweetened cocoa powder For a double-chocolate version.
- 2 tablespoons ground flaxseed or chia seeds For a fiber boost.
- 1/4 cup chopped peanuts or almonds For crunch.
- 1/4 cup dried fruit Such as raisins or chopped dates for natural sweetness.
- a few drops vanilla extract For a warm flavor.
Instructions
Preparation
- In a medium bowl, add rolled oats, creamy peanut butter, and maple syrup or honey. Stir until evenly combined.
- Line a muffin tin with paper liners or use a silicone mold. Drop spoonfuls of the mixture into each cup and press down firmly to compact.
Melting Chocolate
- Place dark chocolate chips in a microwave-safe bowl and microwave in 20-second bursts, stirring until smooth. Alternatively, use a double boiler.
Assembly
- Spoon or drizzle melted chocolate over each oat cup and sprinkle with sea salt if desired.
Chilling
- Refrigerate for at least 15 minutes, or place in the freezer for 5–8 minutes to quicken the process.
- Once set, remove the cups from the liners or mold and enjoy.