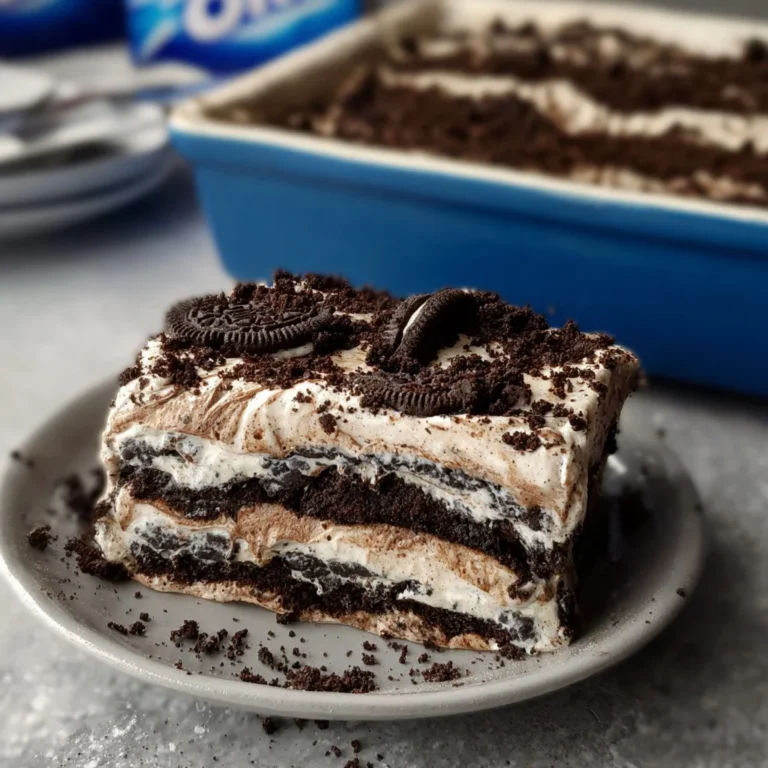
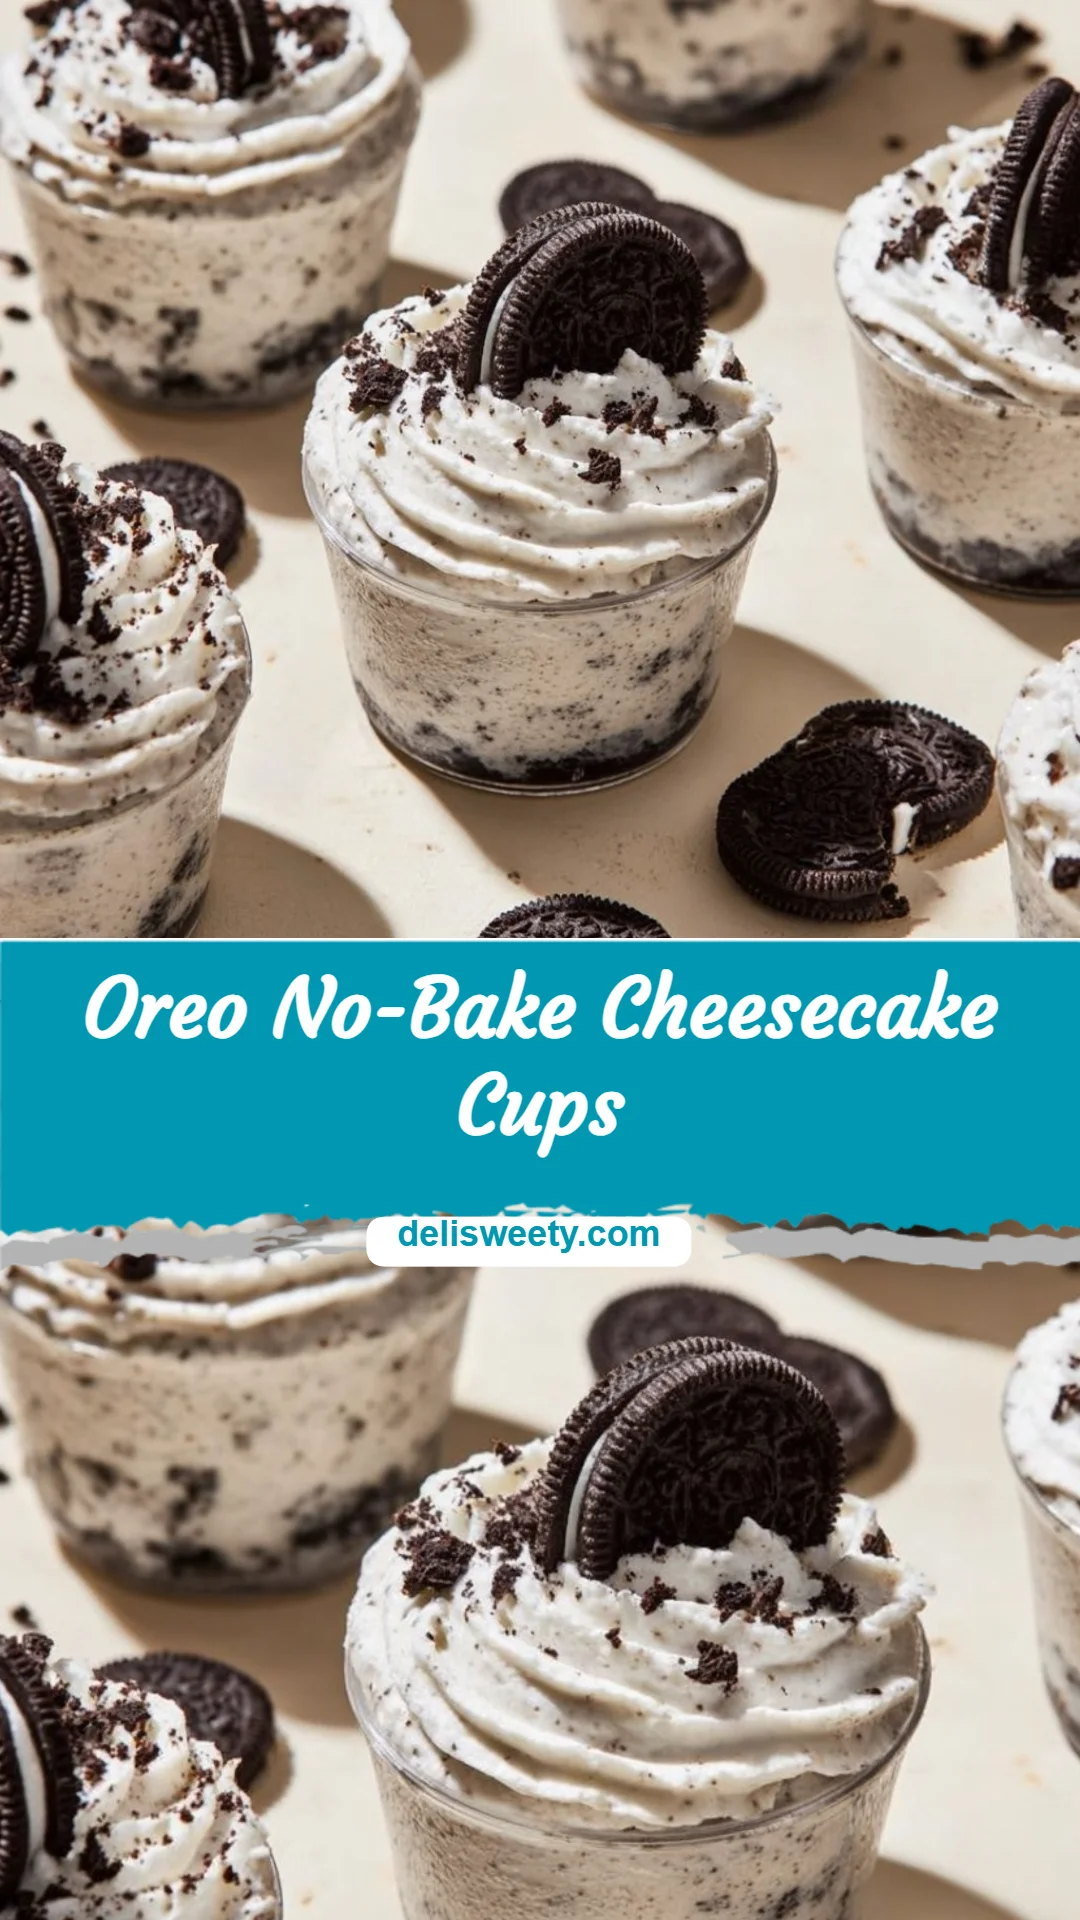
Oreo No-Bake Cheesecake Cups
After a long day of carpools, homework battles, and late work emails, I know the last thing you want is a fussy dessert project. You’ll love these Oreo No-Bake Cheesecake Cups because they come together in minutes, use ingredients your kids already cheer for, and clean up with one small bowl. I promise this is a fast, forgiving dessert that feels special but doesn’t steal your evening.
A Quick Look at This Oreo No-Bake Cheesecake Cups Recipe
This Oreo No-Bake Cheesecake Cups recipe pairs two family favorites: cream cheese and Oreo cookies, for a crowd-pleasing dessert kids and adults both enjoy. It’s no-bake and takes very little hands-on time, so it’s perfect after a busy weeknight or as an easy weekend treat. The recipe uses minimal dishes and is make-ahead friendly—stash the cups in the fridge until you’re ready to serve. If you want other quick no-bake desserts, I also share a favorite no-bake pistachio cheesecake that’s great for variety.
Ingredients You’ll Need for Oreo No-Bake Cheesecake Cups
Essentials
- 1 (8 oz) block cream cheese, softened — room temperature makes mixing quick and lump-free.
- 1 (8 oz) Cool Whip or similar whipped topping — light and easy to fold in.
- 2/3 cup powdered sugar — dissolves smoothly and adds the right sweetness.
- 1 teaspoon vanilla extract — simple flavor boost.
- 24–26 Oreo cookies — crushed; use more if you want thicker crust or extra cookie pieces throughout.
- Small dessert dishes or cups (6), each at least 3/4 to 1 cup capacity.
Optional Add-ons
- Extra whipped cream for topping — store-bought or whipped from heavy cream.
- Mini chocolate chips — sprinkle a few on top for texture.
- Fresh berries (strawberries, raspberries) — add a bright contrast and freshness.
- Peanut butter drizzle — for families who like that combo, warm a little peanut butter and drizzle lightly.
- Crushed chocolate sandwich cookies of a different flavor (e.g., golden Oreos) — fun for variety.
Substitutions and Shortcuts
- Cream cheese: If you’re in a hurry, use whipped cream cheese from the tub for an even softer mix, though the texture will be a bit lighter.
- Whipped topping: Stabilized whipped topping is easiest; if you prefer homemade, whip 1 cup heavy cream with 2 tablespoons powdered sugar until soft peaks form.
- Crushed Oreos: Use pre-crushed cookie crumbs or pulse Oreos in a food processor for one-step prep. No rolling pin? Use a heavy can or your coffee mug to crush inside a sealed bag.
- Single-bowl option: Beat the cream cheese and powdered sugar right in the bowl you’ll use to fold in Cool Whip—less washing up.
- Make-ahead cups: Assemble up to 24 hours ahead and store tightly covered to save evening time.
- Kid-friendly swap: Use gluten-free sandwich cookies if someone in the family needs GF options.
If you’re exploring easy Oreo desserts, you might also like my take on a one-pot Oreo white chocolate cheesecake for a different weeknight treat.
How to Make Oreo No-Bake Cheesecake Cups Step-by-Step
I keep these steps short and practical so you can move fast and still get great results.
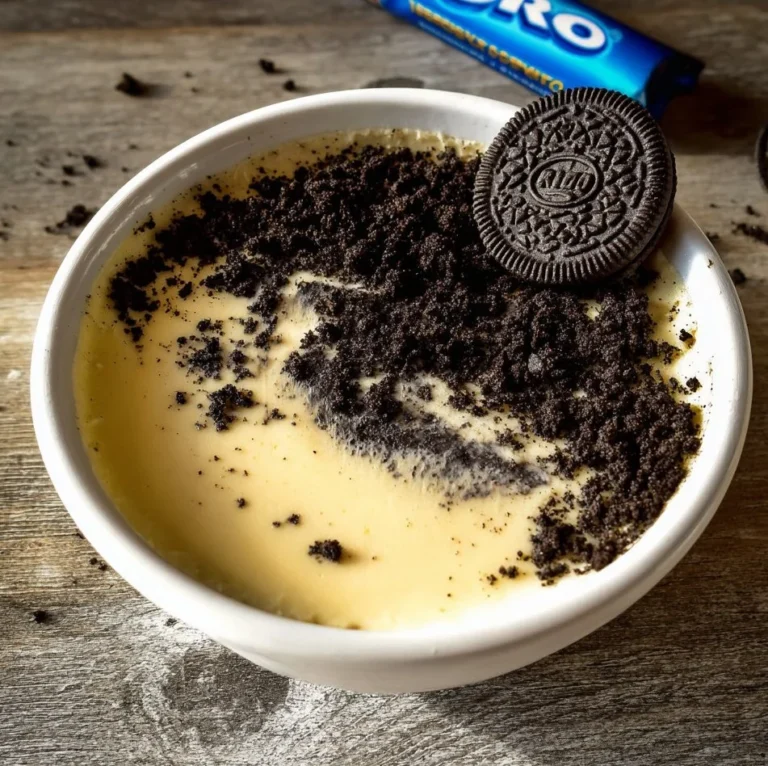
Prep the cookies fast:
- Place Oreos in a sealed plastic bag and crush with a rolling pin, heavy can, or spoon, or pulse in a food processor.
- Spoon about 1 1/2 to 2 tablespoons of the crushed Oreos into the bottom of each of six small dessert dishes. This is forgiving—pile a little more if your kids want extra cookie crust.
Make the cheesecake filling quickly:
- In one bowl, beat the softened cream cheese with the powdered sugar until smooth and creamy. A hand mixer makes this fastest; a sturdy whisk works if you don’t mind a bit more elbow grease.
- Add vanilla and mix briefly.
Fold in the whipped topping:
- Gently fold the Cool Whip (or whipped cream) into the sweetened cream cheese until combined. Folding keeps the filling light—don’t overbeat.
- Stir in the remaining crushed Oreos so you get little cookie bits throughout the filling.
Assemble the cups:
- Divide the filling evenly among the cups, pressing lightly so the filling meets the cookie base. If you like a firmer set, smooth the tops and press gently.
Chill and finish:
- Chill for about 1 hour to firm up, or longer if you’ve got time. If serving immediately, they’ll still be nice and scoopable.
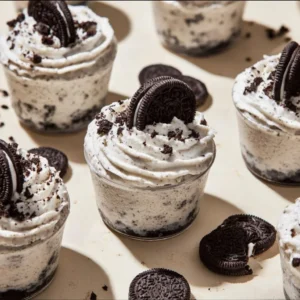
- Before serving, top with a dollop of whipped cream and a sprinkle of extra crushed Oreos or chocolate chips.
Time-saving tips:
- Use the same bowl for crushing cookies in a food processor and mixing to limit dishes.
- If you want more make-ahead ease, assemble completely and refrigerate for up to 24 hours—just add fresh toppings right before serving.
- If your cream cheese isn’t fully softened, pop it in the microwave for 10–15 seconds (check and rotate) to avoid lumps.
Common Mistakes to Avoid
A little planning prevents stress and extra cleanup—here’s what I watch for so nothing slows me down.
Mistake 1: Not softening the cream cheese
If the cream cheese is cold and lumpy, it’s harder to mix and you’ll end up with uneven texture. Let it sit at room temperature about 20–30 minutes or microwave for a few seconds if you forgot. It saves time in the long run and means fewer stubborn lumps.
Mistake 2: Overworking the filling
Mixing too vigorously after you add the whipped topping will deflate it and make the filling heavy. Fold gently with a spatula until just combined to keep it light and creamy.
Mistake 3: Skipping the chill time when possible
Skipping or rushing chilling can make the cups too soft to plate nicely. If you’re short on time, pop them in the freezer for 20–30 minutes; just don’t forget them. Chilling also helps flavors settle so the vanilla and cookie notes come through.
Serving Suggestions for Oreo No-Bake Cheesecake Cups
These cups are meant to be kid-friendly, low-effort, and flexible—here’s how I serve them without sweating the details.
Start with something simple and satisfying—these cups can be a dessert, snack, or part of a casual family spread. Keep sides and add-ons minimal so you can enjoy the moment without extra work.
Kid-Friendly Sides
- Sliced apples or banana coins for dipping add a little fruit without fuss.
- Pretzel sticks or graham crackers on the side let kids scoop or crumble more cookie if they want.
- A small bowl of mixed berries for the adults, while kids get plain cups.
Easy Add-Ons
- A quick drizzle of chocolate syrup or caramel straight from the bottle adds extra fun with zero prep.
- A sprinkle of mini chocolate chips or crushed Oreos on top—kids love to help add this.
- A spoonful of peanut butter warmed slightly and drizzled for families who like the peanut butter + chocolate combo.
Minimal Prep
- Set out the cups chilled and let family members top their own with whipped cream or sprinkles.
- Use disposable dessert cups for backyard parties or playdates—no dishes, no stress.
- If you’re bringing these to a gathering, keep lids on and transport chilled in a cooler bag.
Conclusion
I love how Oreo No-Bake Cheesecake Cups deliver big flavor with very little effort—perfect for busy families who deserve a simple, satisfying dessert. They’re quick to make, forgiving for little helpers, and easy to customize for picky eaters or fussy evenings. If you want a trusted recipe reference or another no-bake variation, check out Best Friends For Frosting’s No Bake OREO Cheesecake Cups recipe for more inspiration and tips.
FAQs About Oreo No-Bake Cheesecake Cups
I can usually have these ready in about 15–20 minutes of hands-on time, plus an hour to chill if you want them firmer. If you’re really pressed, a 20–30 minute freezer stint helps set them quicker.
Store leftovers covered in the refrigerator for up to 3 days. I keep them in airtight containers or cover the dishes tightly with plastic wrap so the cookies don’t soften too much. For longer storage, you can freeze them for up to a month—defrost in the fridge overnight.
Yes—make them up to 24 hours ahead and keep covered and chilled. Add any fresh toppings like whipped cream or fruit just before serving so they look and taste their best.
Let kids help crush the Oreos (inside a sealed bag) and spoon the filling into cups. Offer optional toppings like sprinkles, mini chocolate chips, or cookie crumbs so they can personalize their own cup.
Definitely. For a lighter texture, fold in whipped cream that you made from heavy cream. For a firmer, denser cheesecake-like texture, use full-fat cream cheese and chill longer. If you want even less hands-on mixing, use whipped cream cheese from the tub and reduce whipping time.
Enjoy the ease—these Oreo No-Bake Cheesecake Cups are one of those win-win recipes that make family dessert stress disappear.
Oreo No-Bake Cheesecake Cups
Ingredients
Essentials
- 1 block 8 oz cream cheese, softened Room temperature makes mixing quick and lump-free.
- 1 package 8 oz Cool Whip or similar whipped topping Light and easy to fold in.
- 2/3 cup powdered sugar Dissolves smoothly and adds the right sweetness.
- 1 teaspoon vanilla extract Simple flavor boost.
- 24-26 cookies Oreo cookies, crushed Use more if you want a thicker crust or extra cookie pieces throughout.
- 6 dishes small dessert dishes or cups, each at least 3/4 to 1 cup capacity
Optional Add-ons
- Extra whipped cream for topping Store-bought or whipped from heavy cream.
- Mini chocolate chips Sprinkle a few on top for texture.
- Fresh berries (strawberries, raspberries) Add a bright contrast and freshness.
- Peanut butter drizzle For families who like that combo, warm a little peanut butter and drizzle lightly.
- Crushed chocolate sandwich cookies of a different flavor (e.g., golden Oreos) Fun for variety.
Instructions
Prep the cookies fast
- Place Oreos in a sealed plastic bag and crush with a rolling pin, heavy can, or spoon, or pulse in a food processor.
- Spoon about 1 1/2 to 2 tablespoons of the crushed Oreos into the bottom of each of six small dessert dishes.
Make the cheesecake filling quickly
- In one bowl, beat the softened cream cheese with powdered sugar until smooth and creamy.
- Add vanilla and mix briefly.
Fold in the whipped topping
- Gently fold the Cool Whip into the sweetened cream cheese until combined. Stir in the remaining crushed Oreos.
Assemble the cups
- Divide the filling evenly among the cups, pressing lightly so the filling meets the cookie base.
Chill and finish
- Chill for about 1 hour to firm up, or longer if you’ve got time.
- Before serving, top with a dollop of whipped cream and a sprinkle of extra crushed Oreos or chocolate chips.