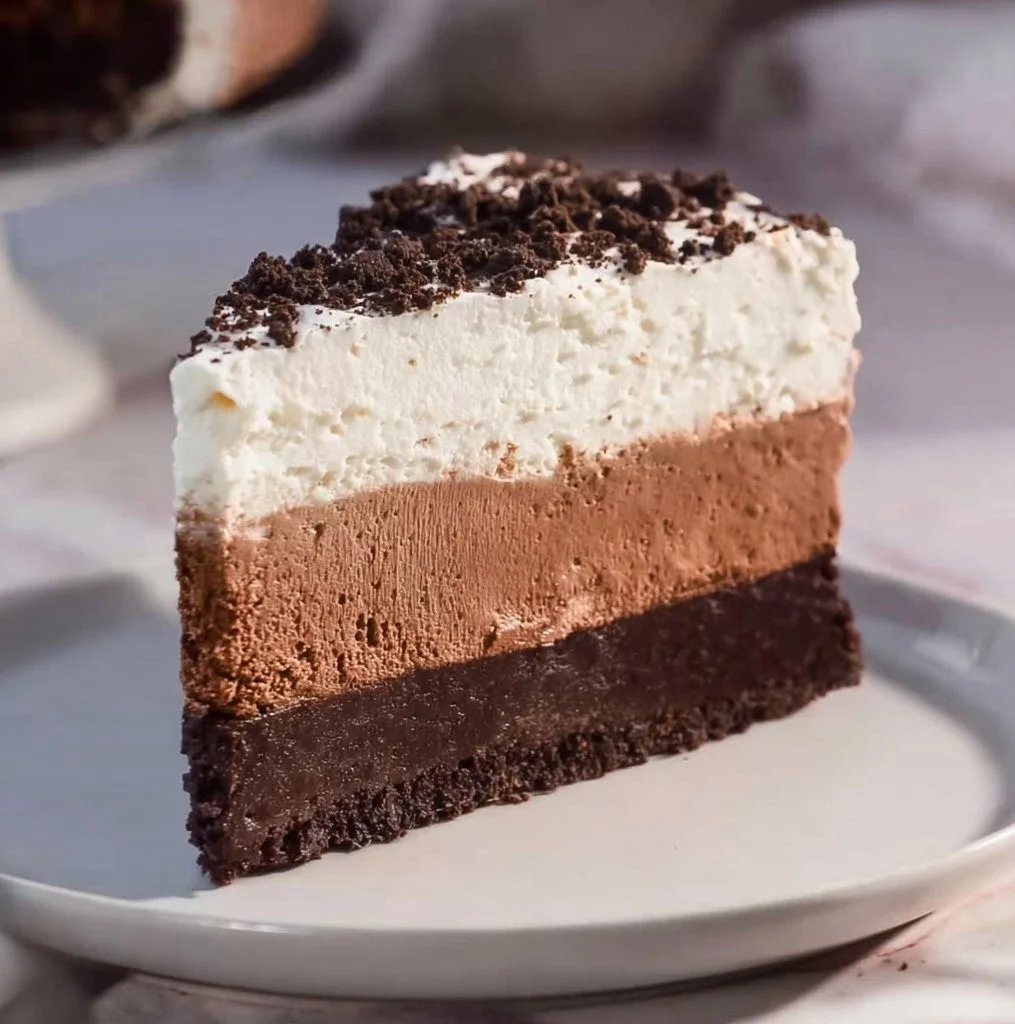
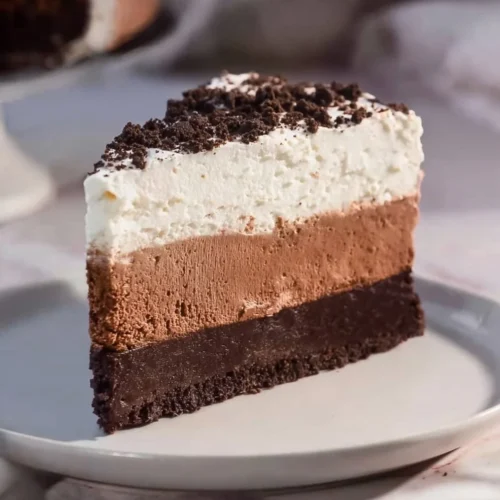
Oreo Mousse Cake
After a long day of after-school runs, homework reminders, and one parent squeezing in overtime, I know how dinner feels like one more thing on the to-do list — and dessert can feel impossible. I keep this Oreo Mousse Cake recipe in my weeknight toolbox because it’s quick, forgiving, and almost every kid (and adult) in my house gives it a thumbs-up. If you’re short on time but want a treat that feels special, this is a go-to. If you love easy Oreo desserts, you might also like my take on the One-Pot Oreo White Chocolate Cheesecake for another family-friendly option.
A Quick Look at This Oreo Mousse Cake Recipe
This Oreo Mousse Cake blends two crowd-pleasers: crunchy Oreo cookie crust and pillowy cream cheese mousse. It uses just a handful of pantry staples—Oreos and cream cheese—so kids can help with the fun stuff like crushing cookies or smoothing the top. The recipe is make-ahead friendly: press the crust, make the mousse, chill, and it’s ready when you are. Minimal dishes and no baking make this a perfect fit for busy weeknights or last-minute family celebrations. Stick with the simple steps I show below and you’ll see how reliably this dessert comes together every time.
Ingredients You’ll Need for Oreo Mousse Cake
Essentials
- 1 package Oreo cookies (about 36 cookies) — for crust and optional layers
- 4 tablespoons unsalted butter, melted — binds the crust
- 2 cups heavy whipping cream — for the light mousse
- 1 cup powdered sugar — sweetens the whipped cream evenly
- 1 teaspoon vanilla extract — simple flavor boost
- 8 ounces cream cheese, softened — adds richness and stability to the mousse
- 1 cup chocolate ganache (optional) — easy store-bought ganache or warm chocolate sauce for topping
These are common items you can find at most grocery stores. The recipe is forgiving on exact measurements for the crushed Oreos and butter when you’re in a hurry.
Optional Add-ons
- Extra crushed Oreos for a middle layer or garnish
- Mini chocolate chips or chocolate shavings on top for texture
- A handful of chopped nuts (if nobody in the house has allergies) for crunch
- Fresh strawberries or raspberries for a bright contrast on the plate
- A sprinkle of sea salt on the ganache to balance sweetness
These extras are entirely optional and let you customize the cake without adding significant prep time.
Substitutions and Shortcuts
- Use store-bought whipped topping if you’re really pressed for time — fold it into the cream cheese instead of whipping heavy cream.
- Swap cream cheese for mascarpone for a slightly silkier mousse if you want to splurge.
- Pre-made chocolate pudding can be stirred into the mousse for a chocolate twist kids will love.
- If you prefer less mess, use a disposable springform pan or line your pan with parchment for faster cleanup.
- If you’re curious about other easy no-bake Oreo desserts, I find recipes like an Oreo Cheesecake handy to adapt for different occasions.
These shortcuts save time and keep the recipe family-friendly without changing the comforting flavor everyone expects.
How to Make Oreo Mousse Cake Step-by-Step
I keep my directions short and practical so you can move quickly. I’ll point out when exact measurements don’t matter and where you can save dishes.
- Prep the crust quickly: Crush the Oreo cookies in a food processor, or pop them into a sealed plastic bag and give them a few whacks with a rolling pin until mostly fine. This takes two minutes and one bowl if you use a food processor.
- Mix and press: Stir the crushed Oreos with melted butter until crumbs look evenly moistened. Press the mixture into the bottom of a springform pan (or a regular pan lined with parchment). Use the bottom of a measuring cup to press it flat — no extra gadgets needed.
- Chill the crust while you whip: Pop the crust in the fridge for a few minutes; this helps it firm up and saves you waiting time later.
- Whip the cream: In a bowl, whip the heavy cream with powdered sugar and vanilla until stiff peaks form. If you’re using a hand mixer, watch closely — stiff peaks happen fast. This gives the mousse its light texture.
- Smooth the cream cheese: In another bowl, beat the softened cream cheese until smooth and lump-free. No need to measure the time — just work until it’s silky.
- Fold gently: Fold the whipped cream into the cream cheese in two or three parts. Use a spatula and fold until uniform — a few streaks are fine; over-mixing flattens the mousse.
- Layer smartly: Pour half of the mousse over the chilled crust and smooth. If you want extra crunch, sprinkle a light layer of crushed Oreos on top. This is where kids can help.
- Finish the top: Add the remaining mousse and smooth the surface. For a neater finish, run a flat spatula over the top in long strokes.
- Chill until set: Refrigerate for at least 4 hours, or overnight if you prefer. The longer chill gives cleaner slices.
- Optional finishing touch: Right before serving, drizzle with chocolate ganache or warm a store-bought ganache and pour over the top. A quick shower of crushed Oreos finishes it off.
Tips while you cook: use one bowl for the crust work and another for the mousse to minimize dishes; if you use an electric mixer, clean it immediately to avoid dried cream cheese cleanup later.
Common Mistakes to Avoid
I’ve learned that a few small missteps can turn a simple dessert into a fussy project. Avoiding these keeps the process fast and the final dish family-approved.
Mistake 1: Skipping the Chill
Not chilling the crust or mousse long enough leads to a runny, messy slice. I set a timer for at least four hours so I can relax and not rush the rest of dinner.
Mistake 2: Overwhipping or Underwhipping
If you underwhip the cream, the mousse won’t hold its shape. Overwhip and it becomes grainy. I watch for soft peaks first, then whip to firm peaks — that sweet spot gives light mousse and easy folding.
Mistake 3: Folding Too Vigorously
Mixing the whipped cream into the cream cheese like batter flattens the air you just whipped in. I fold slowly with a spatula and stop when the color and texture look even — a few small streaks won’t hurt and speed things up.
Serving Suggestions for Oreo Mousse Cake
This cake is rich but easy to pair with simple sides so the whole family stays happy without extra kitchen time.
I like to keep serving minimal and kid-friendly — a few quick add-ons make the dessert feel special without much prep.
Kid-Friendly Sides
Serve with cold milk, a scoop of vanilla ice cream, or a few whole strawberries. Kids often love dipping bites into a small bowl of warm chocolate ganache.
Easy Add-Ons
Top with whipped cream dollops, extra crushed Oreos, or simple chocolate shavings. These take less than five minutes and make the cake look like it came from a bakery.
Minimal Prep Plating
Cut slices with a warm knife for clean edges, then plate with a small drizzle of ganache and a single fresh berry. Use a paper towel to wipe the knife between slices — quick and tidy.

Conclusion
I promise this Oreo Mousse Cake saves time and energy while still delivering a dessert that feels homemade and comforting. It’s flexible for picky eaters because you can adjust sweetness, skip the ganache, or add more cookie crunch if the kids want it. I’ve relied on this no-bake, make-ahead recipe on busy nights and for casual get-togethers — it fits real family schedules and lets you spend less time in the kitchen and more time at the table. For another version and inspiration, check out this detailed recipe: Oreo Mousse Cake – Inside BruCrew Life.
FAQs About Oreo Mousse Cake
I recommend at least 4 hours for the mousse to firm up enough for clean slices; overnight is even better if you want to make it ahead and save time on the day you serve it.
Yes — I often make it the night before. Cover the cake with plastic wrap or an airtight lid and keep it in the refrigerator for up to 3 days. If you add ganache, I prefer to pour it just before serving for the nicest finish.
Absolutely. Kids can crush the Oreos, press the crust, and sprinkle the extra cookie crumbs. I supervise when they use a mixer, but most of the fun tasks are low-risk and great for involving little helpers.
You can use lower-fat cream or light cream cheese, but the texture will be softer and less stable. If you need a lighter version, consider using a store-bought whipped topping to keep the mousse airy while reducing fat.
If the mousse looks grainy, it’s usually from overwhipping or mixing too hard. Chill it; sometimes a gentle fold and extra refrigeration help. If it’s too thin, try adding a bit more whipped cream or a small amount of softened cream cheese and mix gently to rebuild the structure.
Oreo Mousse Cake
Ingredients
For the crust
- 36 cookies 1 package Oreo cookies (about 36 cookies) For crust and optional layers
- 4 tablespoons 4 tablespoons unsalted butter, melted Binds the crust
For the mousse
- 2 cups 2 cups heavy whipping cream For the light mousse
- 1 cup 1 cup powdered sugar Sweetens the whipped cream evenly
- 1 teaspoon 1 teaspoon vanilla extract Simple flavor boost
- 8 ounces 8 ounces cream cheese, softened Adds richness and stability to the mousse
- 1 cup 1 cup chocolate ganache (optional) Easy store-bought ganache or warm chocolate sauce for topping
Instructions
Preparation
- Crush the Oreo cookies in a food processor, or place them in a sealed plastic bag and crush with a rolling pin until mostly fine.
- Stir the crushed Oreos with melted butter until crumbs look evenly moistened. Press the mixture into the bottom of a springform pan.
- Chill the crust in the fridge for a few minutes to help it firm up.
- In a bowl, whip the heavy cream with powdered sugar and vanilla until stiff peaks form.
- In another bowl, beat the softened cream cheese until smooth.
- Fold the whipped cream into the cream cheese gently until uniform.
- Pour half of the mousse over the chilled crust and sprinkle with crushed Oreos if desired.
- Add the remaining mousse and smooth the surface. Refrigerate for at least 4 hours or overnight to set.
- Before serving, drizzle with chocolate ganache and sprinkle with crushed Oreos if desired.