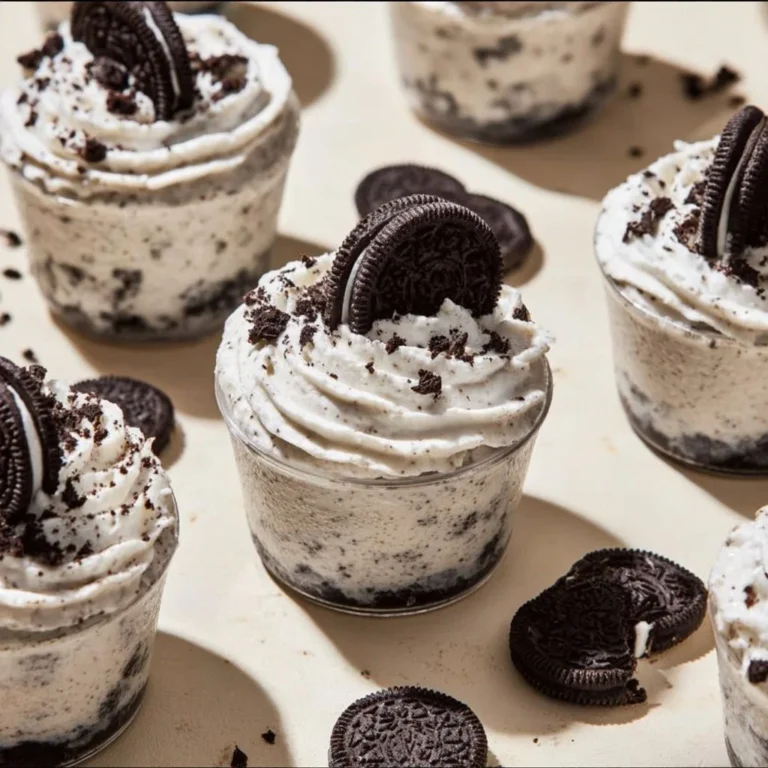
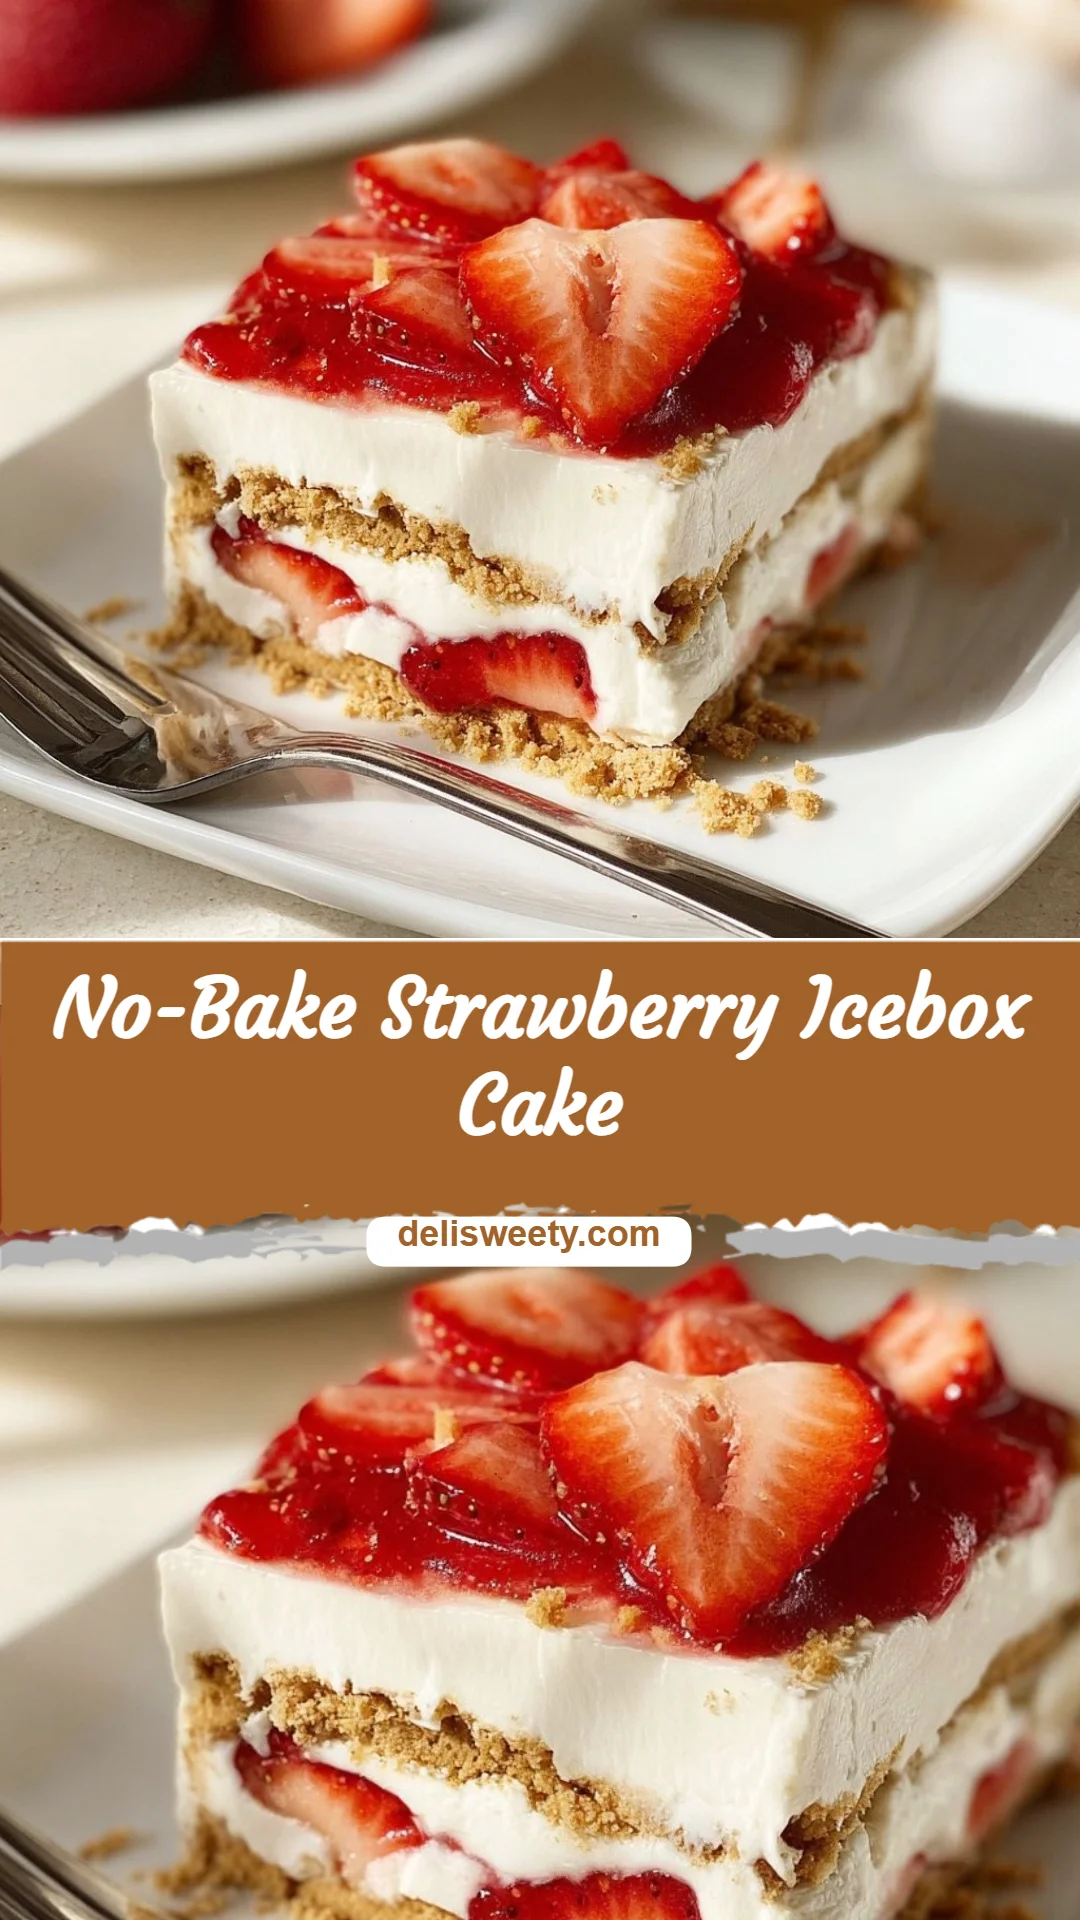
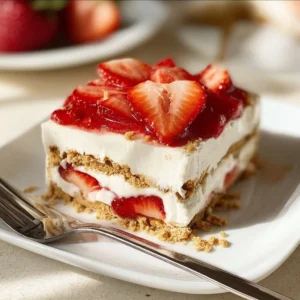
No-Bake Strawberry Icebox Cake
I still remember the first time I spooned a cool, strawberry-scented layer from an icebox cake—bright, juicy berries meeting pillowy cheesecake cream between the whisper-thin snap of graham crackers—and felt both comforted and a little dazzled. Many home cooks hesitate with layered desserts because they imagine fussy techniques, long baking times, or temperamental components. This No-Bake Strawberry Icebox Cake proves otherwise: it asks only for fresh strawberries, good-quality instant pudding, and a little patience in the refrigerator to transform simple ingredients into something refined. If you like make-ahead sweets that look and taste like they belong in a summer bistro, I think you’ll find this recipe reliably elegant—and if you’re curious about other no-bake ways to impress, my write-up of a no-bake pistachio cheesecake shares a similar, comforting spirit.
A Quick Look at This No-Bake Strawberry Icebox Cake Recipe
This No-Bake Strawberry Icebox Cake layers a creamy instant cheesecake-style pudding with the bright, fragrant pop of fresh strawberries and the buttery crunch of graham crackers. The two standout ingredients are the instant cheesecake (or vanilla) pudding mix for its lush, tang-kissed creaminess and ripe strawberries for pure, sun-warmed sweetness. The cake’s greatest benefit is its graceful presentation: slice it to reveal neat, jewel-toned layers that feel restaurant-quality, yet assembly is straightforward and forgiving. It’s special because chilling does the magic—melding textures and aromas—while staying wonderfully achievable for everyday cooks. Keep reading for tips that guarantee clean slices and the best berry flavor.
Ingredients You’ll Need for No-Bake Strawberry Icebox Cake
Essentials
- 3 boxes (3.4 oz each) instant cheesecake or vanilla pudding mix — Instant cheesecake mix gives the filling a subtle tang that lifts the strawberries; vanilla is a classic, neutral option.
- Cold milk — Use the amount specified on the pudding boxes (usually the cold milk specified on each box; follow package instructions). Cold milk yields the silkiest, most stable set.
- 2 cups full-fat whipped topping — Full-fat whipped topping (or stabilized whipped cream if you whisk your own) brings richness and body; avoid low-fat versions that can weep.
- 1 box (14.4 oz) graham crackers — Choose whole, crisp sheets for neat layers; honey or cinnamon grahams add a whisper of extra warmth.
- 3–4 cups fresh strawberries, washed, hulled, diced, and patted dry — Use fully ripe berries for the best aroma and natural sweetness; dry them thoroughly so the cake doesn’t become soggy.
Optional Add-ons
- Toasted sliced almonds or chopped pecans — For a toasty crunch contrast and a toffee-like aroma.
- Lemon zest — A light grating of lemon zest across layers brightens the cream and ties the fruit together.
- Vanilla extract — A teaspoon folded into the pudding mix deepens the flavor if using vanilla pudding.
- Strawberry jam or preserves — A thin smear on cracker layers intensifies fruitiness and creates a glossy top if warmed slightly first.
- Mini chocolate chips or shaved white chocolate — For a subtle, playful texture and a touch of sweetness against the tang of the cheesecake filling.
Substitutions and Shortcuts
- Whipped topping swap: If you prefer homemade, whip 1 1/2 cups heavy cream with 2 tablespoons powdered sugar and 1 teaspoon vanilla to soft peaks, then fold into the pudding. This yields a fresher flavor but requires a bowl and whisk.
- Gluten-free option: Use gluten-free graham-style crackers or crisp almond biscotti sheets for a nutty twist.
- Dairy-free alternative: Use a non-dairy instant pudding labeled for plant-based milk and a non-dairy whipped topping; choose coconut or oat-based options with higher fat for better texture.
- Shortcut for prep: Dice strawberries up to a day ahead and store them in a single layer on paper towels in the fridge to keep them dry. Toasted nuts can be prepared weeks ahead and kept airtight.
- Single-layer version: If you’re short on rectangles, assemble the same components in a square dish or even parfait glasses for individual servings—presentation stays chic and the timing is unchanged.
How to Make No-Bake Strawberry Icebox Cake Step-by-Step
I’ll guide you through the assembly so each layer is calm, confident, and beautiful. The key is gentle handling—folding, not beating—and patience while the layers settle in the refrigerator.
Make the pudding base
- Pour the contents of all three pudding mix boxes into a large mixing bowl. Add the cold milk according to the total amount stated on the pudding boxes (follow the package directions). Whisk briskly until the mixture begins to thicken and is smooth. This step creates the creamy foundation for your cake; whisking until just thick avoids overworking the stabilizers and yields a silkier texture.
Fold in the whipped topping
- Gently fold the full-fat whipped topping into the thickened pudding until the mixture is homogeneous and cloud-light. Use a large rubber spatula and make broad, lifting motions so you preserve air. This lightness is what keeps the filling delicate rather than dense, and it ensures the cake slices cleanly.
Prep the pan and crackers
- Line a rectangular 9×13-inch dish (or similar size) with graham crackers to fully cover the bottom. Break any crackers to fit snugly—gaps are fine; they’ll slightly soften and meld into the filling. A flat, even cracker layer gives you those signature, tidy slices when serving.
Layer the first spread
- Spoon about one-third of the pudding-whipped mixture over the graham crackers, spreading it to the edges with a spatula so the crackers are fully coated. A thin, even layer allows the crackers to soften uniformly without becoming mushy.
Add strawberries
- Scatter one-third of the diced strawberries in an even layer across the pudding. If using lemon zest or a light smear of warmed strawberry jam, this is the moment to add it—tiny accents here intensify the overall flavor without weighing the cake down.
Repeat layers
- Place another layer of graham crackers atop the strawberries (if you prefer continuous cracker layers, you can line the next layer with crackers before the cream), then spread a second third of the pudding mixture and follow with another third of the strawberries. Finish with a final cracker layer, the remaining pudding, and arrange the last strawberries artfully on top.
Chill and let flavors marry
- Cover the dish tightly with plastic wrap and refrigerate for at least 4 hours, though overnight is ideal. During this time the crackers absorb moisture and soften to a cake-like texture while the flavors meld—the chilling is essential for clean slicing and the cohesive, silky mouthfeel.
Slice with a hot knife and serve
- For neat slices, dip a chef’s knife in hot water, wipe it dry, then make a single, confident cut. Repeat heating and wiping between cuts. Serve cold, optionally topped with a dollop of whipped cream, a sprinkle of toasted nuts, or a few finely grated curls of white chocolate. The contrast of the cool cream, crisp-n-soft crackers, and juicy strawberries is the moment to savor.
Throughout assembly I keep my motions relaxed and deliberate; there’s no rush. The technique is more about patience and respect for textures than technical prowess.
Common Mistakes to Avoid
Every cook makes a slip now and then; I’ve found that framing those slips as small lessons helps preserve confidence. These three common missteps are easy to avoid with a little preparation and a gentle touch.
Mistake 1: Soggy layers from wet fruit
If strawberries are added straight from a wash without being dried, they can release extra moisture and make crackers overly soft. Pat strawberries thoroughly with paper towels and layer them on paper to rest if they’re especially juicy.
Mistake 2: Overbeating the filling
Beating the pudding and whipped topping too vigorously can deflate the mixture, leaving a dense filling. Fold the whipped topping in gently with a spatula to keep the filling airy; it still sets beautifully but maintains a light texture.
Mistake 3: Cutting with a cold or dirty knife
Serrated or room-temperature knives can tear the delicate layers. Warm a sharp chef’s knife under hot water, dry it, and slice with a single steady motion—wiping and reheating between cuts for the cleanest presentation.
Serving Suggestions for No-Bake Strawberry Icebox Cake
This cake wants to be admired as much as eaten. A balanced garnish and thoughtful plating make it feel like a carefully composed dessert course.
Elegant slice presentation
Slice the cake into generous rectangles and serve each piece on a cool plate. Add a small quenelle of whipped cream beside the slice and scatter a few microgreens or the tiniest lemon zest threads for contrast; the result reads refined and intentional.
Textural balance
Offer toasted nuts or a sprinkle of finely chopped shortbread crumbs to introduce a pleasant crunch against the cake’s creamy interior. If you use jam between layers, keep it light—too much will dominate the texture and sweetness.
Occasion and pairings
This No-Bake Strawberry Icebox Cake is perfect for warm-weather dinners, bridal showers, or weekend teatime. Pair with a pot of fragrant tea, a simple sparkling water with lemon, or an espresso for after-dinner elegance. It’s versatile enough to be dressed up for celebrations or kept casually beautiful for a family gathering.
Conclusion
I love how this No-Bake Strawberry Icebox Cake turns a handful of pantry staples and ripe fruit into a dessert that feels both nostalgic and polished; it’s the kind of recipe that builds confidence because the results are reliably beautiful and delicious. It’s flexible—adapt the nuts, use lemon zest for brightness, or fold in a spoonful of jam—and it rewards the small, thoughtful details that make a home-cooked dessert sing. For another take on no-bake layered desserts that leans into nutty richness, I often refer readers to a trusted Strawberry Icebox Cake Recipe | The Kitchn for inspiration and variations.
FAQs About No-Bake Strawberry Icebox Cake
I recommend chilling the No-Bake Strawberry Icebox Cake for at least 4 hours to let the graham crackers soften and flavors meld; overnight chill gives the cleanest slices and the most cohesive texture.
Absolutely. I often assemble the No-Bake Strawberry Icebox Cake a day ahead—cover and refrigerate overnight—and then slice and finish just before guests arrive. It keeps beautifully and settles into its best texture with time.
I don’t recommend freezing the No-Bake Strawberry Icebox Cake for best texture—frozen berries can become watery when thawed, and the filling may change consistency. For short-term needs, freeze individual, tightly wrapped slices and thaw gently in the fridge for a few hours.
To avoid overly soft crackers, make sure the strawberries are well-dried, use full-fat whipped topping or stabilized cream, and don’t overdo jam or extra liquid layers. Chilling helps set everything; if you need firmer layers, use one fewer spoonful of pudding per layer to reduce moisture transfer.
Yes—finish the cake with a precise ribbon of strawberry jam gently warmed and brushed over the top berries, finely grate white chocolate across the surface, and serve slices on pre-chilled plates. A quick sprinkle of toasted nuts adds contrast and an elegant finish.
No-Bake Strawberry Icebox Cake
Ingredients
Essentials
- 3 boxes instant cheesecake or vanilla pudding mix (3.4 oz each) Instant cheesecake mix gives the filling a subtle tang; vanilla is a classic.
- approx. cups cold milk Use the amount specified on the pudding boxes.
- 2 cups full-fat whipped topping Brings richness; avoid low-fat versions.
- 1 box graham crackers (14.4 oz) Choose whole, crisp sheets for neat layers.
- 3-4 cups fresh strawberries, washed, hulled, diced, and patted dry Use fully ripe berries for the best aroma and sweetness.
Optional Add-ons
- to taste toasted sliced almonds or chopped pecans For a toasty crunch contrast.
- to taste lemon zest Brightens the cream.
- 1 teaspoon vanilla extract Deepens flavor if using vanilla pudding.
- to taste strawberry jam or preserves Intensifies fruitiness.
- to taste mini chocolate chips or shaved white chocolate For playful texture and sweetness.
Instructions
Make the pudding base
- Pour the contents of all three pudding mix boxes into a large mixing bowl. Add the cold milk according to the total amount stated on the pudding boxes. Whisk briskly until the mixture begins to thicken and is smooth.
Fold in the whipped topping
- Gently fold the full-fat whipped topping into the thickened pudding until homogeneous.
Prep the pan and crackers
- Line a rectangular 9×13-inch dish with graham crackers to fully cover the bottom.
Layer the first spread
- Spoon about one-third of the pudding-whipped mixture over the graham crackers, spreading to the edges.
Add strawberries
- Scatter one-third of the diced strawberries in an even layer across the pudding.
Repeat layers
- Place another layer of graham crackers atop the strawberries, then spread a second third of the pudding mixture and follow with another third of the strawberries.
Chill and let flavors marry
- Cover the dish tightly and refrigerate for at least 4 hours, preferably overnight.
Slice with a hot knife and serve
- Dip a chef’s knife in hot water, wipe it dry, then make a single, confident cut. Repeat heating and wiping between cuts. Serve cold with optional toppings.