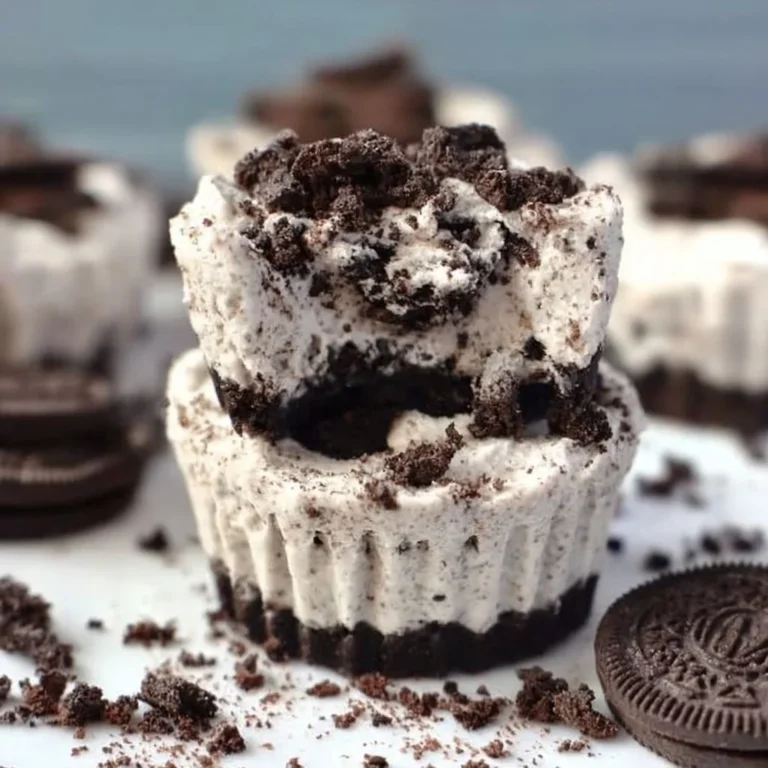
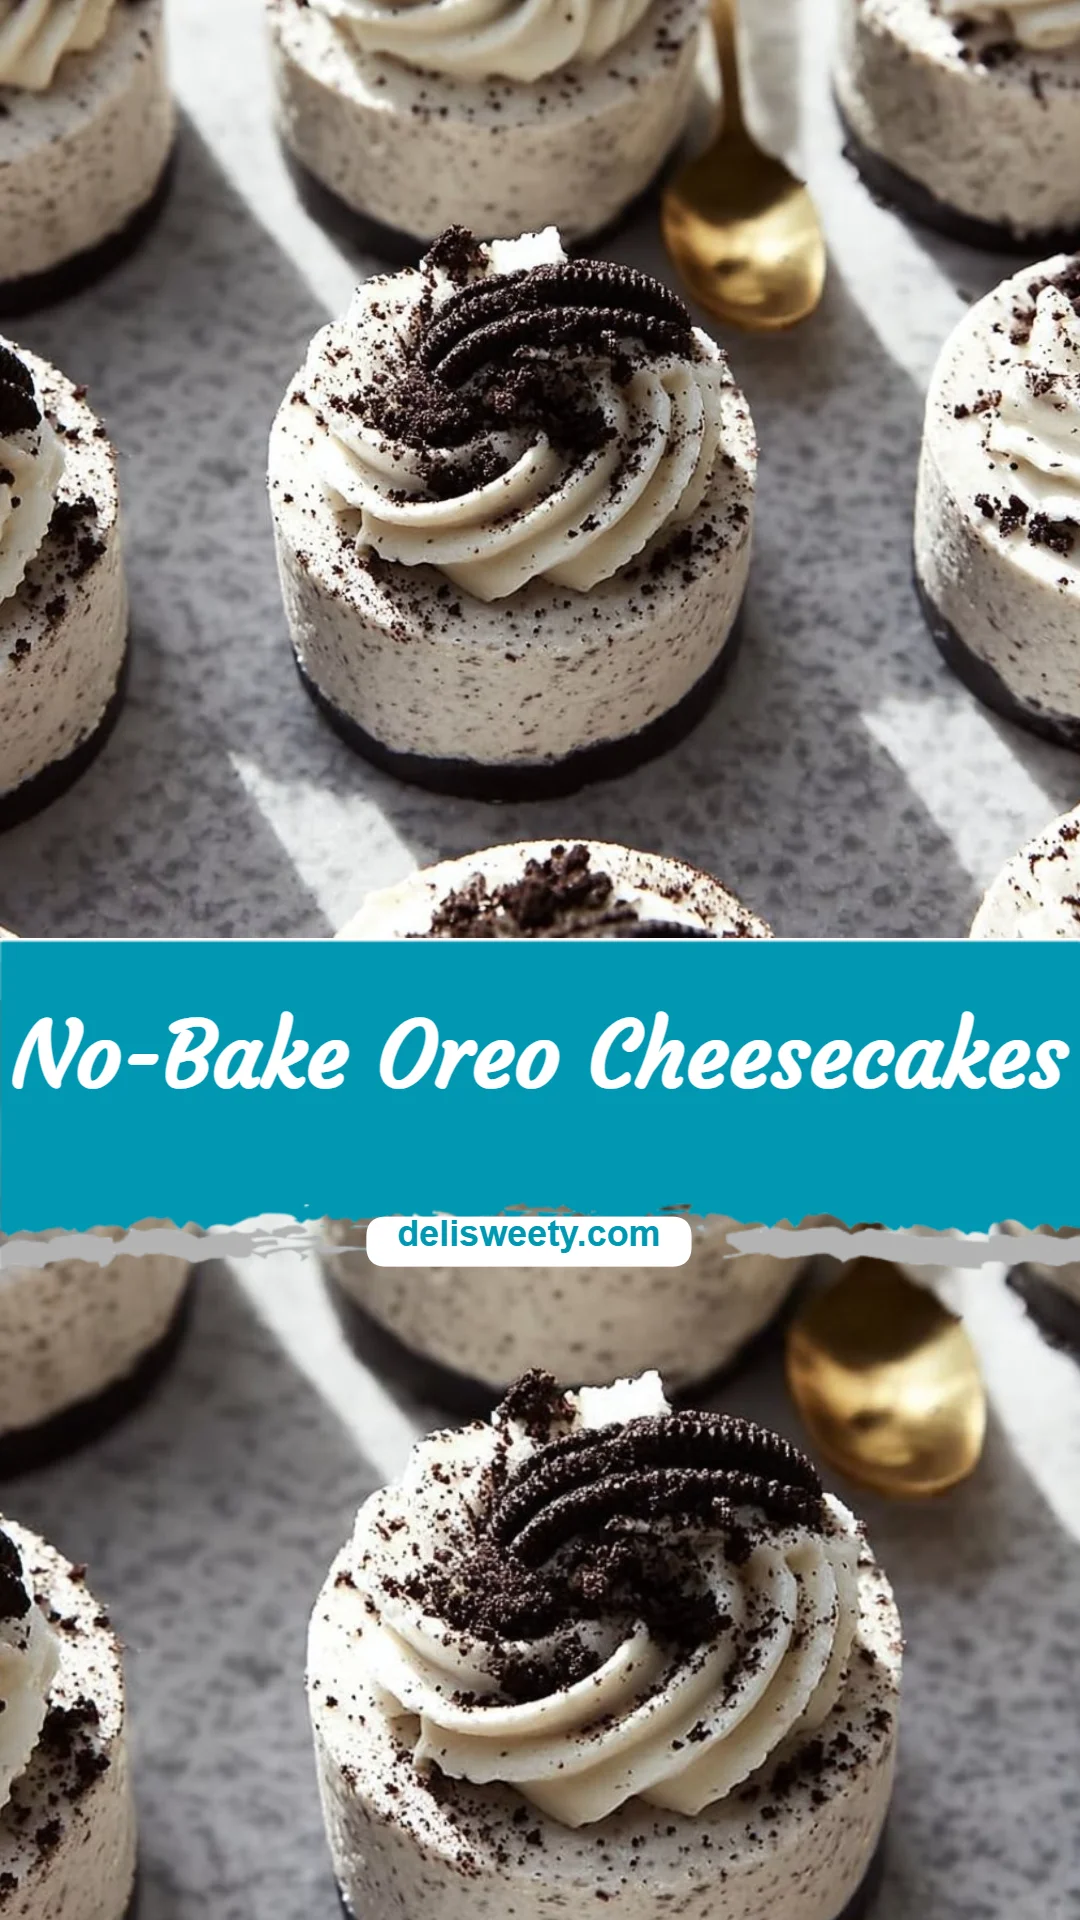
No-Bake Oreo Cheesecakes
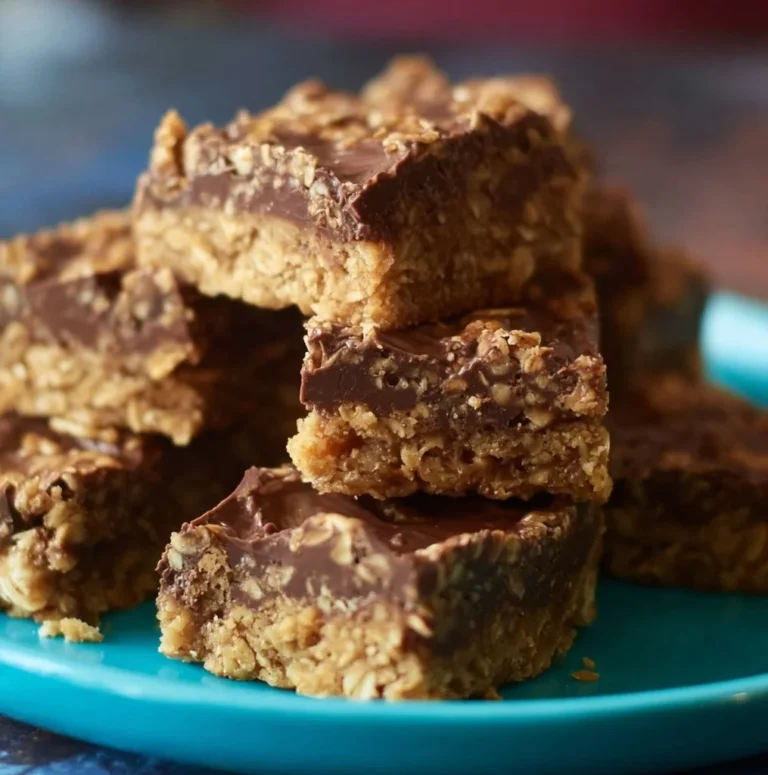
After a long day of after-school chaos, homework calls and tired parents, I know the last thing you want is a complicated dessert that eats into bedtime. This No-Bake Oreo Cheesecakes recipe is fast, forgiving, and almost always a hit with kids and adults alike — and it’s one of my go-to easy desserts when time is short. If you like simple no-bake sweets, you might also enjoy my take on the 5-ingredient no-bake crunchie slice for another stress-free option.
A Quick Look at This No-Bake Oreo Cheesecakes Recipe
This recipe pairs two things everyone loves: Oreo cookies and creamy cheesecake flavor made with vegan cream cheese and non-dairy whipped cream. It’s ready to assemble in about 10–15 minutes and then chills while you handle dinner, homework, or a quick shower. Minimal bowls and no oven mean less cleanup and a dessert that’s make-ahead friendly for busy weeknights. Trust me — it’s uncomplicated, picky-eater approved, and consistently reliable when you need a quick win.
Ingredients You’ll Need for No-Bake Oreo Cheesecakes
Essentials
- Oreo biscuits (for the crust) — about 18–24, depending on serving sizes
- Vegan cream cheese — 8 oz (or your preferred non-dairy block or tub)
- Powdered sugar — 1/3 to 1/2 cup, depending on sweetness preference
- Non-dairy whipped cream — 1 cup (can be store-bought in a tub or can)
- Oreo cookies for topping — a few whole cookies and some crushed crumbs
Optional Add-ons
- Mini chocolate chips — a handful for extra texture
- Chocolate syrup or melted vegan chocolate — for drizzling
- Fresh berries (strawberries or raspberries) — adds brightness for adults and kids
- Chopped toasted nuts (almonds or hazelnuts) — for crunch if no allergy issues
- Vanilla extract — a splash (1/2 tsp) if you want extra depth in the filling
Substitutions and Shortcuts
- Shortcut crust: Use store-bought Oreo crumbs or cookie crumbs to skip crushing by hand.
- Quick blender option: Pulse Oreos in a food processor or blender and press directly into jars to save time and dishes.
- Cream cheese swap: If you don’t have vegan cream cheese, regular cream cheese works fine for non-vegan households.
- Whipped cream swap: Use stabilized whipped topping from a tub for longer hold if you plan to transport desserts.
- Less sugar: Substitute powdered sugar with a powdered erythritol blend for a lower-sugar version; adjust to taste.
- Single-bowl trick: Use the bowl you crushed the Oreos in (wipe briefly) to mix the filling and cut down on dishes.
How to Make No-Bake Oreo Cheesecakes Step-by-Step
I keep this process simple so you can get these desserts into the fridge quickly and without stress. Below are clear, no-fuss steps that save time and keep dishes to a minimum.
- Prep your containers and cookies
- Choose small jars, ramekins, or a 9×9 pan. Pop a few Oreos into a plastic bag and crush with a rolling pin, or pulse in a food processor to a coarse crumb. Press an even layer (about 1–2 tbsp) into the bottom of each container for the base.
- Sweeten the cream cheese
- Put vegan cream cheese in a medium bowl and add powdered sugar. Stir or beat until smooth — I use a hand mixer for 30 seconds. No need for perfect whipping; you want a silky base that’s easy to fold.
- Fold in the whipped cream
- Spoon the non-dairy whipped cream into the sweetened cream cheese. Fold gently until combined and light. Folding keeps the filling fluffy and avoids over-beating.
- Assemble quickly
- Spoon or pipe the cheesecake filling over the Oreo base. A cookie scoop or spoon makes this fast and keeps portions even. Smooth the tops lightly if you want a clean look.
- Chill until set
- Refrigerate for at least 2 hours. If you’re short on time, a 60–90 minute chill in a shallow pan speeds things up, but I recommend 2 hours when possible for firmer slices.
- Finish and serve
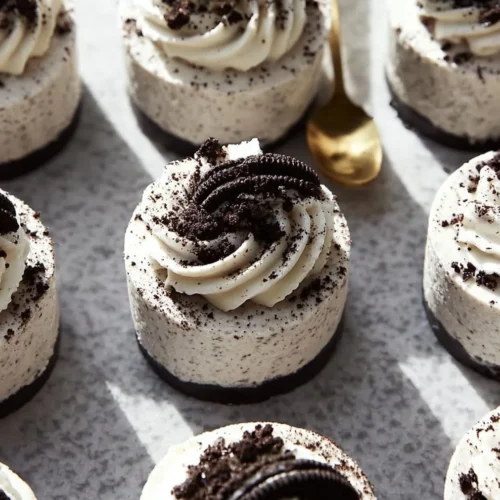
- Right before serving, top each cheesecake with a dollop of whipped cream, crushed cookie crumbs, and a mini Oreo or berry. If you’re transporting, keep the toppings separate and add them at the last minute.
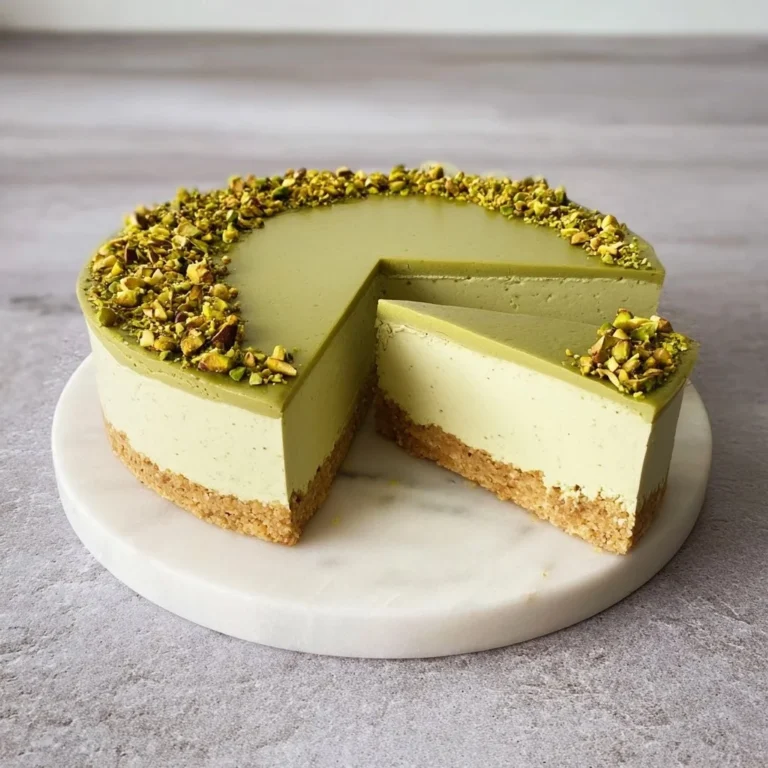
I also like to include a link to another easy dessert idea for days when you want variety, like the 5-ingredient no-bake Lotus Biscoff pie bars — they’re another quick make-ahead crowd-pleaser.
Common Mistakes to Avoid
A little planning keeps this dessert quick and headache-free, so you don’t waste time or create extra cleanup. These three common slip-ups are easy to avoid and will keep the whole process smooth.
Mistake 1: Skipping the chill time
Rushing the refrigerator step leads to runny filling and messy servings. I know waiting is annoying, but 2 hours is worth it — or chill longer if you can. If you’re pressed for time, make them earlier in the day or the night before.
Mistake 2: Over-mixing the filling
Be gentle when combining the whipped cream; stirring too hard knocks out the air and gives a dense texture. I fold with a spatula in three slow turns and call it done — light and fluffy is the goal.
Mistake 3: Using too much crust
Piling a thick crust uses up too many Oreos and can overpower the filling. Aim for a thin, even base so each bite balances cookie and cream. Press gently; you only need the crumbs to stick together, not form a brick.
Serving Suggestions for No-Bake Oreo Cheesecakes
These little cheesecakes are wildly flexible. Here are simple ways I serve them that keep prep minimal, please kids, and feel a bit special without extra work.
Kid-friendly sides
Pair mini cheesecakes with washed fruit slices like apple wedges or banana rounds. They’re easy to grab, create a balanced plate, and fruits like strawberries add color that kids notice.
Easy add-ons
Keep small bowls of mini chocolate chips, sprinkles, or extra crushed Oreos on the table so kids can top their own dessert. It’s an easy way to make dessert interactive with zero extra cooking.
Minimal prep
Serve the cheesecakes alongside store-bought vanilla ice cream or a simple hot cocoa for a cozier night in. Both require no extra cooking and make dinner feel complete.
Conclusion
I love how No-Bake Oreo Cheesecakes rescue busy weeknights — they’re fast to assemble, forgiving with substitutions, and everyone usually asks for seconds. Whether you make them in jars for pudding-style desserts or in a pan to slice, they fit into real family schedules and picky-eater routines without drama. If you want a tested reference for a similar version, this No-Bake Oreo Cheesecake is a helpful source I often check for inspiration and tips.
FAQs About No-Bake Oreo Cheesecakes
I recommend chilling No-Bake Oreo Cheesecakes for at least 2 hours to let the filling set properly. If you’re short on time, 60–90 minutes in a shallower container helps, but the texture will be firmer with a full 2-hour chill or longer.
Yes — store leftovers in an airtight container in the refrigerator for up to 3–4 days. Keep extra toppings separate and add them when you serve to keep the cheesecakes looking fresh.
Absolutely. Using vegan cream cheese and non-dairy whipped cream makes these No-Bake Oreo Cheesecakes suitable for many dairy-free diets. Double-check the Oreos (most varieties are dairy-free but check ingredients for your region) and any add-ons for allergens.
Yes — these are great for make-ahead prep. I often assemble them the night before and chill overnight; then I add fresh whipped cream and crumbs just before guests arrive for the best presentation.
To reduce sweetness, cut the powdered sugar by a quarter or substitute with a powdered sweetener to taste. You can also add a pinch of salt or a small splash of lemon juice to balance sweetness while keeping the filling creamy and kid-friendly.
No-Bake Oreo Cheesecakes
Ingredients
Essentials
- 18-24 pieces Oreo biscuits (for the crust)
- 8 oz Vegan cream cheese or your preferred non-dairy block or tub
- 1/3 to 1/2 cup Powdered sugar depending on sweetness preference
- 1 cup Non-dairy whipped cream can be store-bought in a tub or can
- a few pieces Oreo cookies for topping plus some crushed crumbs
Optional Add-ons
- 1 handful Mini chocolate chips for extra texture
- 1-2 tbsp Chocolate syrup or melted vegan chocolate for drizzling
- 1 cup Fresh berries (strawberries or raspberries) adds brightness for adults and kids
- 1/4 cup Chopped toasted nuts (almonds or hazelnuts) for crunch if no allergy issues
- 1/2 tsp Vanilla extract for extra depth in the filling
Instructions
Preparation
- Choose small jars, ramekins, or a 9×9 pan. Pop a few Oreos into a plastic bag and crush with a rolling pin, or pulse in a food processor to a coarse crumb. Press an even layer (about 1–2 tbsp) into the bottom of each container for the base.
Mix Filling
- Put vegan cream cheese in a medium bowl and add powdered sugar. Stir or beat until smooth — use a hand mixer for about 30 seconds. Aim for a silky base.
- Spoon the non-dairy whipped cream into the sweetened cream cheese. Fold gently until combined and light to keep the filling fluffy.
Assemble
- Spoon or pipe the cheesecake filling over the Oreo base, smoothing the tops lightly if desired.
Chill
- Refrigerate for at least 2 hours to let the filling set properly. For a quicker chill, use a shallow pan for 60–90 minutes.
Serve
- Top each cheesecake with whipped cream, crushed cookie crumbs, and a mini Oreo or berry before serving.