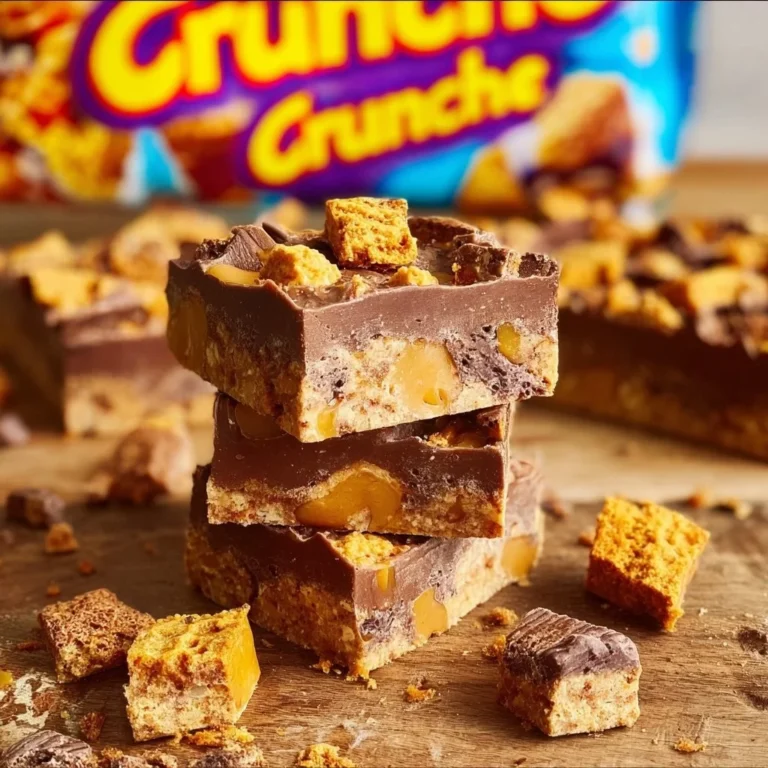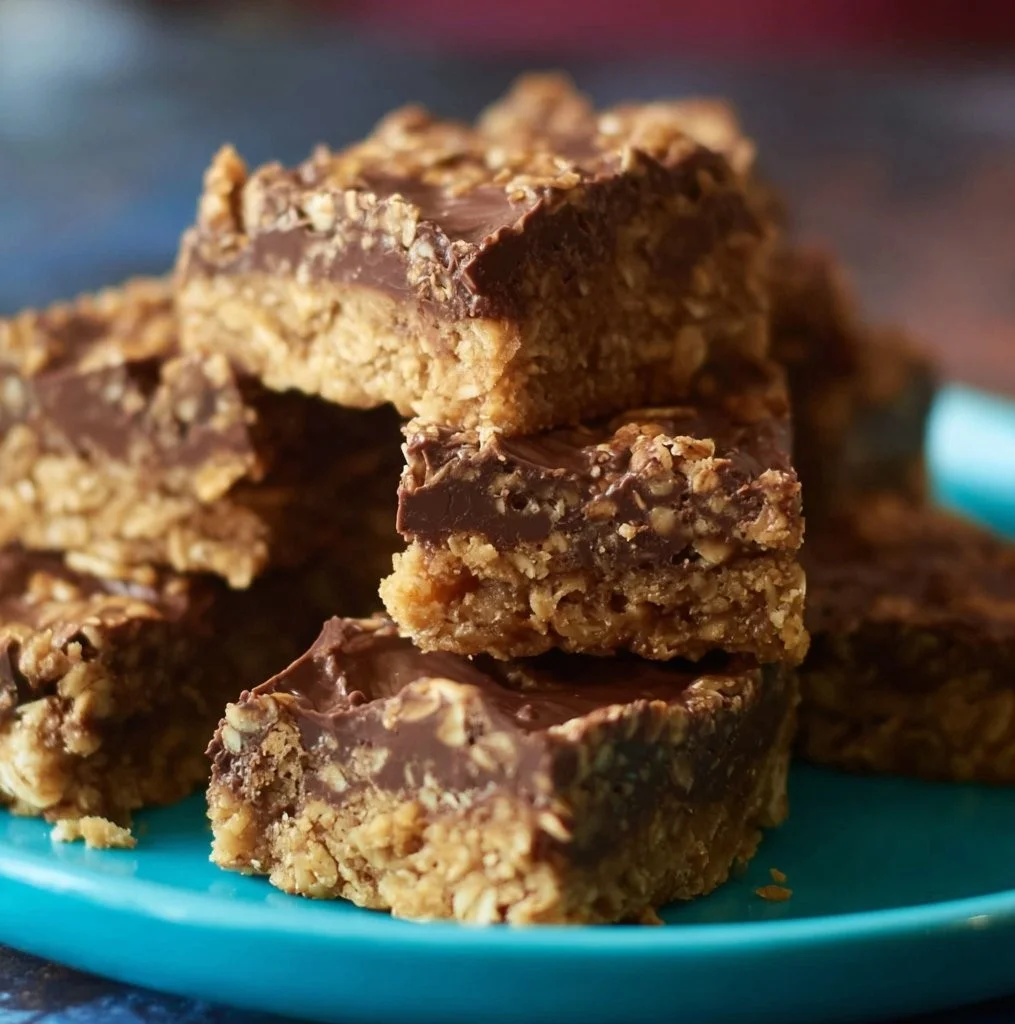
No-Bake Chocolate Peanut Butter Oat Bars
A Busy-Family Rescue
After a chaotic after-school rush or a late workday, I know dinner can feel impossible—kids asking for snacks, homework staring you down, and you trying to keep peace at the table. No-Bake Chocolate Peanut Butter Oat Bars are my go-to for nights like that: they come together in minutes, require almost no cleanup, and please both picky eaters and adults who need a little chocolate fix. I also love that you can make a big batch ahead and trust they’ll be ready when you need them—no last-minute baking stress. If you want a quick treat idea inspired by similar family-friendly peanut butter recipes, I sometimes adapt ideas from my favorite kid-approved projects like chocolate peanut butter Valentine’s hearts for seasonal fun.
A Quick Look at This No-Bake Chocolate Peanut Butter Oat Bars Recipe
This recipe blends two universal favorites—peanut butter and chocolate—with hearty rolled oats for a satisfying, kid-approved bar. It’s fast: mixing takes under 10 minutes, then the bars set in the fridge while you handle other tasks. Minimal dishes and no oven mean less cleanup and no heat on a busy night. These bars are make-ahead friendly, great for lunchboxes, after-school snacks, or dessert. I promise they’re forgiving—measurements are flexible, and swaps work well if you need to adapt for tastes or pantry limits.
Ingredients You’ll Need for No-Bake Chocolate Peanut Butter Oat Bars
Essentials
- 2 cups rolled oats (old-fashioned oats work best for texture)
- 1 cup creamy peanut butter (or your family’s favorite nut butter)
- 1 cup chocolate chips (semi-sweet or milk chocolate, depending on preference)
- 1/2 cup honey or maple syrup (pick whichever you prefer or have on hand)
- 1 teaspoon vanilla extract
- Pinch of salt
These are simple, easy-to-find grocery items that most families keep or can grab quickly. I stick with creamy peanut butter here because it binds the oats smoothly; old-fashioned oats give the best chew without getting mushy.
Optional Add-ons
- 1/4 cup chopped nuts (almonds, peanuts, or walnuts) for extra crunch
- 2 tablespoons ground flaxseed or chia seeds to boost fiber
- 1/4 cup shredded coconut for a tropical twist
- 1/4 cup mini marshmallows for a fun, softer texture kids love
- 1/4 teaspoon cinnamon for warmth
- A sprinkle of sea salt on top for flavor contrast
These extras let you customize bars for texture, nutrition, or flavor without changing the basic, fast method. I often add a few seeds when I want them a little healthier, or chopped peanuts if the kids are in the mood for crunch.
Substitutions and Shortcuts
- Swap peanut butter with almond butter, sunflower seed butter (nut-free), or cashew butter if you need an allergy-friendly option. Sunflower butter works great for school snacks.
- Use quick oats in a pinch, but reduce stirring—quick oats absorb more liquid and can make the mixture thicker.
- If you don’t have honey or maple syrup, use brown rice syrup or agave (taste will change slightly).
- Pre-melted peanut butter cups or peanut butter chips can replace part of the chocolate chips for variety.
- Buy pre-chopped nuts or pre-shredded coconut to save time.
- If you want the chocolate only on top, melt the chips and drizzle or spread them after you press the mixture into the pan—less stirring and cleaner lines.
- For no-melt chocolate, use chocolate chips mixed into the oat mixture and pressed in as-is; they’ll soften but not fully melt, which some kids prefer.
If you want another easy, no-bake family treat idea, I sometimes turn to quick recipes like these 5-ingredient no-bake Biscoff bars when I need variety without fuss.
How to Make No-Bake Chocolate Peanut Butter Oat Bars Step-by-Step
I keep these steps short and practical, focusing on speed and low fuss. You don’t need perfect measurements—this recipe is forgiving.
- Mix the base: In a large mixing bowl, scoop in 2 cups rolled oats, 1 cup peanut butter, 1/2 cup honey or maple syrup, 1 teaspoon vanilla, and a pinch of salt. Use a sturdy spoon or rubber spatula to fold everything together until evenly combined. Don’t overthink the exact texture—aim for a sticky, easy-to-press mixture.
- Save dishes: If you want to cut a bowl, stir the oats and peanut butter directly in the pan you plan to press into (line it with parchment first), then melt chocolate in a separate small bowl. This saves one bowl and one transfer.
- Melt the chocolate: Microwave the chocolate chips in 20–30 second bursts, stirring between bursts, until smooth. Alternatively, use a double boiler if you prefer. Microwave is fastest and fine for busy nights.
- Combine or top: You can pour the melted chocolate into the oat mixture and stir to coat everything, or spread the oat mixture into the pan and pour the chocolate on top for a layered look. Both work—layered bars give a classic top-chocolate finish.
- Press into the pan: Line an 8×8 or 9×9-inch baking dish with parchment paper, then press the mixture evenly into the dish. Press firmly with the back of a spoon or a piece of parchment paper to avoid sticking.
- Chill to set: Refrigerate the pan for at least 2 hours until the bars are firm. If you’re in a hurry, a freezer for 30–45 minutes speeds things up. I usually prep them before dinner and let them chill while we eat.
- Cut and serve: Lift the bars out using the parchment paper and cut into squares or bars. Store leftovers in an airtight container in the fridge.
Tips that save time: Use the microwave to melt chocolate, press the mix into the pan with a piece of parchment to avoid dirty hands, and refrigerate while you do other tasks. Precision isn’t required—if the mixture looks a little loose, it will firm up in the fridge.
Common Mistakes to Avoid
I want you to feel calm while you make these bars—avoid stress and wasted time by steering clear of a few common slip-ups. Below are the three mistakes that cost families the most time or cause the kids to say “no thanks.”
Mistake 1: Skipping parchment and making a sticky mess
If you don’t line your pan, the bars will cling to the dish and cutting them becomes a frustrating chore. Always use parchment or plastic wrap so you can lift the bars out cleanly and slice easily.
Mistake 2: Melting chocolate too fast without stirring
Microwaving without stirring causes overheating and grainy chocolate. Heat in short bursts and stir each time to keep the chocolate silky—this takes seconds and prevents extra cleanup.
Mistake 3: Trying to speed up setting by baking
Putting these in the oven doesn’t help—the no-bake method is designed to set in the fridge. If you try to bake them, you’ll change the texture and likely end up with hard edges. Chill in the fridge or freezer instead.
Serving Suggestions for No-Bake Chocolate Peanut Butter Oat Bars
These bars are versatile. I use them as after-school snacks, lunchbox treats, or a quick dessert after busy weeknights. They pair well with simple, low-prep sides that balance sweetness and keep meals kid-friendly.
Kid-friendly sides
Serve a bar with fresh fruit like apple slices, banana halves, or a small cup of mixed berries. Kids love the combo of something sweet and something fresh, and it requires zero cooking.
Easy add-ons
Top a bar with a drizzle of yogurt, a scatter of crushed pretzels, or a spoonful of peanut butter for a little extra flair. These require minimal effort but make the bars feel special.
Minimal prep
Pack bars in small reusable containers or wax paper for grab-and-go snacks. If you’re prepping for school lunches, slice them the night before and keep them refrigerated until morning—no extra work during the rush.
Conclusion
I promise these No-Bake Chocolate Peanut Butter Oat Bars save you time, minimize cleanup, and handle picky eaters with ease—hence why I make them over and over for real family schedules. They’re flexible, forgiving, and perfect for prepping in batches so you always have a satisfying snack on hand. For one extra simple variation and a similar take on no-bake bars, I sometimes reference Chocolate Peanut Butter Oatmeal Bars | My Goodness Kitchen for inspiration and different serving ideas.
FAQs About No-Bake Chocolate Peanut Butter Oat Bars
Q1: How long do No-Bake Chocolate Peanut Butter Oat Bars take to set and be ready to eat?
A1: These No-Bake Chocolate Peanut Butter Oat Bars usually need at least 2 hours in the fridge to set firmly. If you’re short on time, popping them in the freezer for 30–45 minutes works well—just watch closely so they don’t freeze solid. I often start them before dinner and cut them after the meal.
Q2: How should I store leftovers of No-Bake Chocolate Peanut Butter Oat Bars?
A2: Store leftover No-Bake Chocolate Peanut Butter Oat Bars in an airtight container in the fridge for up to 1 week. You can also freeze them for up to 2 months—wrap individual bars in parchment and seal in a freezer bag so you can thaw one at a time.
Q3: Can I make No-Bake Chocolate Peanut Butter Oat Bars nut-free for school snacks?
A3: Yes—swap peanut butter for sunflower seed butter or a seed-based spread to make No-Bake Chocolate Peanut Butter Oat Bars safe for nut-free schools. I recommend taste-testing a small batch first because seed butter can be slightly thinner; you may need a touch less sweetener.
Q4: How can I make No-Bake Chocolate Peanut Butter Oat Bars healthier without losing flavor?
A4: For a healthier spin on No-Bake Chocolate Peanut Butter Oat Bars, use half oats and half finely chopped dates or prunes for natural sweetness, add 2 tablespoons of ground flaxseed or chia seeds for fiber, and swap half the chocolate chips for cocoa nibs if you want less sugar. The bars still hold together well and kids usually won’t notice the difference.
Q5: Can I double or halve this No-Bake Chocolate Peanut Butter Oat Bars recipe easily?
A5: Absolutely—this No-Bake Chocolate Peanut Butter Oat Bars recipe scales up or down with no problem. If doubling, use a larger pan and slightly longer chill time. If halving, a small loaf pan works well. Because the recipe is forgiving, exact precision isn’t necessary—just keep the ratios similar and adjust chill time accordingly.

No-Bake Chocolate Peanut Butter Oat Bars
Ingredients
Essentials
- 2 cups rolled oats Old-fashioned oats work best for texture
- 1 cup creamy peanut butter Or your family’s favorite nut butter
- 1 cup chocolate chips Semi-sweet or milk chocolate, depending on preference
- 1/2 cup honey or maple syrup Pick whichever you prefer or have on hand
- 1 teaspoon vanilla extract
- 1 pinch salt
Optional Add-ons
- 1/4 cup chopped nuts Almonds, peanuts, or walnuts for extra crunch
- 2 tablespoons ground flaxseed or chia seeds To boost fiber
- 1/4 cup shredded coconut For a tropical twist
- 1/4 cup mini marshmallows For a fun, softer texture kids love
- 1/4 teaspoon cinnamon For warmth
- 1 sprinkle sea salt On top for flavor contrast
Instructions
Preparation
- In a large mixing bowl, combine rolled oats, peanut butter, honey or maple syrup, vanilla extract, and a pinch of salt. Mix until well combined.
- To save dishes, you can stir the oats and peanut butter directly in the baking dish lined with parchment, and melt chocolate in a separate bowl.
Cooking
- Melt the chocolate chips in the microwave in 20-30 second bursts, stirring in between, or use a double boiler.
- You can either mix the melted chocolate into the oat mixture or pour it on top after pressing the oat mixture into the baking dish.
- Press the mixture evenly into a lined 8x8 or 9x9 inch baking dish.
- Refrigerate for at least 2 hours until set, or place in the freezer for 30-45 minutes to speed up the process.
Serving
- Once set, lift the bars out using the parchment paper and cut into squares or bars.
- Store leftovers in an airtight container in the fridge.