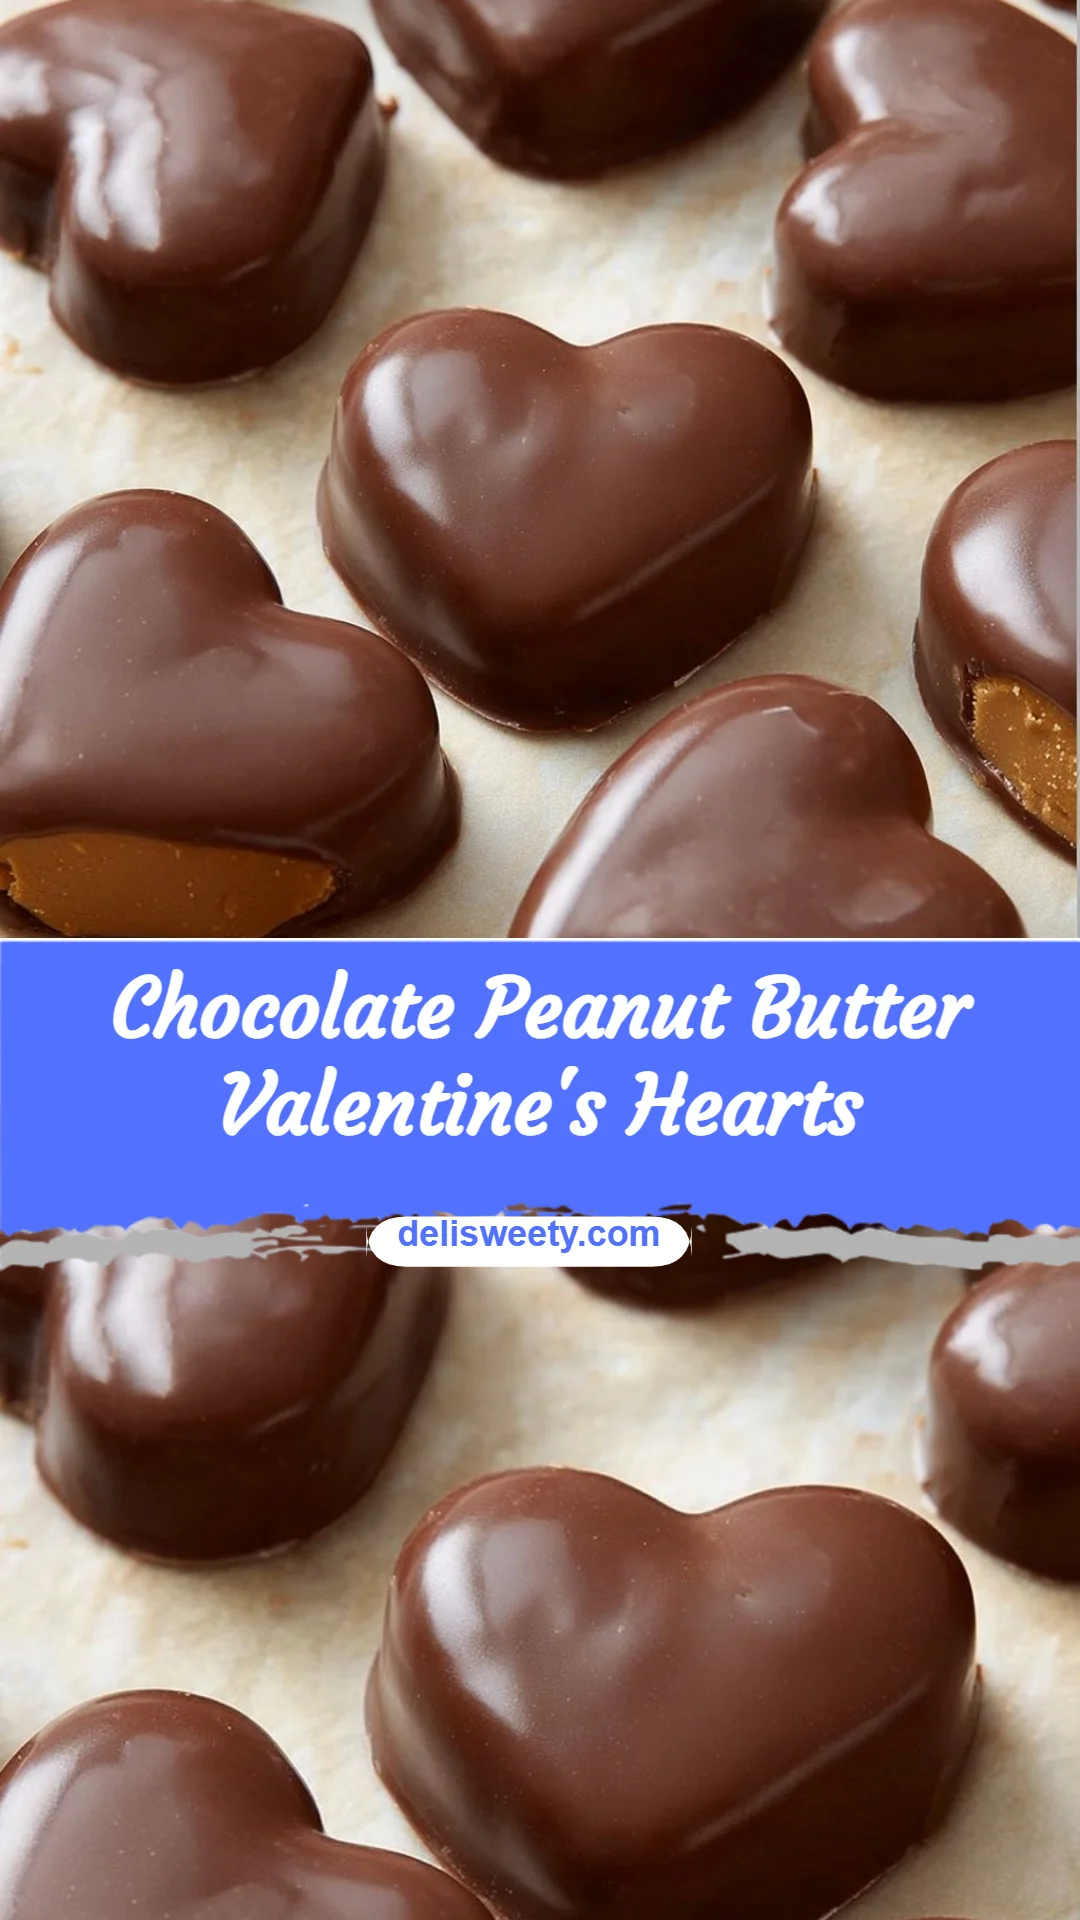
Chocolate Peanut Butter Valentine’s Hearts
I still laugh remembering the time I tried to make heart-shaped chocolates for Valentine’s and ended up with one giant, lopsided heart that my dog politely inspected. Ever had that “I can do this” moment turn into a funny kitchen memory? If you’re nervous about tempering chocolate or fussing with fancy equipment, I get it — I’ve been there. This Chocolate Peanut Butter Valentine’s Hearts recipe is deliberately simple and forgiving, so even if you’re new to candy-making you’ll walk away feeling proud (and with tasty treats). For a cozy pairing idea, I sometimes set out a slice of my chocolate chip banana bread alongside these hearts for a warm-afternoon treat.
A Quick Look at This Chocolate Peanut Butter Valentine’s Hearts Recipe
This recipe centers on creamy natural peanut butter and a good-quality semi-sweet or dark chocolate — classic flavors that sing together. It’s a convenience-friendly treat: no tempering required, minimal tools, and the hearts chill in the fridge until they’re ready. Nutritionally, they’re a comforting source of protein and a satisfying sweet bite, perfect for portion control. It’s great for beginners because the steps are straightforward and forgiving, and the silicone mold does most of the shaping work. Scroll down — I’ll share easy tips and pretty finishing ideas that make these feel special without being fussy.
Ingredients You’ll Need for Chocolate Peanut Butter Valentine’s Hearts
Essentials
- 1 cup creamy natural peanut butter — Choose a smooth, runny-style natural peanut butter for the best texture in the filling. If it separates in the jar, stir it until uniform before measuring.
- 1 cup powdered sugar — Also known as confectioners’ sugar; this sweetens and firms up the filling.
- 1 cup semi-sweet or dark chocolate chips — Use good-quality chips for the best flavor. Semi-sweet is classic; dark gives a more grown-up contrast.
- 1 tablespoon unsalted butter — Adds shine and a silky texture to the melted chocolate.
- Heart-shaped silicone mold — Flexible for easy removal; choose one with cavity sizes you like (mini or standard).
Optional add-ons
- Flaky sea salt — A sprinkling on top brightens the chocolate and balances the sweetness.
- Toasted peanuts, chopped — Adds crunch and a toasted note; press a few on top before the chocolate sets.
- 1/2 teaspoon vanilla extract — For a subtle warm flavor in the peanut butter filling.
- Cocoa nibs or crushed freeze-dried raspberries — These add texture and a pop of flavor/visual contrast.
- Edible gold dust or luster dust — For a romantic shimmer on a few special pieces.
Substitutions and shortcuts
- Nut butter swaps: If you or someone has a peanut allergy, sunflower seed butter or almond butter can work. Keep in mind flavor and texture will change — sunflower butter tends to be more moist, so you may need slightly less powdered sugar.
- Sugar alternatives: If you prefer less refined sugar, use 3/4 cup powdered sugar and add 1–2 tablespoons of neutral-tasting syrup (like rice syrup) to adjust texture. I don’t recommend liquid sweeteners alone since they can make the filling too soft.
- Chocolate options: If you can’t find chocolate chips, chop a chocolate bar (about 3.5–4 ounces) and measure 1 cup. Couverture or higher-cocoa chocolates will taste more decadent but may be firmer.
- Mold shortcut: If you don’t have a heart mold, use mini muffin liners or silicone candy trays of other shapes — the technique is the same.
- Quick-to-assemble version: Make small dollops of the peanut butter filling on a parchment-lined tray, chill until firm, then dip them in melted chocolate for chocolate-covered peanut butter bites (no mold required).
How to Make Chocolate Peanut Butter Valentine’s Hearts Step-by-Step
I’ll walk you through each step as if I’m standing next to you in the kitchen. Take your time, enjoy the process, and have a small bowl for scrap chocolate — it’s a perk of making these myself.
Prepare the filling
- In a medium mixing bowl, combine 1 cup creamy natural peanut butter, 1 cup powdered sugar, and 1/2 teaspoon vanilla extract if using. Start by stirring with a sturdy spoon. The powdered sugar will absorb moisture from the peanut butter; keep stirring until a smooth, slightly stiff paste forms. If the mix feels too dry, add 1/2 teaspoon of peanut butter or a few drops of milk; if too wet, add a touch more powdered sugar, 1 tablespoon at a time.
- Scoop the filling into a piping bag or a zip-top bag with one corner snipped off, or use a small spoon for filling. Piping makes neater work for smaller molds.
Melt the chocolate and butter
- Place 1 cup semi-sweet or dark chocolate chips and 1 tablespoon unsalted butter in a microwave-safe bowl. Microwave in 20–30 second intervals, stirring between each, until the chocolate is mostly melted. Stir until completely smooth. Alternatively, use a double boiler: set a heatproof bowl over simmering water, stir until melted and smooth, and remove from heat.
- If your chocolate seizes (becomes grainy), sometimes adding 1 teaspoon of neutral oil or an extra dab of butter and stirring off the heat brings it back. Avoid getting water into the bowl.
Coat the mold with chocolate
- Spoon a thin layer of the melted chocolate into each heart cavity, using a small spoon or a pastry brush to push chocolate up the sides and coat the edges. The goal is a shell that will hold the peanut butter filling without leaking.
- Gently tap the mold on the countertop to level the chocolate and remove air bubbles.
Let the first layer set slightly
- Let the chocolate set for about 5 minutes at room temperature so it firms slightly but is not fully hard. This helps the shell stay intact when you add the filling. If your kitchen is warm, pop the mold in the fridge for 3–4 minutes instead.
Add the peanut butter filling
- Pipe or spoon the peanut butter mixture into the chocolate shells, leaving a small gap (about 1/8 inch/3 mm) from the top edge so you can seal with more chocolate. Press the filling gently so it sits flush with the chocolate sides but don’t overfill.
- If you’re adding toasted chopped peanuts or cocoa nibs, press a few into the filling or sprinkle on top before sealing.
Seal with more chocolate
- Spoon or pipe more melted chocolate over the filling to seal each heart. Use the back of a spoon or a small offset spatula to smooth the top and ensure a complete seal around the edges. Scrape excess chocolate back into your bowl — you can rewarm it briefly if it firms up.
Chill until firm
- Place the filled mold on a flat tray and refrigerate until the chocolate is completely firm, usually 45–60 minutes. If you’re in a hurry, 20–30 minutes in the freezer can work for small molds, but I prefer the gentler fridge chill to avoid condensation.
Demold and finish
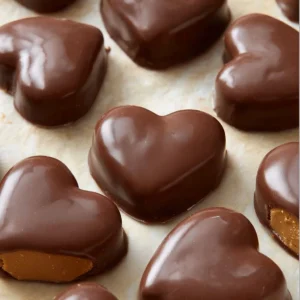
- Gently flex the silicone mold to release each heart. If a few are stubborn, invert the mold and press from the underside near the rim to coax them out. Arrange the hearts on a plate or set each in mini candy cups.
- Optional finishing: Sprinkle flaky sea salt, press a toasted peanut piece on top, or dust lightly with edible gold dust or crushed freeze-dried raspberries for a romantic look. Let any toppings set for a few minutes before storing or packaging.
Storage and gifting tips
- Store the hearts in an airtight container in the refrigerator for up to 2 weeks. For longer storage, keep them in the freezer in a freezer-safe container for up to 2–3 months, separating layers with parchment.
- To avoid condensation when moving frozen hearts to room temperature, place the container in the fridge for 15–20 minutes before opening, then allow them to come to room temperature gradually.
Common Mistakes to Avoid
I’ve made my share of chocolate oopsies — a too-soft filling, a cracked shell, or chocolate that looks dull. One paragraph here to remind you: most problems are easy to fix with a little patience and a few simple adjustments. Read these three common mistakes so you can spot them before they happen.
Mistake 1: Filling too soft or runny
If your peanut butter filling seems loose and oozes into the chocolate shell, it’s usually because the ratio of powdered sugar to peanut butter is off or the peanut butter is very oily. Fixes: add a tablespoon or two of powdered sugar to stiffen the mixture, chill the filling briefly before piping, or use a firmer nut butter. Measure carefully and stir until the filling holds its shape.
Mistake 2: Chocolate shell is thin or cracked
A shell that’s too thin can break when you seal it or release it from the mold. Make sure you push chocolate up the sides when coating the cavities and check for thin spots by holding the mold up to the light. If you find thin patches, add a bit more melted chocolate. Cracking often comes from temperature shock (sudden cold), so avoid putting very warm chocolate directly into a freezer and let layers set gently in the fridge.
Mistake 3: Chocolate seizes or becomes grainy
Chocolate can seize if even a drop of water touches it. If this happens, try adding a small amount (1 teaspoon) of neutral oil or extra butter to smooth it. To prevent seizing, make sure your bowl and utensils are dry, melt chocolate slowly, and avoid steam contact in a double boiler. If it’s irreversibly seized, start fresh with new chocolate.
Serving Suggestions for Chocolate Peanut Butter Valentine’s Hearts
These hearts are lovely on their own, but they also make a sweet centerpiece for simple gatherings or thoughtful homemade gifts. Start with a short note about presentation: little touches make these feel special and cozy.
Coffee and tea pairings
I love pairing these with a strong coffee like a French press or a lightly sweetened chai. The bitterness of dark chocolate pairs beautifully with espresso, while a milder tea highlights the peanut butter warmth. Serve on a small dessert plate with a linen napkin for a cozy afternoon moment.
Dessert platter ideas
Create a small dessert board with a few Chocolate Peanut Butter Valentine’s Hearts, fresh berries, shortbread cookies, and a handful of toasted almonds. The variety of textures — crunchy, creamy, fruity — makes each bite feel intentional and homey.
Gifting and presentation
Place hearts into mini candy cups and nestle them in a small box with tissue paper. Add a handwritten note and a sprig of dried lavender for a rustic touch. For Valentine’s Day, tie a thin ribbon around the box and sprinkle a few freeze-dried raspberry crumbs inside for color.
Conclusion
I promise — making Chocolate Peanut Butter Valentine’s Hearts is easier than it looks, and you can customize them any way you like with toppings or swap-ins for nut butter. They’re a cozy, beginner-friendly recipe that makes a thoughtful gift or a little indulgence for yourself. If you want inspiration from other home bakers, I found this helpful Reese’s-style tutorial and another simple how-to that both gave me decorating ideas when I was getting started: Reese’s-style chocolate peanut butter hearts tutorial and Easy chocolate-covered peanut butter hearts. If you make a batch, I’d love to hear how you decorated them — I’m always swapping ideas and flavors.
FAQs About Chocolate Peanut Butter Valentine’s Hearts
Chocolate Peanut Butter Valentine’s Hearts will keep fresh in an airtight container in the refrigerator for up to 2 weeks. For best texture, allow them to come to room temperature for 10–15 minutes before serving.
Yes. Freeze Chocolate Peanut Butter Valentine’s Hearts in a single layer on a tray until solid, then transfer to a freezer-safe container with parchment between layers. They’ll keep for 2–3 months. Thaw in the refrigerator before bringing to room temperature to avoid condensation.
The original Chocolate Peanut Butter Valentine’s Hearts use peanut butter, so they’re not nut-free. For a nut-free version, swap in sunflower seed butter — flavor and texture will differ, but the method and proportion work similarly.
You can reduce the powdered sugar slightly or try alternative powdered sweeteners, but keep an eye on texture. Powdered sugar helps firm the filling; if you use less, add a small binder like a touch of cocoa butter or a teaspoon of cornstarch to maintain structure.
Use a good-quality semi-sweet or dark chocolate that you enjoy eating. Chips are convenient, but chopping a bar often melts more smoothly. Avoid candy melts if you want real chocolate flavor; real chocolate also gives a better snap and mouthfeel.
Chocolate Peanut Butter Valentine’s Hearts
Ingredients
For the filling
- 1 cup creamy natural peanut butter Choose a smooth, runny-style natural peanut butter.
- 1 cup powdered sugar Also known as confectioners’ sugar.
- 1/2 teaspoon vanilla extract Optional for added flavor.
For the chocolate coating
- 1 cup semi-sweet or dark chocolate chips Good-quality chips are recommended.
- 1 tablespoon unsalted butter Adds shine and a silky texture.
Optional toppings
- Flaky sea salt Sprinkle on top for added flavor.
- 1/4 cup toasted peanuts, chopped For crunch.
- 1 tablespoon edible gold dust or luster dust For decoration.
- Cocoa nibs or crushed freeze-dried raspberries Optional for additional flavor and visual contrast.
Instructions
Prepare the filling
- In a medium mixing bowl, combine creamy natural peanut butter, powdered sugar, and vanilla extract if using.
- Stir until a smooth, slightly stiff paste forms, adjusting with more powdered sugar or peanut butter as needed.
- Scoop the filling into a piping bag or zip-top bag.
Melt the chocolate and butter
- Place chocolate chips and unsalted butter in a microwave-safe bowl and melt in 20–30 second intervals, stirring until smooth.
Coat the mold with chocolate
- Spoon a thin layer of melted chocolate into each heart cavity.
- Tap the mold on the counter to remove air bubbles.
Let the first layer set
- Let the chocolate set for about 5 minutes at room temperature or refrigerate for 3–4 minutes.
Add the peanut butter filling
- Pipe or spoon the peanut butter filling into the chocolate shells, leaving a small gap at the top.
Seal with more chocolate
- Spoon or pipe more melted chocolate over the filling to seal each heart.
- Smooth the top with the back of a spoon.
Chill until firm
- Refrigerate until the chocolate is completely firm, usually 45–60 minutes.
Demold and finish
- Gently flex the silicone mold to release each heart.
- Optionally, sprinkle with flaky sea salt or other toppings before serving.